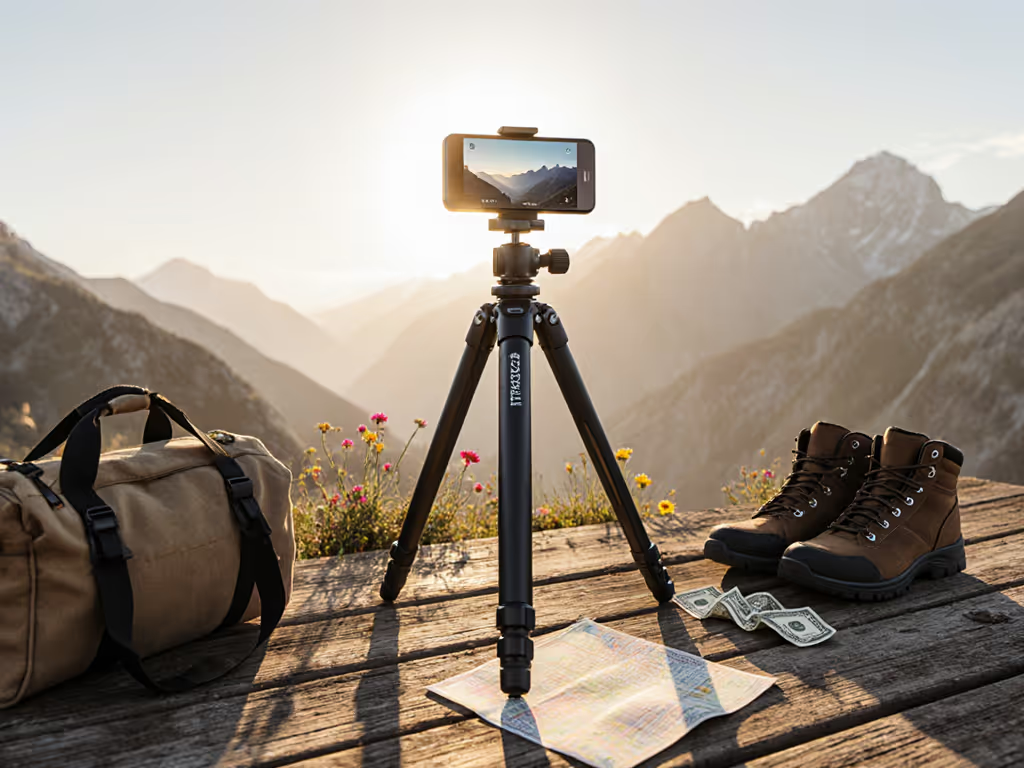
When you're chasing golden hour light on uneven terrain and your tripod photography setup is back in the car, panic isn't an option. Instead, master how to create reliable tripod stands using objects already in your bag or nearby. I've seen photographers waste precious light fumbling with shaky stacks of books or precarious mug-perched phones, until they learn repeatable habits that transform ordinary surfaces into stable platforms. Real stability isn't about the gear you own; it's about the muscle memory you build when conditions turn hostile. Slow is smooth; smooth is sharp when the wind rises.
Why DIY Tripod Hacks Fail (And How to Fix Them)
Most online tutorials show you what to use (a stack of books, a chair edge, a mug), but skip the how. Without disciplined technique, even sturdy-looking surfaces become blur sources. Here's why common methods backfire:
-
The instability illusion: A table seems solid until wind or vibration rattles your camera. Fix: Always add tension. Wedge a rolled towel between your phone and the table edge. The compression locks it in place, eliminating micro-movements.
-
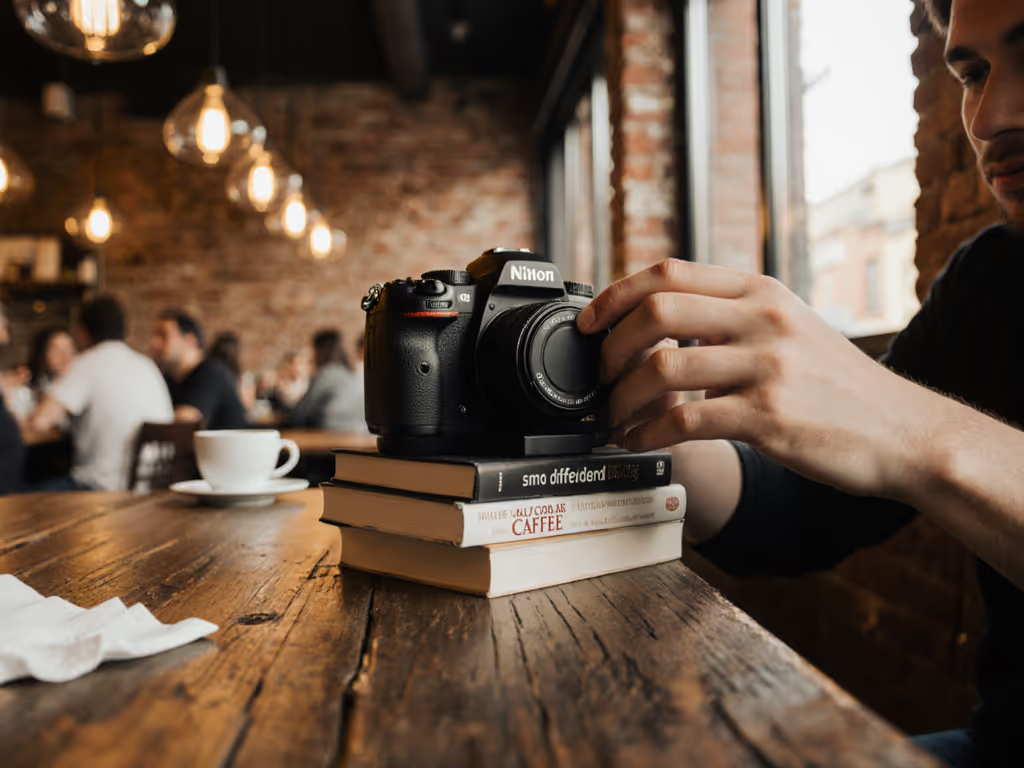
Height traps: Stacking books gains elevation but sacrifices stability. One bump collapses everything. Fix: Anchor low, not tall. Place your camera directly on a single thick book (like a photo album), then stabilize all four corners with folded cloth strips. Lower centers of gravity resist wind better.
-
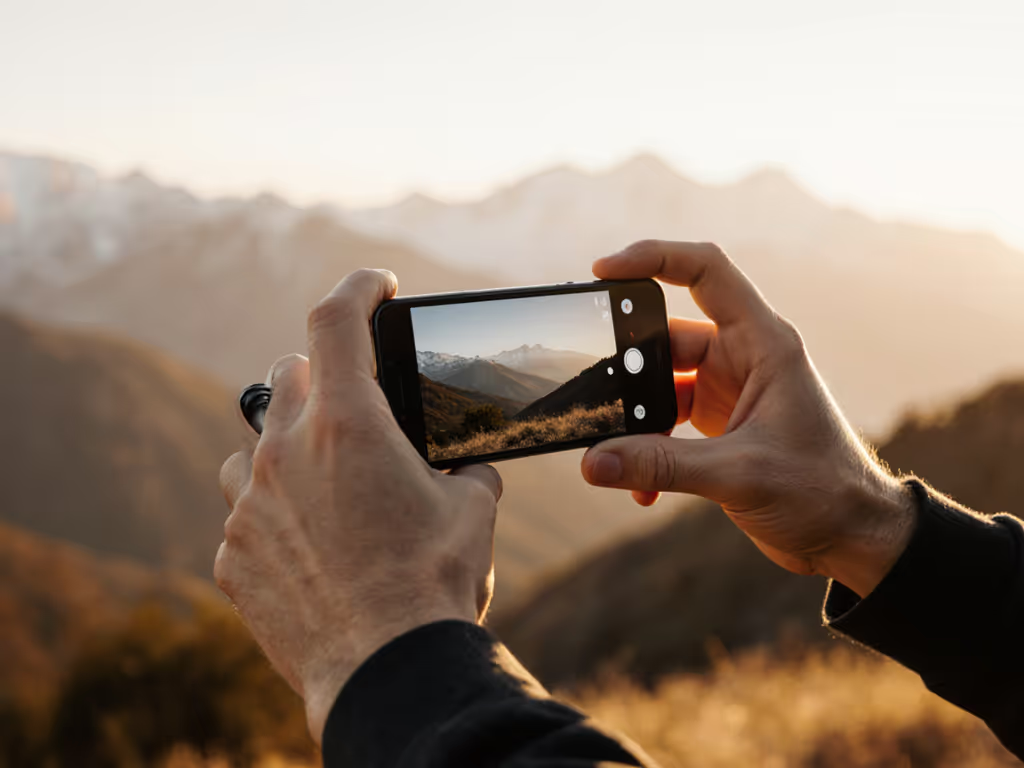
The "grip of death": Holding your phone against a wall strains your arms, causing shake. Fix: Offload weight. Rest your elbow on your hip or a nearby rock to create a stable body tripod. Your arms become passive supports, not active shock absorbers. Phone-only creators can also use our no-gear phone stabilization techniques for more ways to reduce shake.
Field Checklist: Wind-Proofing Any Surface
- Scan for anchors: Find edges, corners, or grooves that cradle your camera (e.g., a chair's rear leg curve).
- Add compression: Use a carabiner clipped to your strap to pull the camera into the surface.
- Block wind lanes: Position your body or a backpack between gusts and your setup.
Transforming Household Items into Reliable Tripod Stands
Forget "hacks": focus on repeatable positioning. These methods work because they create three points of contact (like a real tripod) and prioritize tension over height. Practice them until they're pack-ready.
Tables and Counters: The Overlooked Powerhouse
Most tables are sturdier than flimsy travel tripods, but only if used correctly. Avoid the common mistake of placing your camera dead-center where vibrations amplify.
- Technique: Position your camera against the table edge with the lens overhanging. Fill gaps around the device with folded cloth for compression. For phones, angle the screen toward the table to create a wedge (like leaning a book against a wall).
- Hazard Note: Avoid glass tables (they resonate like tuning forks in wind). Use solid wood or laminate surfaces only.
- Why it works: Edge placement uses the table's structural rigidity instead of its flexible surface. Compression absorbs vibrations before they reach your sensor.
Chairs and Ladders: Controlled Elevation
These provide height without unstable stacks, but misuse risks costly drops.
- Technique: Place your camera on a chair's horizontal crossbar (not the seat), centered between legs. Loop your wrist strap around the nearest leg and gently tighten. For ladders, position near the bottom rung where flex is minimal.
- Hazard Note: Never use plastic chairs (they creak and shift). If the surface wobbles when you tap it, skip it. Always test with no camera first.
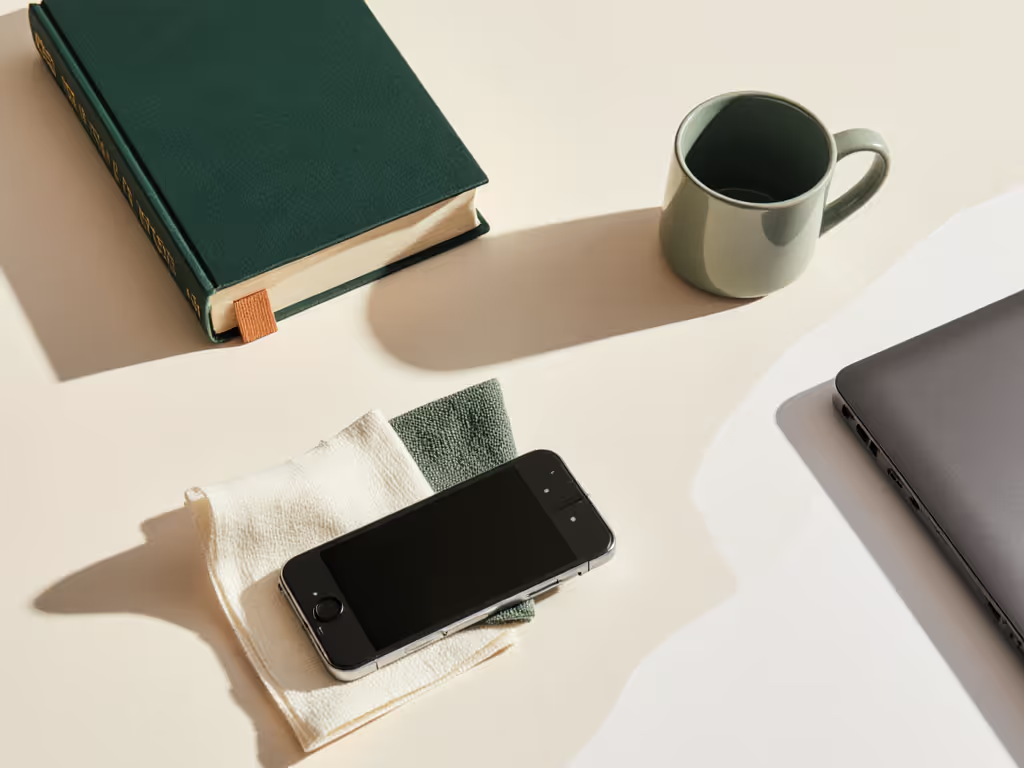
- Pro Tip: On a ladder, place a microfiber cloth under your camera to prevent slipping. The tiny friction layer makes all the difference.
The "Emergency Bag of Tricks": Always Pack These
Carry these lightweight items to transform any surface into a stable platform:
- Silicone baking mat (rolled in your bag): Creates non-slip grip on glass/metal surfaces
- Carabiner (attached to your strap): Adds tension against anchor points
- Pipe cleaner (bent into a U-shape): Cradles phones against curved edges
On a recent workshop, a student's phone wobbled wildly on a driftwood log. I handed her a silicone mat from my bag, wedged it under the camera base, and added tension with her strap. Wind gusts that had ruined 20 shots suddenly stopped mattering. She got the shot, not because of the mat, but because she'd practiced the routine until it was instinctive.
When to Stop DIY-ing (And What to Do Instead)
DIY solutions are brilliant for pop-up shots, but they won't replace a real tripod for critical work. Know these limits:
| DIY Tripod Use Case | Real Tripod Needed When... |
|---|
| Quick social clips | Shooting long exposures (>1 sec) |
| Indoor flat-lays | Working on sand, scree, or slopes |
| Casual vlogging | Using telephoto lenses (>100mm) |
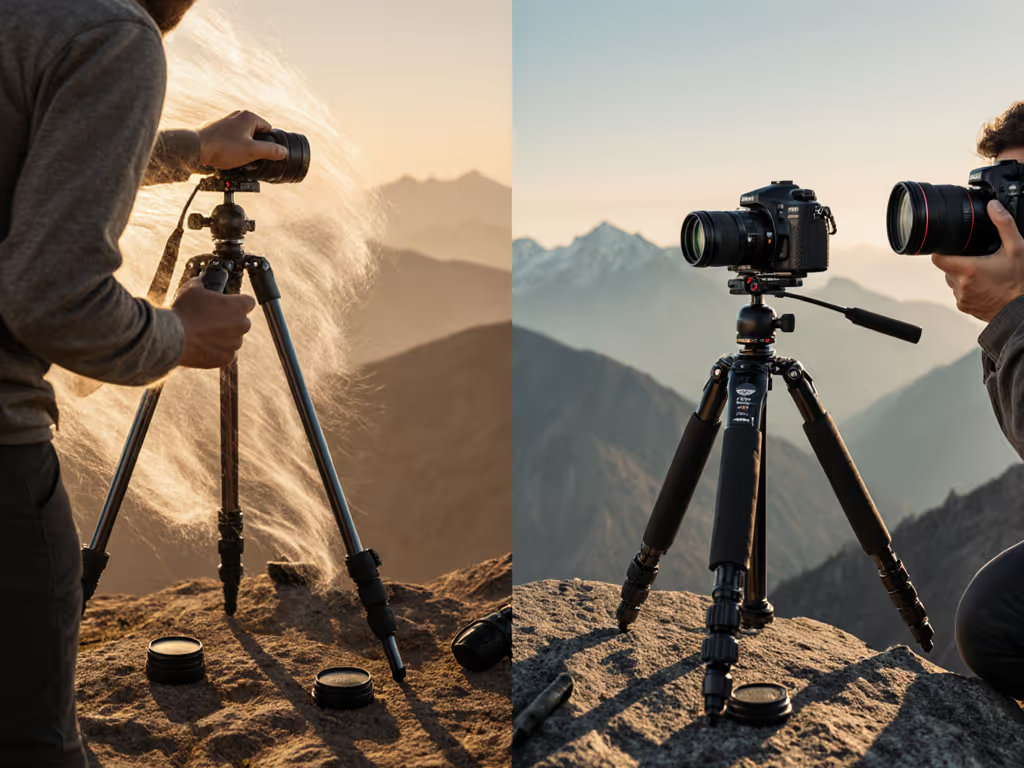
If you're constantly fighting blur in windy or uneven conditions, it's time for proper gear. Look for tripods with glove-friendly twist locks (no tiny levers!) and legs that splay wide for low-angle work. The Jollylook Decorative Tripod, even as a starter kit, shows how thoughtful design (like its rubber-band tension system) turns flimsy materials into stable platforms. But never compromise on stability for budget photography. A $50 DIY attempt that costs you a once-in-a-lifetime shot is the priciest error of all.
Make Stability Your Default Habit
Your next step isn't buying gear: it's drilling one technique until it's pack-ready. Before dawn shoots this week:
- Grab your smartphone
- Find a table/chair nearby
- Stabilize it using edge compression + tension
- Shoot 10 frames at 1/15 sec
Compare results to handheld shots. Notice how controlled placement beats improvisation? That's the foundation of real stability. When you finally invest in a tripod, you'll already have the habits to deploy it perfectly, no matter how the wind scours the dunes.
Slow is smooth. Smooth is sharp. And sharp begins with what's already in your hands.
