Stable Budget Tripods: Height You Can Trust
By Nia Okafor • 15th Oct
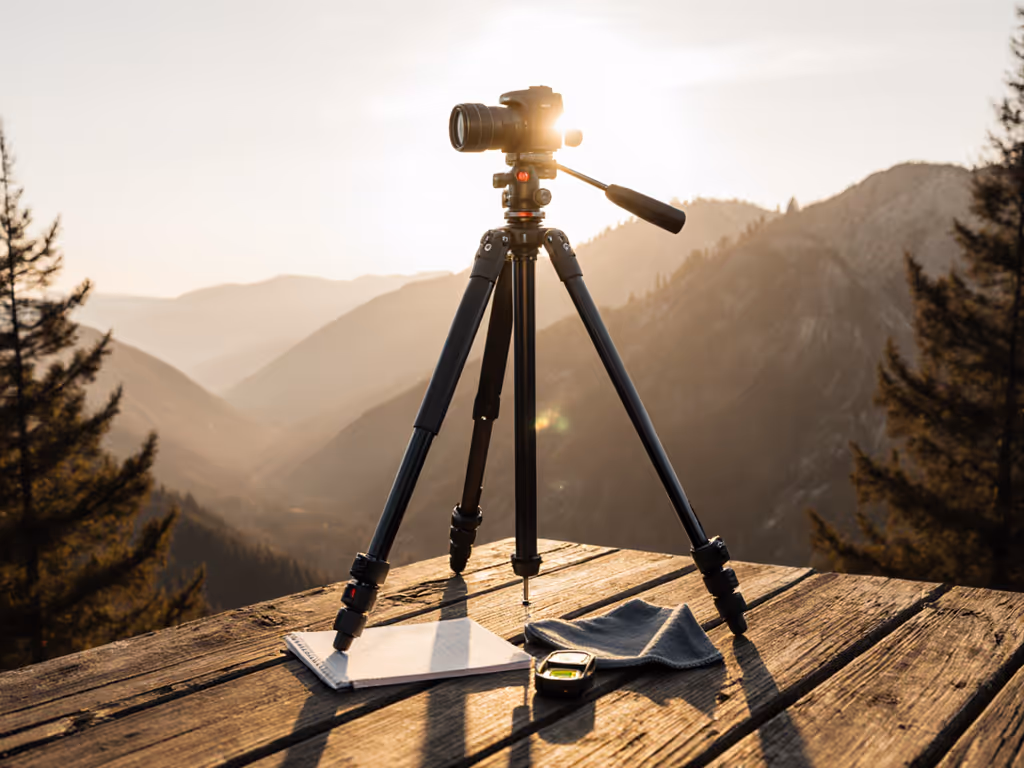
Let's cut through the noise: finding a reliable budget tripod isn't about scraping the bottom of the barrel. It's about identifying value tripod options that transform your shooting experience without demanding premium prices. After years leading field workshops where wind-scoured dunes and rocky outcrops expose gear weaknesses, I've watched photographers wrestle with tripods that promise stability but collapse under pressure. The best tripod on a budget isn't defined by the lowest price tag, it's measured by how consistently it delivers true height and wind resistance when your best shot depends on it. Today, we'll focus on models that deliver repeatable performance for serious amateur photography gear, addressing the very real frustrations of spec sheets that lie and wobbly frames that cost you irreplaceable moments.
Your Body Height Is Your First Spec
Forget advertised 'max height' for a moment. What matters is true height: the point where your camera eye-level aligns with your own eye without extending the center column on level ground. This is non-negotiable for fatigue-free shooting and consistent framing. Too many budget tripods list impressive heights that only apply with the center column fully extended (a shaky compromise that turns them into tuning forks in wind).
Measure your true height standing in hiking boots: mark a wall at your eye level, then measure from floor to mark. Subtract 8-10 inches (for ground clearance and head height). Your tripod's max height without center column must hit this number.
For example, at 5'10" with boots, my true height is 62". A tripod claiming "68" max height" but only reaching 54" without its center column forces me into unstable setups. On uneven ground, that deficit becomes critical. I've seen photographers strain necks and lose compositions trying to compensate (a hazard compounded when wind hits).
Field Checklist: True Height Test
- Stand naturally on level ground in your shooting footwear
- Hold a spirit level against your eye
- Measure floor to level (subtract 9" for typical head height)
- Compare to tripod's fully extended leg height (center column down)
If the tripod falls short here, it's a non-starter, no matter how light or cheap.
Stability vs. Weight: The Budget Tripod Tightrope
Lightweight travel tripods often sacrifice stability for packability, leaving you debating whether to trust them with your $2,000 camera at 1/15s shutter speed. If you're optimizing for portability, see our wind-tested travel tripods under 3 lbs. But heft isn't the only stability indicator. Twist locks versus flip locks? Materials? Leg angle range? Here's what actually predicts steadiness:
- Lock type matters more than material: Aluminum tripods with stiff twist locks (like the Benro TMA28A) often outperform flimsy carbon fiber models with loose flip locks. Carbon fiber dampens vibration better, but only if the locks hold firmly.
- Leg splay depth = wind resistance: Legs that spread wide (180°+) create a lower center of gravity. Budget tripods often limit splay angles, forcing you into taller, wobblier stances on slopes.
- Center column is the stability killer: Never rely on it for primary height. If a tripod needs it to reach your true height, it's structurally compromised.
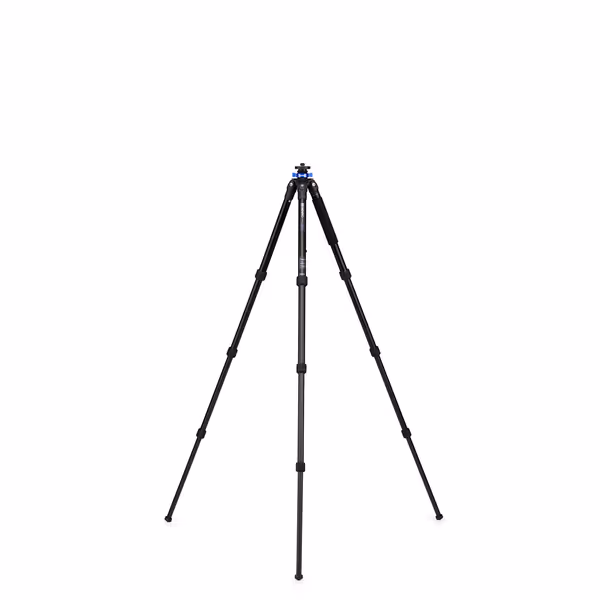
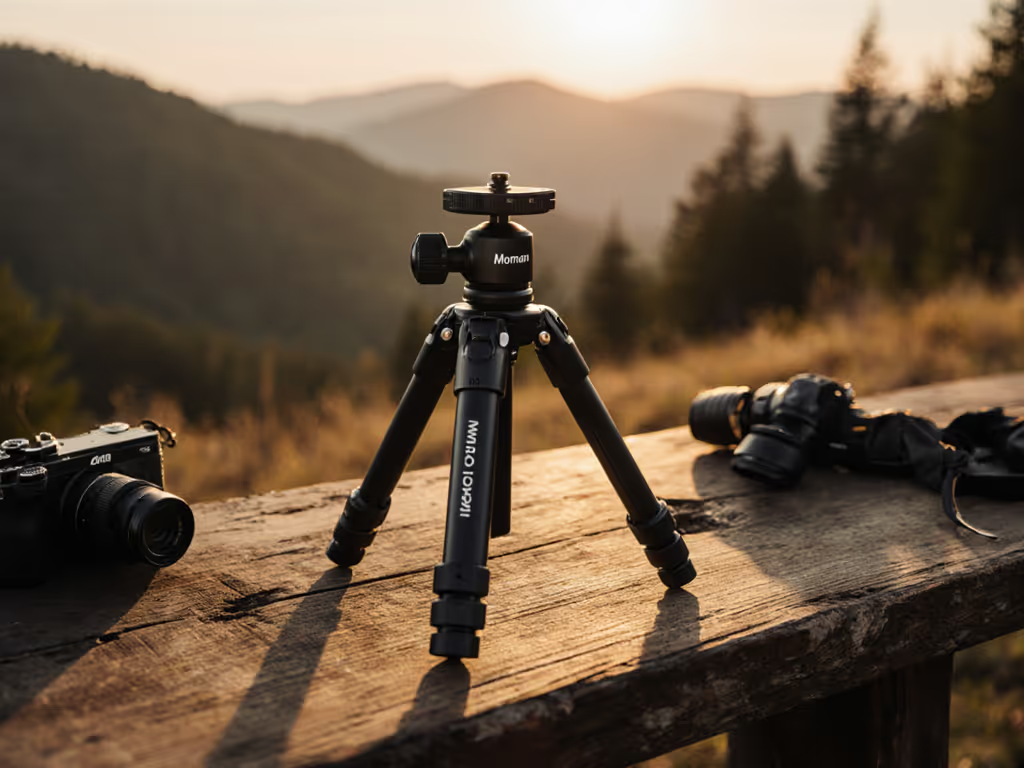
Benro Mach3 2 Series Aluminum Tripod (TMA28A)
Stable, versatile support for serious photographers seeking value.
$149.95
Max Load Capacity30.9 lbs
Max Load Capacity30.9 lbs
Pros
Exceptional stability, even with heavy gear.
Dual-purpose, detachable monopod function.
Swappable feet for varied terrains.
Cons
Heavier than some travel tripods.
Customers praise the tripod's solid build, exceptional height, and resistance to wind, with one customer noting it can support a 10-ton DSLR setup. They find it well worth the cost and easy to work with, particularly for architectural photography.
Customers praise the tripod's solid build, exceptional height, and resistance to wind, with one customer noting it can support a 10-ton DSLR setup. They find it well worth the cost and easy to work with, particularly for architectural photography.
The Benro TMA28A excels here. At $150, its magnesium castings and high-performance twist locks deliver surprising stiffness for its weight (3.9 lbs). During a recent coastal workshop with 25 mph gusts, students using this model captured tack-sharp 200mm shots at 1/30s, while others struggled with lighter tripods vibrating at 1/60s. Its 61.2" max leg height (no center column) accommodates 5'8"-6'2" shooters comfortably, addressing the height pain point head-on. For taller users, it's the rare budget option that avoids mandatory center column use.
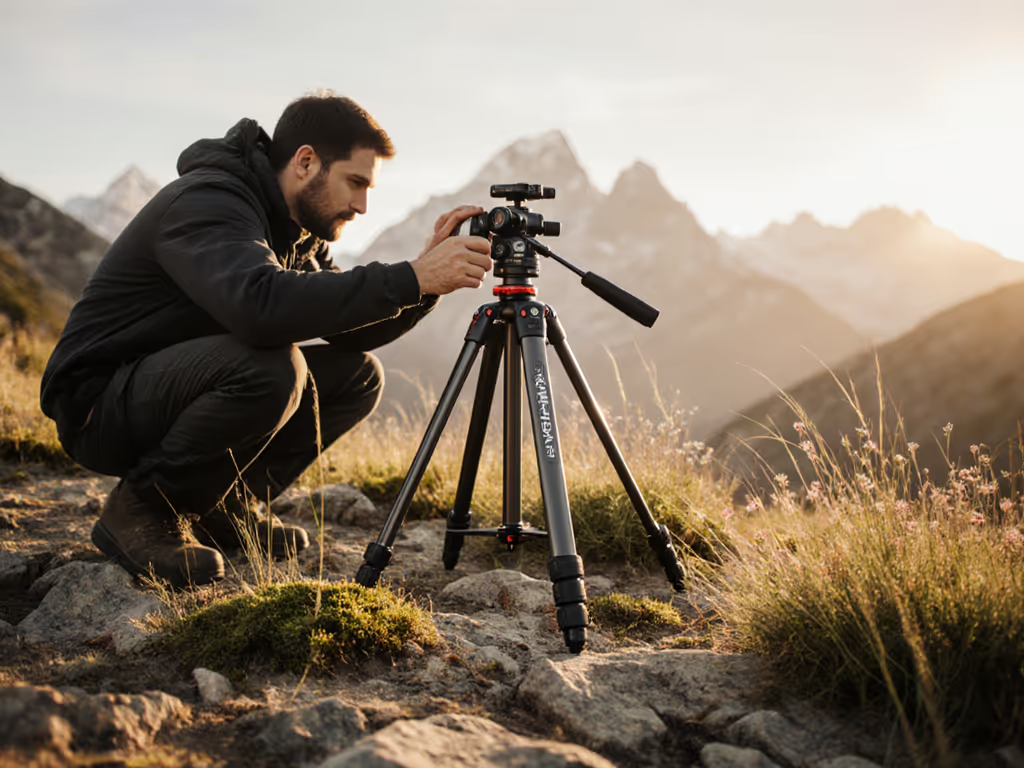
Terrain Matters More Than You Think
On a wind-scoured dune workshop last spring, students battled collapsing tripods as legs sank into soft sand. One participant kept resetting his twist locks, only to have the entire column slump when he released pressure. We paused. "Slow is smooth; smooth is sharp when the wind rises," I reminded them. Then we reset to the sequence: legs first, then head. Not legs to arbitrary height, but legs to true height on the slope. Level base once. Then free the pan. The flailing stopped. Frames sharpened. What changed wasn't the gear, it was a repeatable habit under pressure.
This is why terrain compatibility separates adequate tripods from indispensable ones. Budget models often skip:
- Multi-angle leg locks (fixed splay limits)
- Removable feet for spikes in soft ground
- Reversible center columns for macro work For genre-specific picks, our landscape tripod tests stress true height and wind stability.
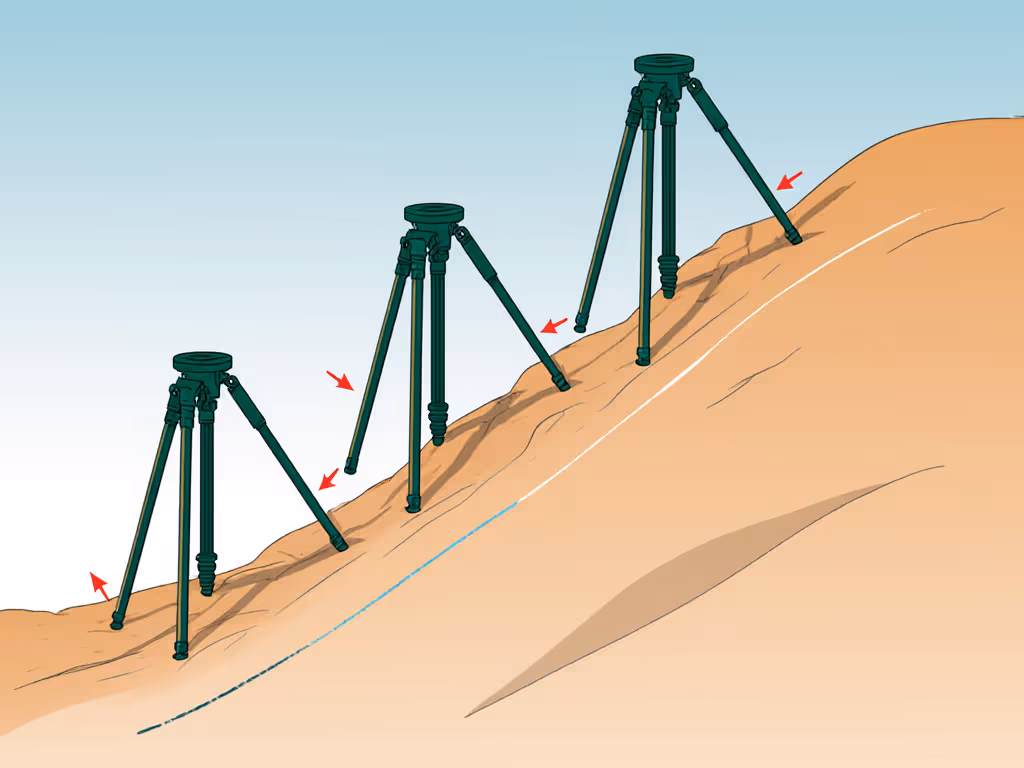
For rocky or sloped terrain, prioritize tripods with:
- Three independent leg angles (not just one preset)
- Removable rubber feet revealing metal spikes
- Reversible center columns (critical for low-angle work)
The Sirui W-1204 delivers this at $330, slightly above strict budget pricing but exceptional value for its waterproof sealing system and terrain adaptability. While not the cheapest, its stability on wet rocks and sand justifies the investment for coastal photographers tired of gear failure. For pure budget seekers, the Vanguard Vesta 203AP ($90) offers independent leg angles but lacks spikes and feels wobbly above 5'6".
Best Value Tripod Options For Your Needs
Let's cut through spec-sheet confusion with field-tested recommendations. We prioritized models that deliver repeatable stability rather than theoretical max loads.
Best Overall Budget Tripod: Benro TMA28A Aluminum
- True height: 61.2" (no center column)
- Weight: 3.9 lbs
- Field advantage: Twist locks stay secure in wind; spikes included; converts to monopod
- Ideal for: Shooters 5'8"-6'2"; landscape, architecture, hybrid photo/video
- Why it stands out: Holds 30.9 lbs but feels solid with 10 lbs, a rarity under $150. Students consistently captured blur-free 30s exposures during windy sunset sessions.
Best Inexpensive Travel Tripod: Vanguard Vesta TB 204CB Carbon Fiber
- True height: 51" (no center column)
- Weight: 1.7 lbs
- Field advantage: Fits in carry-on; reversible center column
- Ideal for: Travelers under 5'10"; backpackers; macro shooters
- Trade-off: Wobbly above 5' but shines for low-angle work. A solid choice as the best inexpensive travel tripod if you accept its height limits.
Best Budget Tripod for Videography: Oben AC-1441 Aluminum
- True height: 61.6" (no center column)
- Weight: 3.3 lbs
- Field advantage: Flip locks for rapid setup; smooth pan head
- Ideal for: Hybrid shooters; run-and-gun videographers
- Why it works: The ball head's 360° pan is buttery even with gloves, critical for the best tripod for videography on a budget. For creator-focused picks, see our travel video tripods with true ergonomic height. Just avoid extending the center column.
Your 5-Point Field Checklist
Forget complex formulas. Out here, where sand sticks to your lens and wind steals your breath, you need repeatable habits. This glove-friendly sequence works for every budget tripod:
- Level your base first: Extend legs to true height on terrain (not arbitrary marks). Shim with rocks if needed. Hazard note: Never adjust height after mounting camera, you'll shift center of gravity.
- Lock legs at terrain angle: Spread widest on sand/snow; narrow on rock. Independent splay beats preset angles.
- Add weight: Hang your bag from the center hook. Even 2 lbs doubles stability in gusts. Get a step-by-step on counterweighting for real wind to maximize stability.
- Head last: Mount camera after base is stable. Pan heads offer smoother control than balls for video.
- Pre-stress test: Push gently on camera. If it wobbles >1 second, lower height or widen legs.
This is how you turn a $150 tripod into a $1,000 ally. On that dune workshop, it wasn't better gear that fixed the problem, it was a habit students could repeat under pressure. Repeatable habits beat improvisation when conditions turn hostile.
Finding Your Match
Choosing the best tripod on a budget isn't about finding the cheapest option, it's matching your body height, shooting terrain, and most-used focal lengths to a tripod that delivers consistent stability. Prioritize true height and lock reliability over fancy materials. Test setups in-store with your heaviest lens. And remember: legs first, then head isn't just a sequence, it's the foundation of sharp images when wind or uneven ground threatens your shot.
Your next step? Grab your current tripod right now. Set it up on uneven ground outside. Measure its true height. Does it align with your eye level without the center column? If not, test the Benro TMA28A or Oben AC-1441 within your height range. Trust field performance over specs, and shoot with confidence, even when the wind rises.
Related Articles