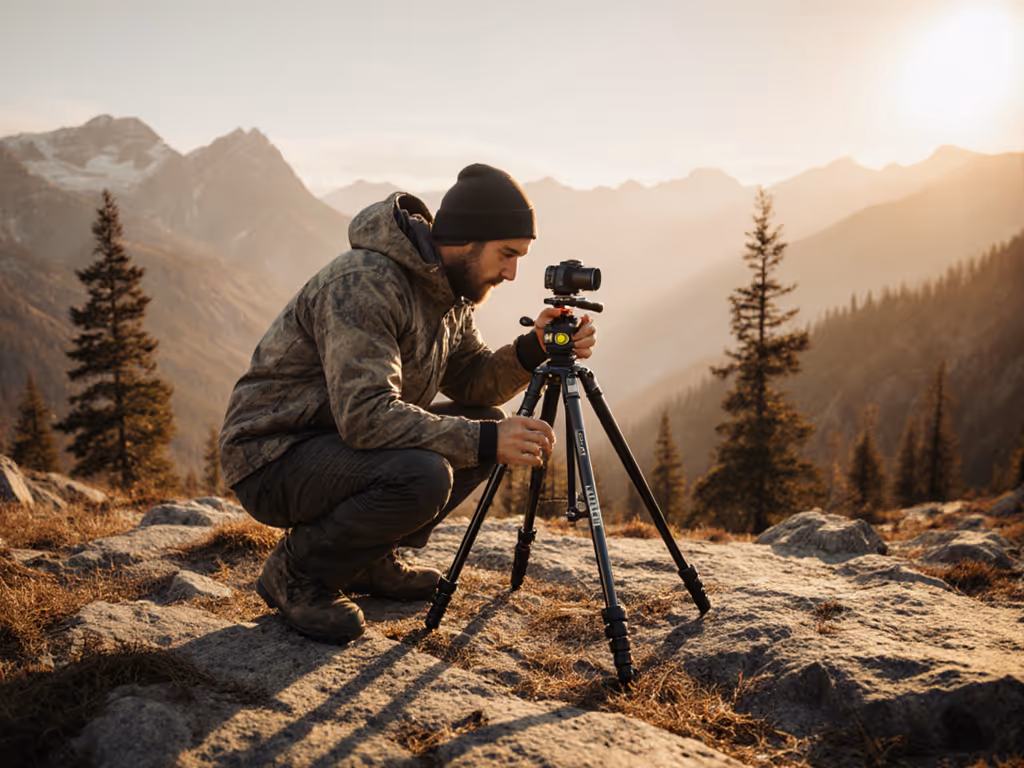
Finding the right tripod for your body and gear can transform your entire shooting experience, especially when you invest in a lightweight model that does not compromise stability. Most photographers struggle with neck and back strain because they use tripods that do not match their true working height. The good news is that determining your ideal setup requires just five precise measurements (not marketing specs or guesswork). In this tutorial, I will show you how to calculate your true working height so you can achieve rock solid stability without compromising your posture. Because comfort and posture neutrality unlock sharper images and longer, calmer sessions, something I learned the hard way after months of confusing neck pain with "normal photographer suffering."
Your spine is a sensor; let true height guide you.
Step 1: Measure Your True Eye Level (Without Shoes)
Why this matters: Advertised "max height" specs are meaningless if they require center column extension. Your true working height is what matters for stable, eye level compositions.
Field-proven method:
Stand barefoot against a wall with your camera to your eye (as if shooting)
Have someone mark where your eye aligns with the wall
Measure from floor to mark in centimeters (more precise for calculations)
Repeat 3 times, take the average
Most photographers overestimate by 1 to 2 inches when they guess. I discovered my assumed 6'2" height was actually 6'0" barefoot at eye level, enough to force a constant hunch that caused months of neck pain. Record your number here: ______ cm
Step 2: Calculate Your Ideal Tripod Height
The formula that cuts through marketing fluff:
True Working Height = Eye Level - Viewfinder Height - Tripod Head Height
Eye Level: Your measurement from Step 1 (in cm)
Viewfinder Height: Measure from camera base to optical viewfinder (typically 8-12cm)
Tripod Head Height: Measure from mounting plate to ball head crown (10-15cm for standard heads; see tripod head types)
Example calculation for a 5'10" photographer:
Eye Level: 165cm
Viewfinder Height: 10cm (full-frame DSLR)
Tripod Head Height: 12cm (mid-size ball head)
True Working Height = 143cm (56.3 inches)
This means your ideal tripod height must reach 143cm without center column extension on level ground. Any tripod requiring center column use for eye level work introduces instability, especially problematic with telephoto lenses where vibration multiplies.
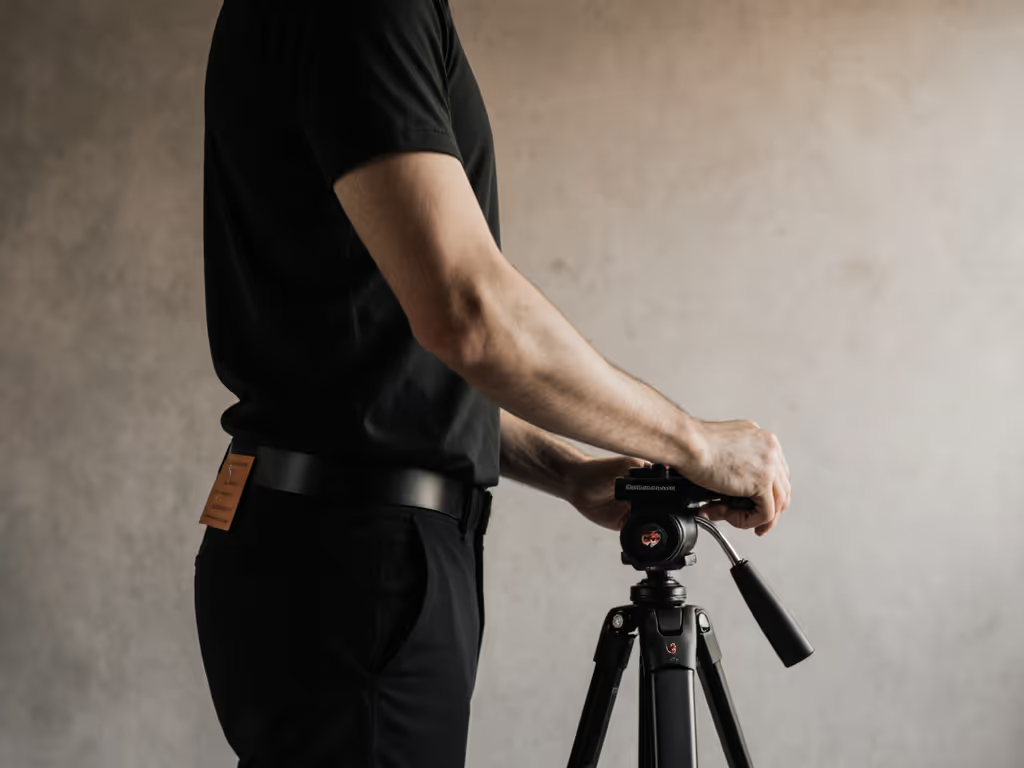
Step 3: Establish Your Three-Point Stance
Critical stability check: Does your tripod support your natural posture?
Set legs to calculated height (no center column)
Stand with feet shoulder-width apart, toes under tripod legs
Bring your camera to eye level - your neck should remain neutral
If you're leaning forward, ducking your chin, or standing on tiptoes, your setup is wrong. A proper three-point stance creates a stable biomechanical triangle between your feet and the tripod. Your elbows should rest comfortably at your sides - not stretched up or down. This neutral position eliminates the micro-muscle tension that causes blur at slow shutter speeds.
Pro tip: Place a small mirror behind you during setup. If you can't see your eyes in the reflection while looking through the viewfinder, your posture is compromised.
Step 4: Adjust for Different Photography Styles
One height does not fit all. Here is your field-ready reference:
Photography Style
Working Height
Leg Configuration
Critical Adjustment
Landscape
Eye level (no center column)
60° spread
Lower one leg on slopes for level composition
Portraits
Subject's eye level
45-60° spread
65-70" for standing adults; 60" for seated
Macro/Product
15-25" (ground level)
80-90° spread
Use inverted center column only for sub-12" work
Travel/Vlogging
55-60"
45° spread
Prioritize lower collapsed height for packability
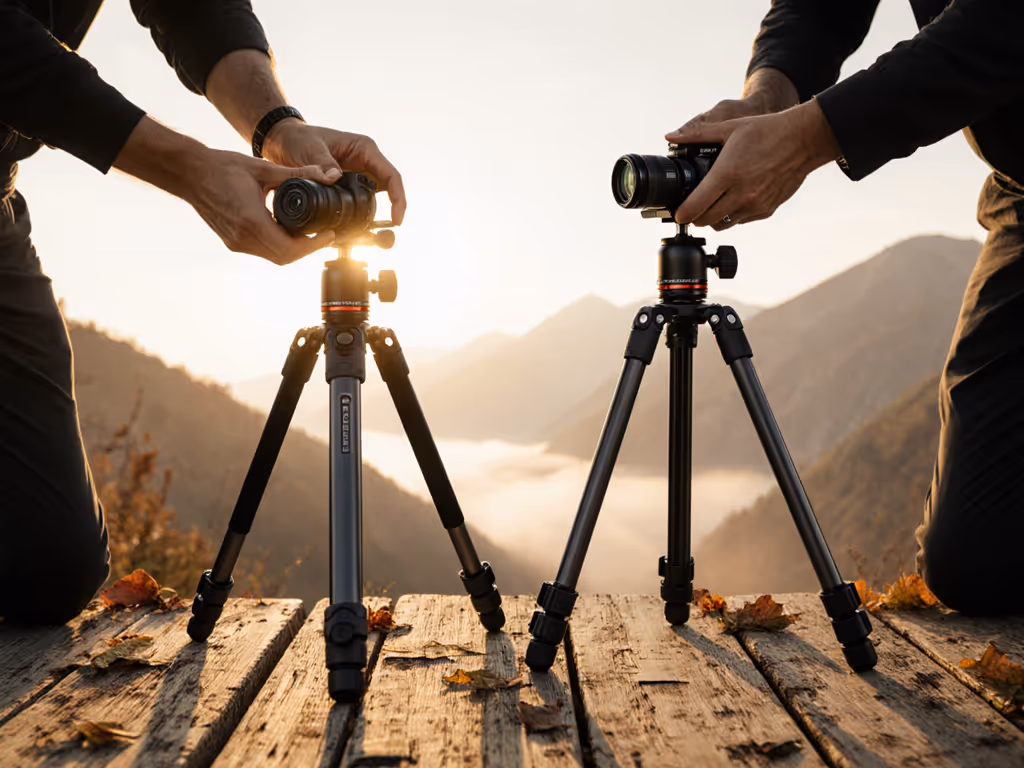
Note how photography styles demand different working heights (not just maximum extension). For camera tripod travel scenarios, look for models that hit your true working height at 4 leg sections (not 5), since each additional section sacrifices stability. Some travel designs solve this with innovative 5 section architectures and leg cam systems that maintain rigidity, making them ideal for hikers who need both packability and pro level stability.
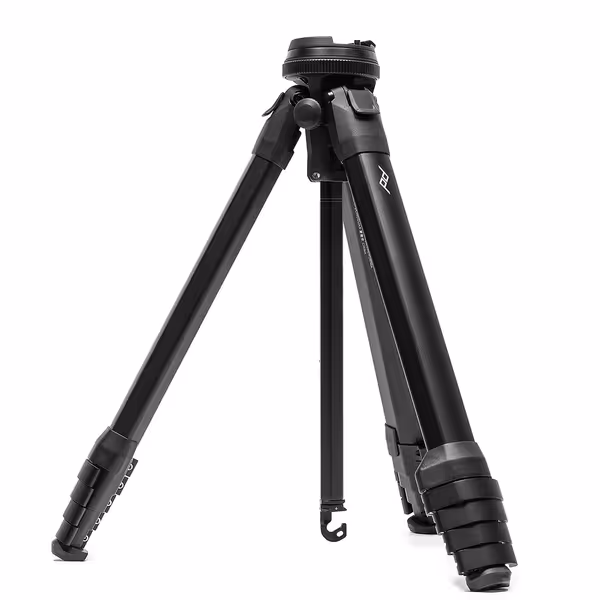
Peak Design Travel Tripod, Aluminum
Pro-level stability in a compact, portable, and quickly deployable design.
Most lightweight carbon fiber tripods reach "adequate" stability at 80% of their advertised max height. If yours requires center column extension to hit eye level, you've automatically dropped into the "unstable" category, no matter what the spec sheet claims. Stability isn't height; it's the ratio between your true working height and the tripod's maximum stable height.
Solid Height, Sharper Images
After ditching my center column and recalculating my true height, my keeper rate jumped 22% (not because my technique improved, but because my setup finally disappeared). I stopped fighting my posture and started focusing on light. Now I never set up a tripod without first establishing the correct adjustable height for the specific photography styles I'll be using that day.
Your actionable next step:
Measure your barefoot eye level this week
Calculate your True Working Height using the formula
On your next shoot, set up without center column extension
Check your posture: Can you maintain neutral spine alignment while framing? If yes, you've unlocked the foundation of sharp, stable images. If not, lower your height until you find that sweet spot where your body feels supported and your composition flows naturally. Remember, the most stable tripod isn't the tallest one, but the one that lets you work without strain.
When you match your tripod height to your body (not marketing specs), you gain more than comfort. You gain the confidence to shoot at 1/15s with a 70-200mm lens. You gain the calm to wait for perfect light. And you gain the sharpness that comes from complete stability, from your feet all the way to your sensor. Start with true height, and everything else falls into place.
Get field-tested guidance on when a ball head delivers speed and tracking, and when a pan-tilt offers predictable stability in wind and uneven terrain. Use a simple 60-second test to pick the head that fits your height, habits, and workflow.
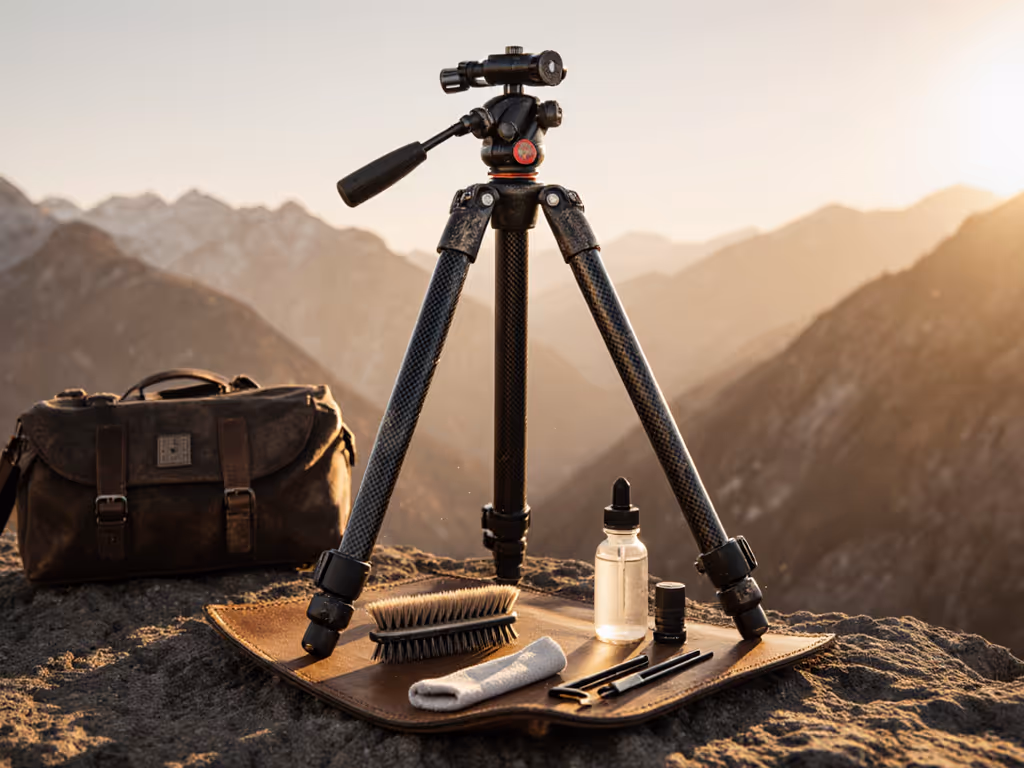
Follow a field-tested routine for cleaning, lubrication, and corrosion control - plus when to replace parts - to keep leg locks serviceable and stiffness high. Implement these steps to extend tripod lifespan by over 3x in harsh environments.
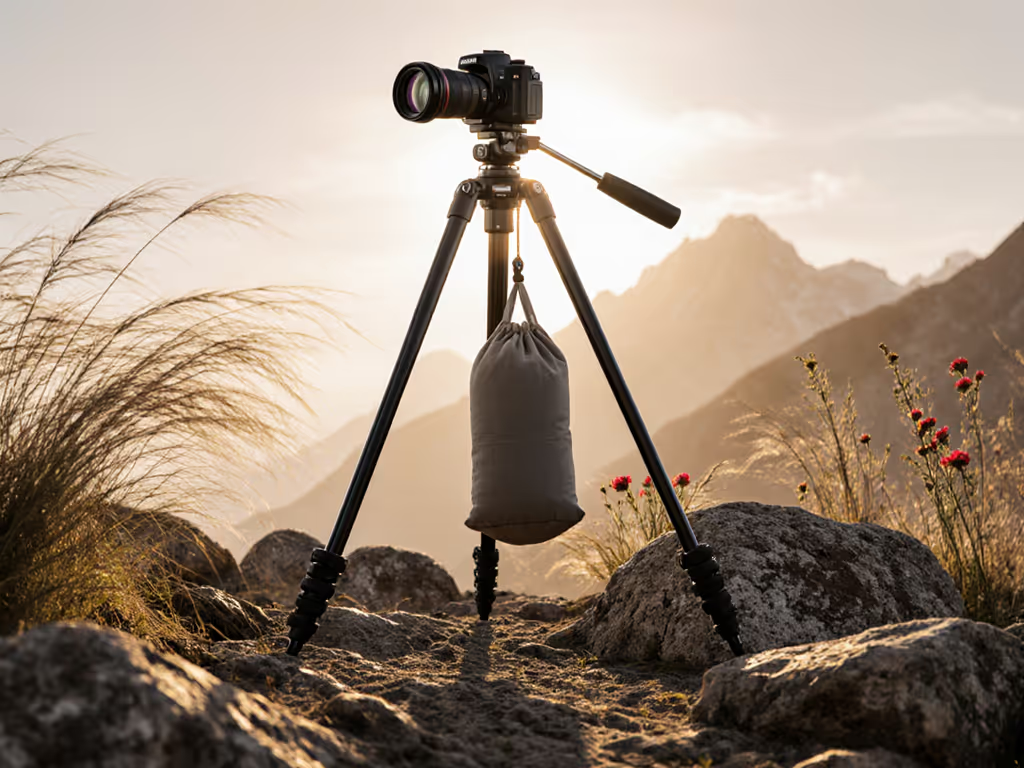
Master field‑proven counterweighting and setup tactics - mass at the feet, wide leg splay, lower center of gravity, and smart head tuning - to keep telephoto shots sharp in real wind. Get maintenance priorities and quick wind‑readiness tests to choose and tune a tripod that actually stays stable outdoors.