Best Budget Tripods for Beginners: Height and Stability
By Nia Okafor • 4th Apr
Choosing a beginner tripod shouldn't mean choosing between portability and reliability. A best budget tripod doesn't have to be a source of frustration when the wind picks up or the ground beneath you tilts. I've watched too many new photographers abandon their gear at home (or worse, wrestle with unstable legs at golden hour) because they grabbed something cheap without thinking through height, working comfort, and real-world stiffness.
The gap between marketing specs and field performance is where most beginners stumble. A tripod advertised at "72 inches" might not get your eye to the viewfinder without cranking a wobbly center column. Load ratings don't tell you how a tripod behaves in wind or how fast you'll fatigue working from an awkward stance. This guide cuts through that noise. I'll walk you through the tripods that actually deliver, and show you how to match one to your height, camera weight, and the terrain you shoot.
Understanding What "Budget" Really Means for Beginners
Budget tripods fall into a realistic range: $30 to $300. Within that span, you can find solid, travel-worthy support or compact tabletop solutions. What matters isn't the price tag alone (it's what you're trading off).
A $50 aluminum tripod might weigh less than a premium carbon model, yet carry your gear reliably if you're shooting landscapes or architecture on flat ground. Move to rocky foothills or windy coastal work, and suddenly that same tripod becomes a liability: the lighter build translates to less damping, more vibration from wind gusts, and faster fatigue in your hands and wrists when adjusting on slopes.
The key insight: repeatable setup habits beat gear improvisation when conditions turn difficult. Pick a tripod that lets you build a three-step ritual (legs first, then head) and stick with it. Muscle memory under pressure matters more than owning the "perfect" tool. For a step-by-step starter walkthrough, see our beginner tripod setup guide.
Core Pain Points Budget-Conscious Beginners Face
Before we compare models, let's name the real obstacles:
- Height confusion: Advertised max heights ignore working comfort. A 72-inch tripod might force you to raise the center column to see through the viewfinder, which kills stiffness immediately.
- Back and neck strain: Tripods too short for your frame, or with leg angles that force awkward stances on slopes, wear you down fast and increase the risk of setup errors.
- Stability in wind: Lighter tripods excel in the pack but struggle when gusts hit. Center columns act like tuning forks in breeze; you lose sharpness in long exposures.
- Terrain disconnect: Uneven ground, soft sand, or scree scatter your legs. Spiked feet and leg splay options matter more than specs suggest, and budget models often skip them.
- Setup friction: Twist locks that stick in cold weather, clamps that are hard to manipulate with gloves, and vague leg-lock positions waste time and invite mistakes.
These aren't gear luxuries; they're precision tools that either support your work or undermine it.
Budget Tripods Compared: Compact, Travel, and Full-Height Categories
Compact Tabletop Models: Ultra-Portable, Specific Use
If you're shooting food, product, macro, or hiking to a summit for a self-portrait, a compact tripod buys you portability without weight.
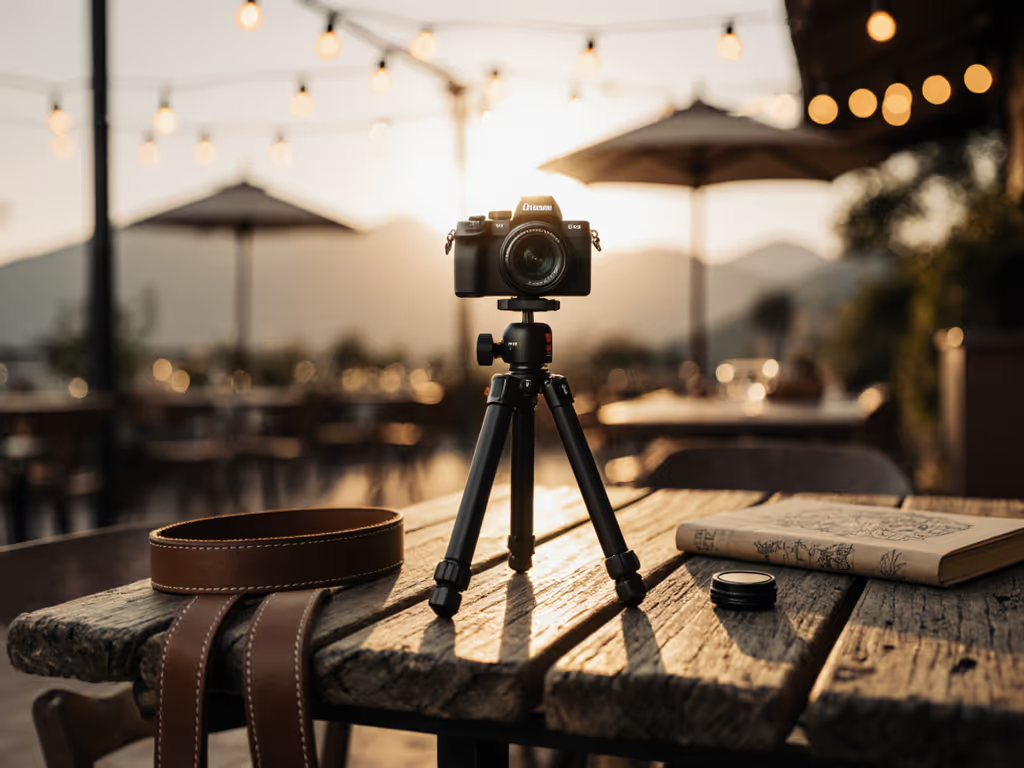
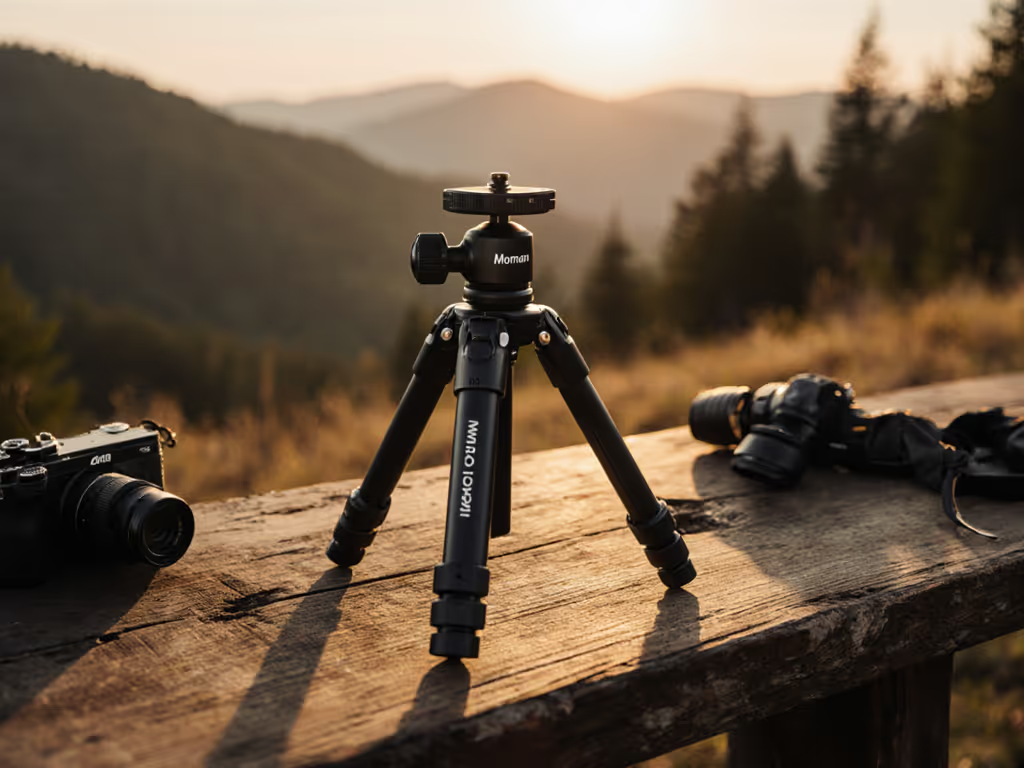
The Moman TR01 ($35.99) is a palm-sized aluminum model with quick snap leg locks that offer two preset heights (roughly 11 cm for ultra-low work, 3.5 cm for even closer macro)[1]. It supports up to 176 lbs despite its form, making it viable for small mirrorless or DSLR setups. The trade-off: no built-in head, and legs stay at fixed angles, so you're limited to flat surfaces. Ideal for studio-style work or controlled locations; not a field workhorse for uneven terrain.
For smartphone travel vlogging or lightweight selfies, the UBeesize Phone Tripod at $16 USD is difficult to beat[6]. It's flexible (wraps around poles and branches), captures both vertical and horizontal framing, and costs less than a coffee. Expectations matter here: this is a pocket accessory, not a camera tripod. But if you're hiking and want hands-free captures or video, it fills the gap without bulk.
Travel Tripods: Lightweight, Packable, Real Utility
Travel models are the sweet spot for most beginners: light enough to carry on backpacking trips or fit airline carry-on, yet tall enough for standard eye-level shooting on level ground.
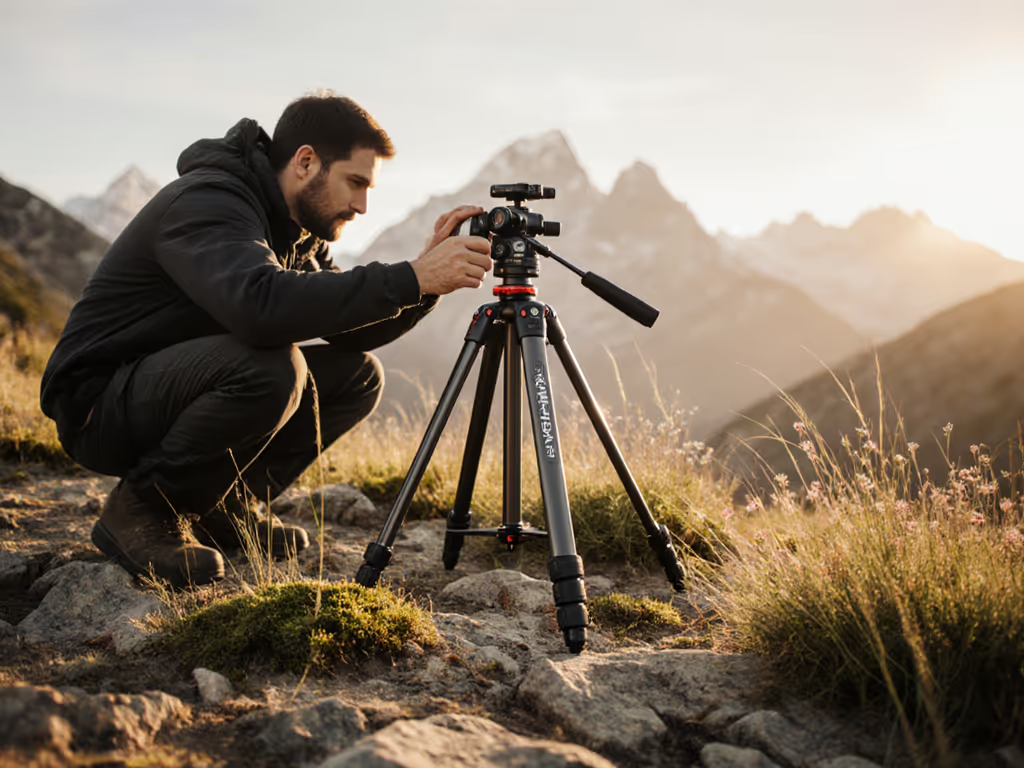
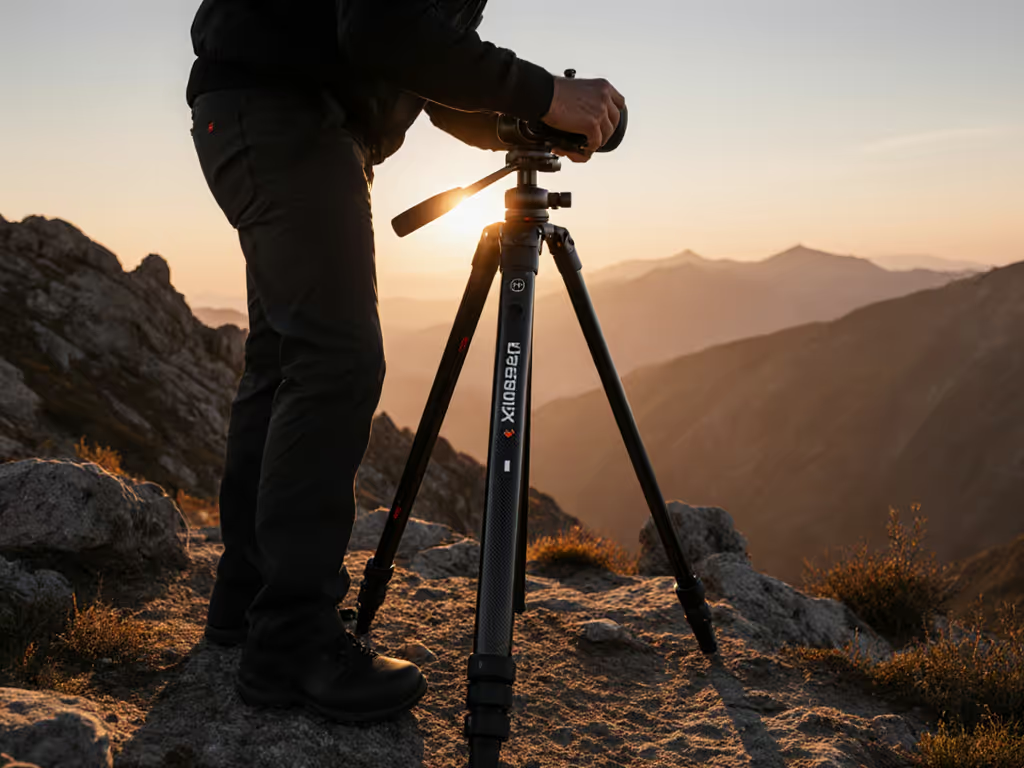
The Moman CA70 carbon fiber tripod weighs just 1.6 kg (3.5 lbs) and collapses to 47 cm, extending to 174 cm[1]. It ships with a rotating damping ball head and dual bubble levels for composition checks. The standout feature: triangular fork structure and spiked feet for uneven surfaces. One leg detaches to function as a monopod. The reversible center column unlocks low-angle and macro work. For beginners navigating rock, scree, or soft ground, the spiked feet and leg geometry are worth far more than a few hundred grams of carbon.
The SIRUI Lightweight Carbon Fiber Traveler 5C arrives at 1.9 pounds and has earned consistent praise across test sites[2][4]. Carbon fiber is pricier than aluminum and doesn't save enormous weight in this class, but SIRUI's materials and engineering make the trade worthwhile if budget allows. It's the lighter option in a three-way travel tripod cluster; if raw portability is your metric, SIRUI edges ahead.
The K&F Concept 64" Camera Tripod occupies the aggressive budget tier[2][4]. K&F has built a reputation for entry-level gear that lasts beyond "starter" duty (studio-held K&F tripods have survived years of use[4]). It won't have the refinement of a $500+ model, but for flat-ground landscape or stationary video, it punches above its price. Expect slower leg locks and less damping than premium brands; if you're shooting at fast shutter speeds or in still air, the performance gap narrows.
Full-Height Aluminum Options: Stability on a Shoestring
If you're confined to a budget under $50 and need a full-sized tripod, aluminum models dominate. For vetted options in this price range, check our under-$50 tripod picks. Recent testing confirms three that balance materials, load capacity, and field reliability:
- Amazon Basics 60 Inch Tripod: Widely available, affordable, and popular[5]. Straightforward leg locks and ball head. Not engineered for uneven terrain but serviceable on level ground.
- Albott 70 Inch Lightweight Tripod: Weighs little, rates highly for the price, and covers standard shooting heights on predictable ground[5].
- Dolica 62 Inch: Also in the sub-$50 cluster, with similar trade-offs - usable, not adventurous[5].
Why group these together? All three forego spiked feet, advanced leg geometry, or stiffness features that cost extra. They're honest products: reliable on flat surfaces, lightweight enough for car camping or backyard work, but not engineered for wind discipline or terrain variability. For studio, indoor, or manicured-location work, they're credible options. For field unpredictability, they're compromises.
The Height Question: Working Comfort Matters
Here's where beginner confusion peaks. A tripod rated "72 inches" maximum tells you almost nothing about whether you can use it without raising the center column.
Measure your eye height when standing upright with your arms at rest (roughly wrist to eye). If you're average height (5'8"-5'10"), aiming for 65-68 inches of working height is realistic. That leaves room for terrain tilt, boots in soft ground, and minor adjustments without deploying the center column (which is when stiffness drops and vibration sneaks in).
Taller photographers (over 6') often find full-height tripods designed for "average" bodies force them into center-column dependency, leading to back strain and sharp-image frustration. Shorter users (under 5'4") sometimes overcomplicate setup trying to extend legs all the way down. The solution: pick a tripod whose maximum height, minus a reasonable safety margin, lands at or above your working eye level. If the math is close, lean toward models with adjustable leg angles (wide splay for tall users, narrow for short users) or reversible center columns[1].
Slow is smooth; smooth is sharp when the wind rises.
Take time during setup to set legs to their true height, level the base once, then free the pan. That habit, and the tripod's ability to support it, separates sharp keepers from fuzzy regrets.
Leg Locks: Twist vs. Lever, and Glove-Friendly Design
Two lock styles dominate: twist rings (rotate to tighten) and lever clamps (flip to lock).
Twist locks are forgiving (hard to mis-set) but slow in cold weather and clumsy with heavy gloves. Lever clamps are fast but can be over-tightened or accidentally left partial. Some models, like the Manfrotto Befree Advanced AS, come in both styles at similar prices[3]. Field testing suggests: if you shoot in mild conditions and value simplicity, twist locks are less error-prone. If you're in cold or changing weather and need speed, lever clamps (when well-designed) win.
Regardless of style, prioritize glove-friendly design. A tripod that's hard to adjust with thick gloves, or a clamp that requires two hands to operate, becomes a drag at golden hour or in emergency repositioning. Worst case: you skip a setup step under pressure, and a gust topples your frame.
Stability and Stiffness: What Budget Doesn't Sacrifice
A budget tripod won't match a $800 carbon tripod's damping in high wind. But within the sub-$300 bracket, leg material and geometry matter far more than price.
Aluminum tripods are heavier but stiff; carbon fiber is lighter but softer (higher compliance). For beginners, aluminum tripods under $100 often outperform cheaper carbon models because aluminum's weight translates into built-in damping. The trade-off: you carry more ounces[3].
Load capacity specs are misleading. A tripod rated for 15 kg isn't useless if your camera is 2 kg; the 15 kg number assumes a worst-case load at max height with the center column extended. Real stiffness comes from leg design, spreader geometry, and how the legs collapse. Models with triangular leg geometry and spiked feet (like the Moman CA70) stay planted on uneven terrain, directly improving your stability in field conditions[1].
Actionable Steps: Choosing Your First (or Next) Budget Tripod
Step 1: Measure and Decide Your Use Case Stand upright, arms relaxed. Measure from wrist to eye (that's your working height target). Ask yourself: will you shoot mostly on flat ground, or in variable terrain? Indoors, or outdoors and exposed? Do you hike to locations, or shoot from a car or bag?
Step 2: Match to the Right Category
- Tabletop and small compact tripods (like the TR01) for macro, product, studio, and fixed angles.
- Travel tripods (SIRUI, CA70, K&F 64) if you hike, backpack, or need to pack light and still hit eye level.
- Full-size aluminum models (Amazon Basics, Albott) if you stay on predictable ground and value load capacity over portability.
Step 3: Verify Leg Lock Style and Adjustment Range Test the lock mechanism in your mind: can you operate it with gloves? Does the tripod offer enough leg splay for slopes? Does the center column feel like a backup, not the main tool for height?
Step 4: Plan for Expansion Budget tripods often come without a head or with a basic head. Accept that; heads are wear items and upgradeable. If the tripod legs fit your terrain and height, that's the core. Add a better head (or ball head) later if needed. Don't overspend on legs to save $30 on a head. Prioritize the foundation.
Step 5: Commit to a Setup Ritual Once you own a tripod, practice the same three-step setup every time: position legs first to true working height, level the base once on uneven ground, then pan freely. This habit (not expensive gear) is what stops flailing in wind and sharpens your results. A repeatable routine under pressure beats improvisation every time.
Final Word
A budget tripod is not a compromise if it matches your body, terrain, and use case. The real cost of a poor choice isn't the dollars: it's the sharp images you don't get, the field sessions cut short by discomfort, and the trips where the gear sits at home because it's too much friction to deploy. Know your working height, understand the terrain you'll shoot, and pick a tripod whose setup routine you can repeat in wind and on slopes. Slow is smooth; smooth is sharp when the wind rises.
Related Articles