Budget Tripod Feet for Sand, Snow & Rough Terrain
By Nia Okafor • 26th Oct
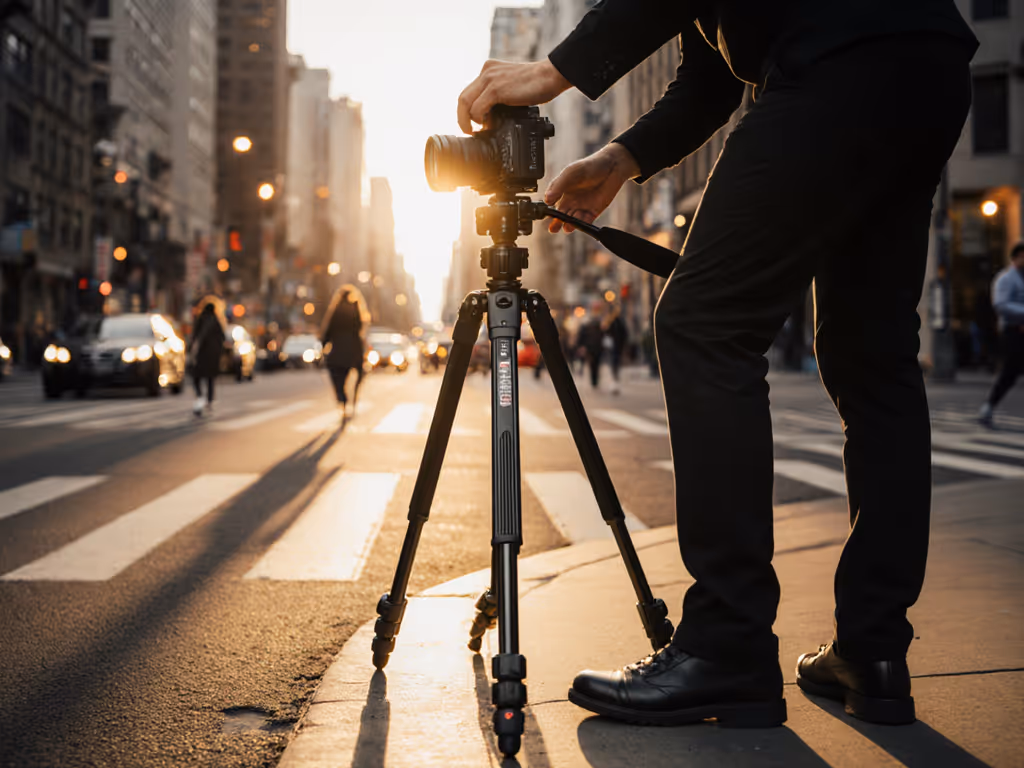
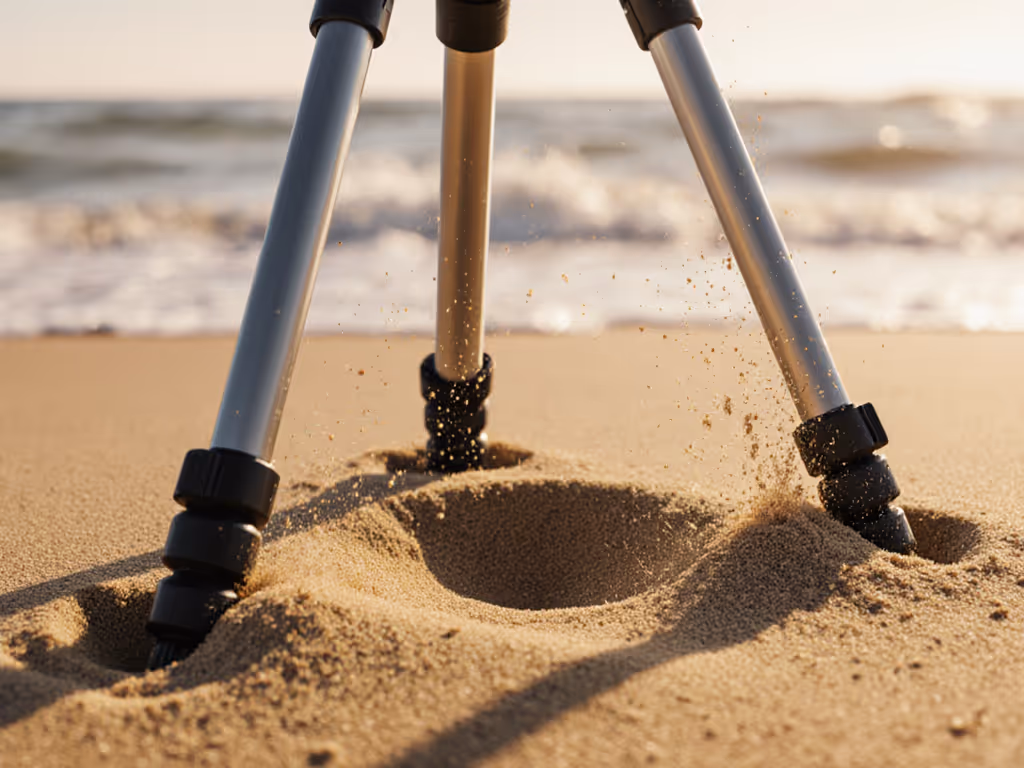
When your tripod legs sink into beach sand like a slow-motion espresso or wrestle with icy slopes, expensive gear alone won't rescue your shot. The truth? A budget tripod can outperform pricier models if you master its terrain interaction (especially those critical contact points where rubber meets reality). After two decades teaching photographers to work faster on unstable ground, I've seen affordable solutions transform shaky setups into rock-solid anchors. Let's fix the foundation, not the price tag.
Slow is smooth; smooth is sharp when the wind rises.
Why Standard Tripod Feet Fail on Soft Ground
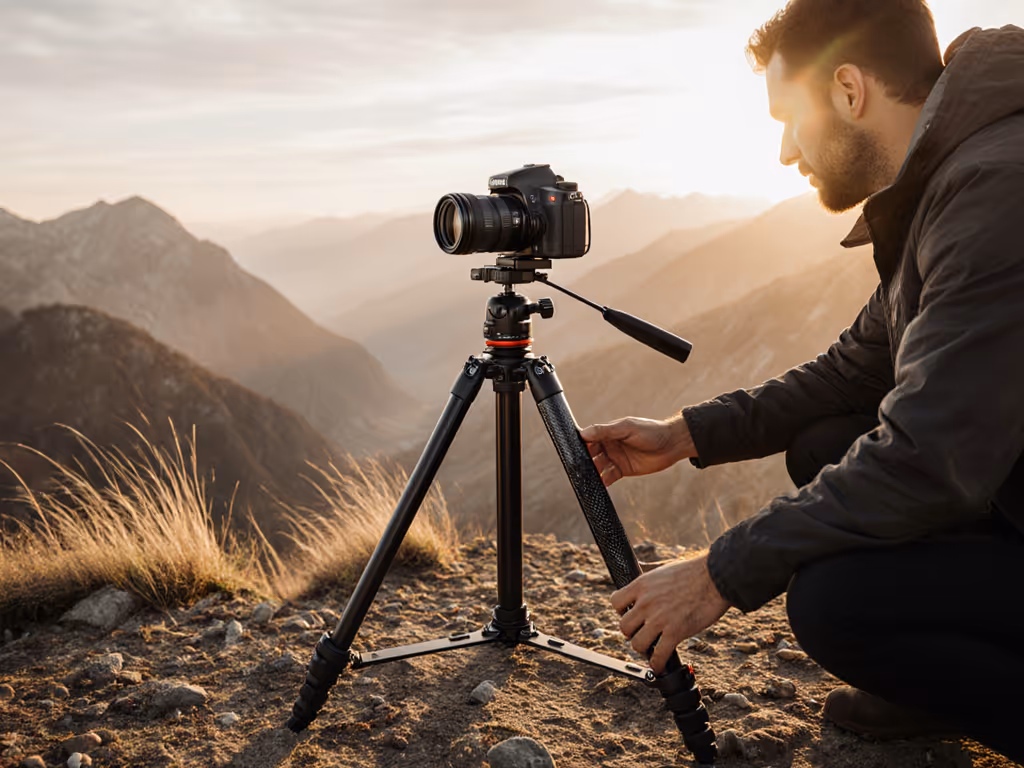
Most tripods ship with small rubber feet (fine for studio floors, but disastrous on sand, snow, or gravel). That tiny contact patch concentrates your camera's weight, creating instant sinkholes. Whether you're shooting surf at dawn or alpine panoramas, unstable footing introduces micro-vibrations that ruin long exposures and telephoto shots. Even "sturdy" aluminum tripods become tuning forks in crosswinds when sinking unevenly.
Hazard Note: ⚠️ Never rely on center columns for stability on soft terrain. They amplify wobble and turn minor ground shifts into major framing errors. For setup techniques that avoid the center column, see our time-lapse stability guide. Legs first, then head (always).
Field Checklist: Diagnosing Footing Failures
- Sand/Gravel: Legs sink >1 inch per minute? Feet lack surface area.
- Snow/Ice: Slipping or twisting mid-shot? Rubber soles can't grip.
- Rock/Scree: Legs splay unevenly? Fixed feet won't adapt to fractures.
FAQ: Budget Terrain Hacks That Actually Work
Q: Can I modify my existing tripod feet for sand without buying new gear?
A: Yes, and it costs less than your morning coffee. Sand requires wide, flat "shoes" to distribute weight. Here's my students' go-to field hack:
- Cut 3-inch PVC pipes (1.5" diameter) into 2" rings ($3 at hardware stores)
- Split each ring vertically with a utility knife
- Slide onto your tripod's lower leg sections, securing with rubber bands
These improvised sand shoes triple your surface area. During a Costa Rica workshop, a photographer using this hack held a 500mm rig steady in 20 mph coastal winds while others battled sinking legs. Pro tip: For thick sand, add pool noodle sleeves over the PVC for flotation (zero cost if you raid your garage).
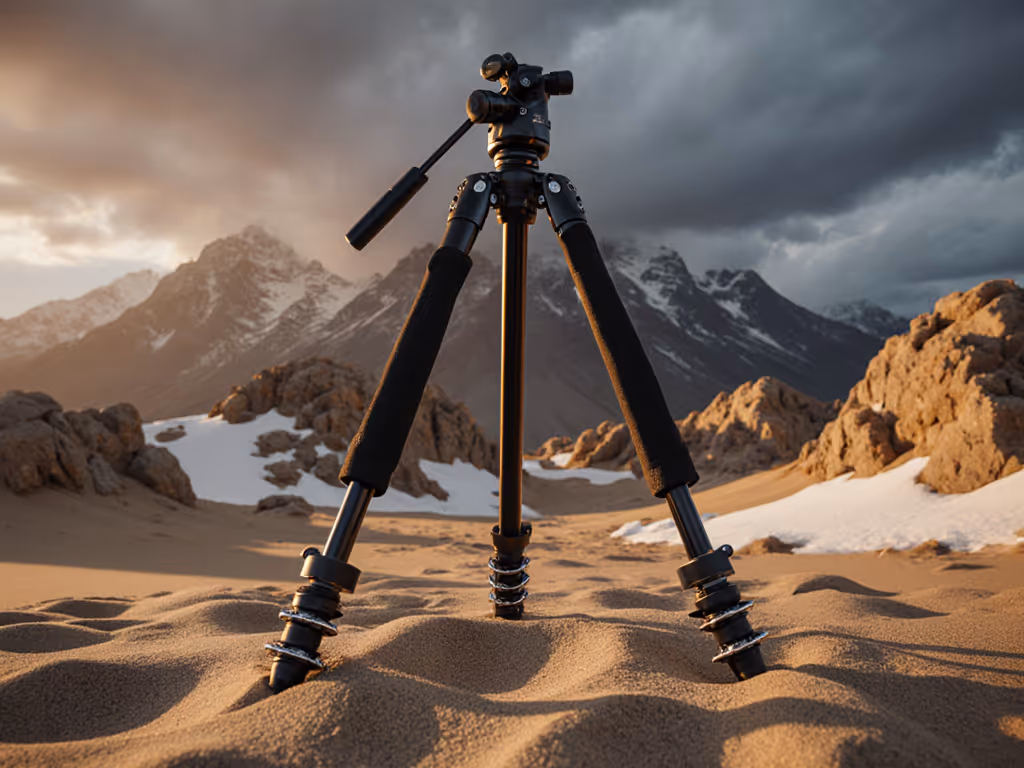
Q: What's the cheapest way to prevent slipping on ice or packed snow?
A: Retractable spikes (no specialized tripod needed). Fixed rubber feet glide on ice; spikes dig into frozen surfaces like crampons. For other low-cost add-ons (snow baskets, foot pads, spare caps), see our tripod accessories guide. But you don't need to buy a $300 weatherized model. Instead:
- Remove standard rubber feet (most twist or screw off)
- Insert $5 screw-in spikes (available for 1/4" threads at marine stores)
- Cover with rubber caps when back on pavement
Field-tested example: Gitzo's GS5030VSF spikes (a field favorite) offer retractable stability for Series 2+ tripods, but identical DIY spikes work for $15. Key nuance: Test spike depth before shooting (too deep and you'll crack thin ice; too shallow and it's useless). I measure this with my thumb: "Knuckle-deep penetration = stable."
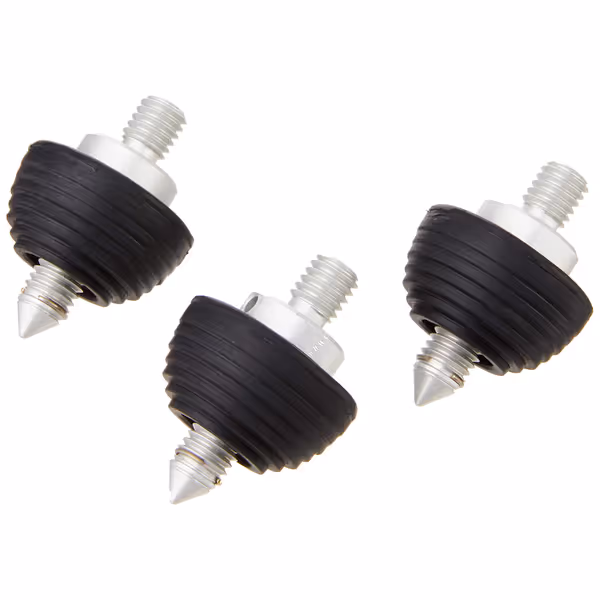
Gitzo GS5030VSF Video Rubber and Spike Feet
Enhance tripod stability across diverse terrains with interchangeable spike and rubber feet.
$42.61
CompatibilityGitzo Tripods Series 2 and up
CompatibilityGitzo Tripods Series 2 and up
Pros
Perfect fit and easy installation for Gitzo/RRS tripods.
Retractable spikes excel on unstable surfaces like rocks.
Improved stability on varied terrain for sharper images.
Cons
Rubber feet performance receives mixed reviews.
Customers find the tripod feet to be a perfect fit for both Gitzo and RRS models, with good quality and ease of installation. They appreciate the spikes, with one customer noting they work well on rocks. The rubber feet receive mixed reviews.
Customers find the tripod feet to be a perfect fit for both Gitzo and RRS models, with good quality and ease of installation. They appreciate the spikes, with one customer noting they work well on rocks. The rubber feet receive mixed reviews.
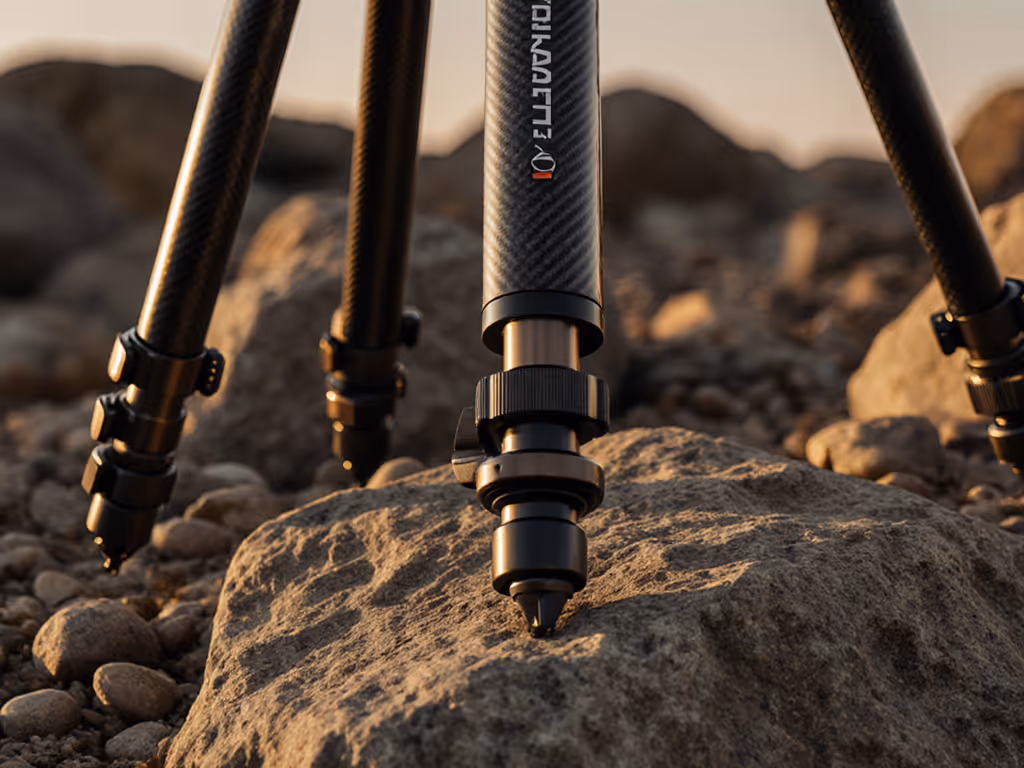
Q: My tripod wobbles on rocky terrain. Are there budget leveling tricks?
A: Stop fighting the ground, use it. Uneven rock requires adjustable leg angles, not taller legs. Standard tripods force awkward stances when one leg sinks into crevices. Instead:
- Lock legs at terrain angle: Spread widest on sand/snow; narrow on rock (prevents toppling)
- Place flat stones under feet (size matching your feet's contact patch)
- Tuck gravel under rubber pads to fill gaps (works better than expensive leveling bases)
Hazard Note: ⚠️ Never point tripod apex downhill on slopes. Rotate your entire setup so the shortest leg faces the incline. This uses gravity for stability, not against it.
Q: How do I stop wind from shaking my tripod on open beaches?
A: Anchor strategically, not obsessively. Wind doesn't just push, it creates suction under feet. For a deeper dive on weighting and sail management, check our counterweighting guide for real wind. The fix isn't heavier gear, but smarter mass distribution:
- Hang your camera bag from the center hook below the feet (not mid-column)
- Bury the feet 3" deep in damp sand (drier top layers = loose grains)
- Aim legs into wind like a sailboat, broadside invites vibration
In my Outer Banks workshop, students using this sequence shot tack-sharp 30-second exposures at f/16 while $2,000 carbon tripods bounced. The difference? Repeatable habits, not gear.
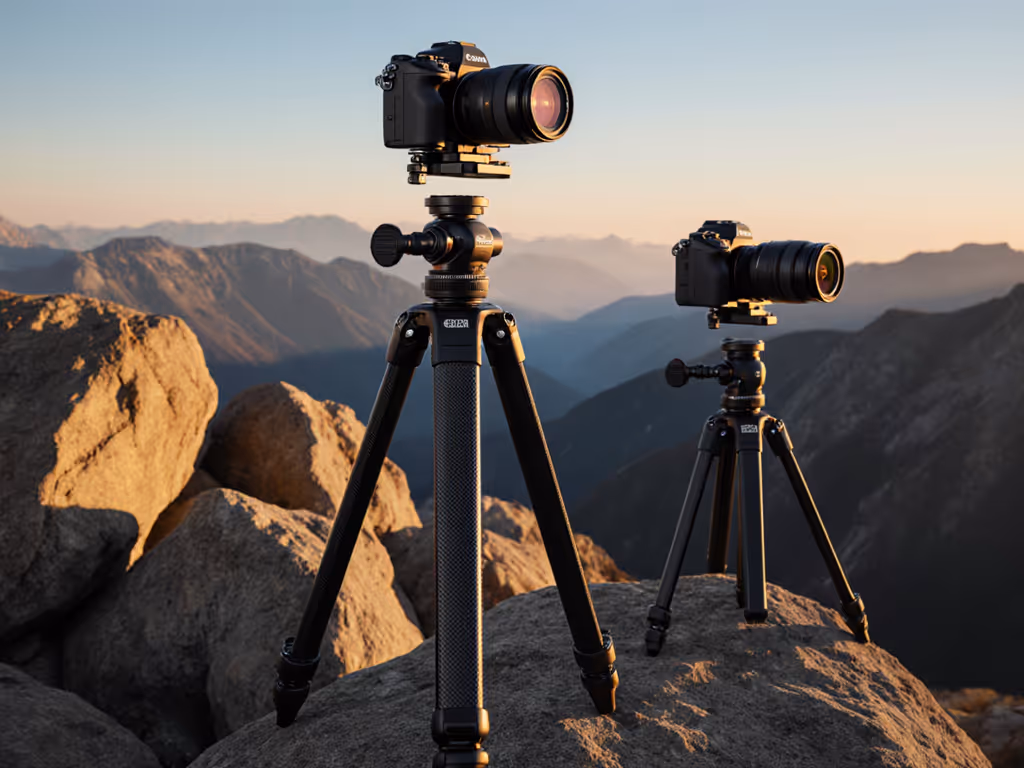
Beyond Feet: The Budget Stability Ecosystem
Feet are just the start. True terrain-proofing combines three elements:
- Foot Modularity: Interchangeable spikes/snow shoes (e.g., Vanguard's retractable feet system)
- Leg Lock Discipline: Tighten all sections before extending (prevents sudden collapse)
- Ground Check Protocol: "Kneel, tap, test" (kneel to eye level, tap feet to check grip, test stability with gentle pressure)
Plain Example: That dune workshop where students wrestled twist locks? We paused, reset to three steps: legs to true height, level base once, then free the pan. No gear changed, just habits. Flailing stopped. Frames sharpened. Repeatable habits beat improvisation when conditions turn hostile.
Budget Gear Checklist: Terrain-Ready Signals
| Feature | Budget Sign | Avoid If |
|---|---|---|
| Feet | Removable rubber caps | Glued-on pads |
| Legs | Adjustable splay angles | Fixed 25° spread |
| Locks | Twist mechanisms (sand-resistant) | Spring latches (silt traps) |
Your Action Plan: Terrain-Proof in 20 Minutes
Don't wait for your next shoot to fail. Before sunset today:
- Test your feet in backyard soil/sand, measure sink depth per minute
- Build a $10 kit: PVC rings, rubber bands, 3 screw-in spikes
- Practice the "kneel, tap, test" sequence until it's muscle memory
I've watched photographers turn $150 tripods into terrain-devouring machines by prioritizing ground interaction over glossy specs. If you're upgrading within a modest budget, see our stable budget tripods tested for true height and rigidity. Your camera's sharpness isn't decided by price tags, it's born where feet meet earth.
Final Thought: That grainy sunset you almost missed? It's waiting for you to master the foundation. Grab that hardware-store hack, head to the nearest dune or snowbank, and make the ground work for you. Your sharpest images demand nothing less.
Legs first, then head (every time).
Related Articles