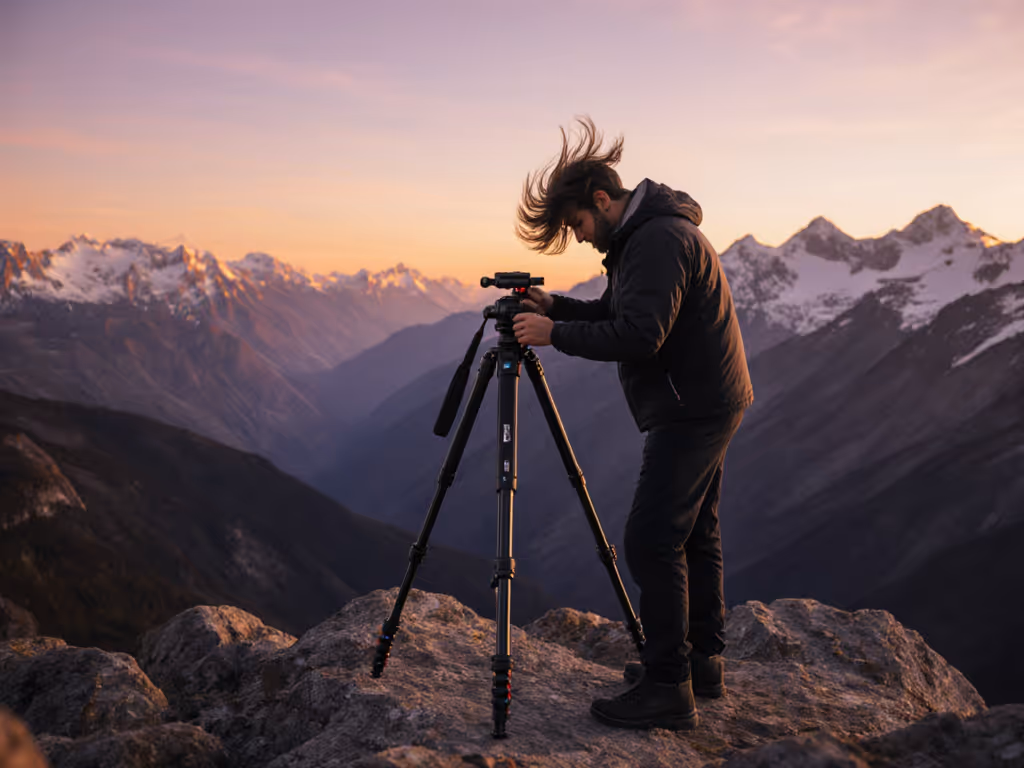
When choosing a travel video tripod or building content creator tripods, the biggest mistake I see isn't picking the wrong gear, it's ignoring your body's true working height. Advertised max heights lie. They include wobbly center columns or force you to crane your neck on slopes. What you need is true ergonomic height: the stable working range where your eye aligns with the viewfinder without straining, even when the ground tilts or wind hits. Repeatable habits beat improvisation when conditions turn hostile, especially when your battery's low and the light's fading. Let's build terrain-aware routines so you capture sharp footage, not back pain.
I've taught workshops on wind-scoured dunes where students wrestled with tripods sinking into soft sand or shaking at 200mm. One group kept resetting their ball heads, fighting tilt. Then we paused. Reset to three steps: legs to true height, level base once, then free the pan. The flailing stopped. Frames sharpened. Slow is smooth; smooth is sharp when the wind rises. Your tripod system isn't just legs and a head, it's the habit of deploying it reliably in messy reality.
Why Your Body Height Determines Your Tripod's "True Height"
Tripod specs list "max height," but that's useless if it requires extending the center column. That column acts like a tuning fork in wind, amplifying shake. Worse, on uneven terrain, you'll lose 4-6 inches of usable height just leveling the base. Your true working height is the point where your eye meets the viewfinder with legs fully splayed on level ground, no center column raised, and room for boots or rocks underfoot. For deeper guidance on selecting and measuring the right working height, see Your Ideal Tripod Height.
Level once, pan free. That's the rhythm that turns shaky setups into rock-solid anchors.
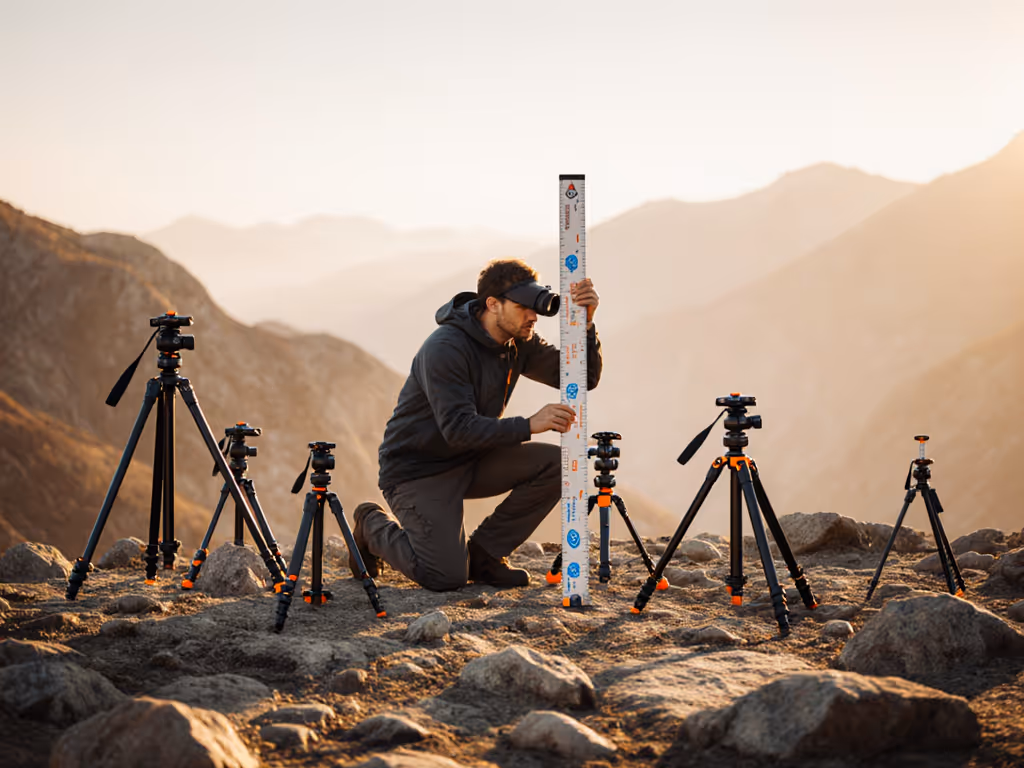
Field Checklist: Measure Your Personal True Height
Stand naturally on flat ground wearing hiking boots (or your typical footwear).
Hold a ruler vertically from the ground to your eye level. Note this measurement (e.g., 64").
Subtract 4 inches: For terrain variance (rocks, boots, slight slopes). This is your target leg height.
Verify in wind: If your measured height is 60", a "60" tripod" likely forces center-column use. Aim for advertised leg height (no column) at or above your subtracted number.
Pro Tip: If you're under 5'4" or over 6'2", you're especially vulnerable. Standard tripods assume a 5'10" user. I saw a 6'5" wildlife shooter constantly crouch over a "67" tripod," straining his neck until he switched to low-splay legs. No wonder he missed golden-hour shots!
Step 1: Prioritize Wind Resilience Over Weight Savings
"Lightweight" tripods often mean traded stability. A 4lb carbon model might hold specs on paper, but in coastal gusts or alpine ridges, vibration blurs long exposures. Don't trust load ratings, they rarely factor in wind or telephoto leverage. Instead, focus on wind discipline:
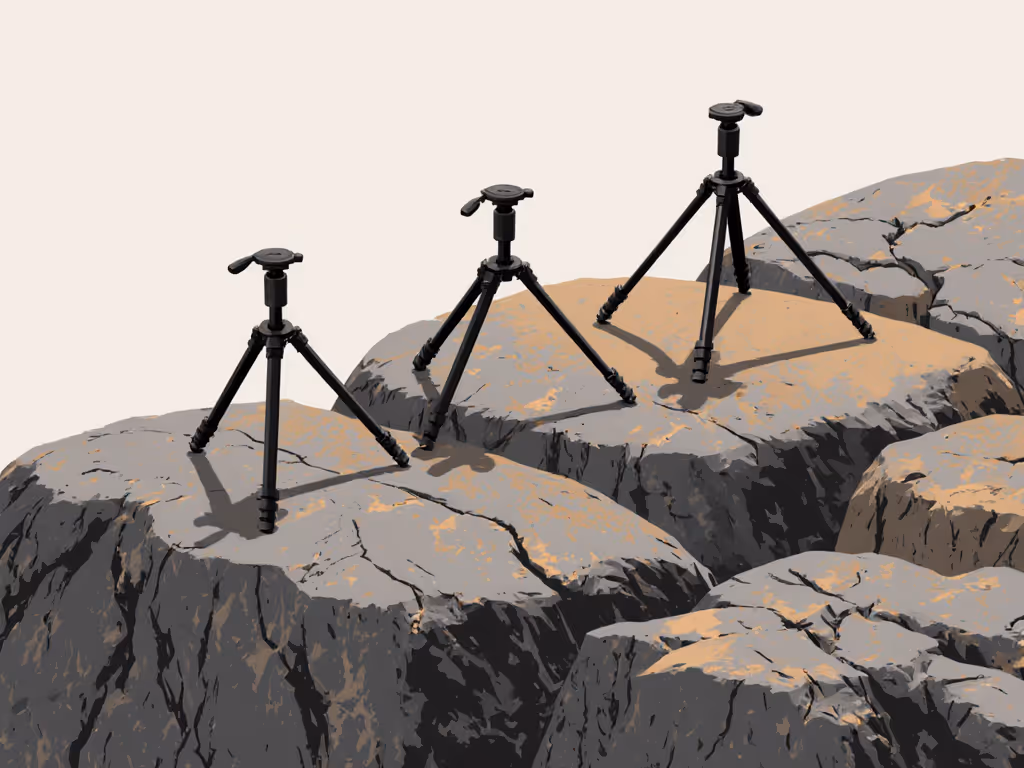
Test splay range: Wider leg angles (80°+) resist tipping better than narrow designs. On soft ground, angling legs outward prevents sinking.
Avoid center columns: They're instability multipliers. If your true height requires it, choose a tripod with reversible center column or low-mode legs for macro work.
Hook weight strategically: Hang your camera bag from the apex only after legs are locked. Swinging weight mid-deploy triggers sway.
Hazard Note: Never rely on a center column in wind >15mph. I've watched tripods collapse when gusts hit extended columns sideways. Stable legs first, then pan free.
Step 2: Build Glove-Friendly Deployment Habits
When wind chills your hands or sand grits your joints, fiddly twist locks or tiny levers become dangerous. Speed matters at golden hour. Favor:
Flip locks with wide tabs (min. 1.5" wide) you can grip with gloves
Ball heads with oversized controls - at least 1.25" diameter knobs
Leg spikes with tool-free covers so you don't drop tiny rubber feet
Plain example: The Sachtler flowtech uses single-lever clamps near the top (intuitive even with frozen fingers). But if that's outside your budget, iFootage's Gazelle TC9 has flip locks with aggressive knurling. I tested it in Patagonian sleet; even with liner gloves, I deployed it in 12 seconds flat. Compare that to twist-lock tripods where you'll strip fingers trying to tighten sections mid-gust.
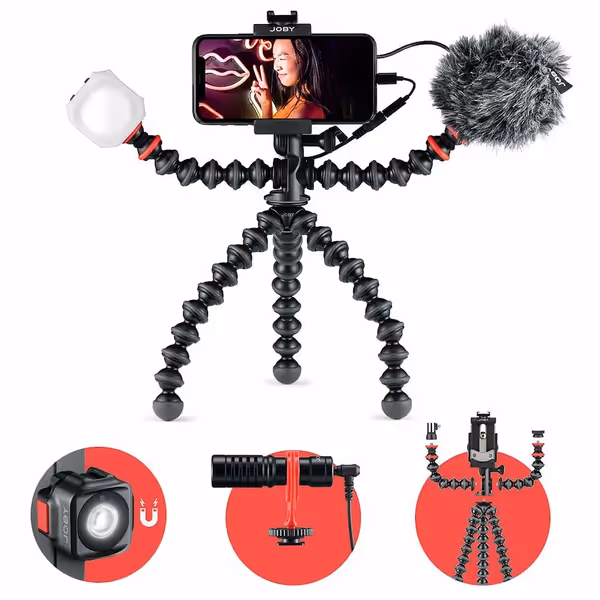
Joby GorillaPod Mobile Vlogging Kit
Portable vlogging kit for mobile content creators with flexible setup options.
Grip, wrap, or stand for ultimate flexibility (landscape/portrait)
Crisp audio with Wavo Mobile Mic and shock isolation
Dimmable, color-accurate (CRI 95+/-) Beamo Mini LED light
Cons
Reports of light not turning on properly
Customers find the camera support's build quality positive, describing it as solid equipment. However, the functionality receives mixed feedback, with several customers reporting issues with the light not turning on properly. Moreover, the stability is a concern, with multiple customers noting that the rig becomes loose during use. Additionally, the brightness receives mixed reviews, with some customers finding the light very bright while others consider it awful.
Customers find the camera support's build quality positive, describing it as solid equipment. However, the functionality receives mixed feedback, with several customers reporting issues with the light not turning on properly. Moreover, the stability is a concern, with multiple customers noting that the rig becomes loose during use. Additionally, the brightness receives mixed reviews, with some customers finding the light very bright while others consider it awful.
For hybrid mobile vlogging setups, the JOBY GorillaPod Mobile Vlogging Kit shines as a terrain-agnostic supplement. Its flexible legs grip trees, fence posts, or rocky outcrops where standard tripods fail, perfect for smartphone vlog setup adjustments when you're straining for eye-level shots. The Wavo Mobile Mic cuts wind noise, while its ball head operates smoothly with thick gloves. Use it with your main tripod: mount it low for ground-level perspectives without crouching. Yes, it's not for heavy rigs, but for sub-2lb mirrorless or phone kits, it solves the "too short" panic when your primary tripod hits minimum height.
Step 3: Match Your Head to Body Mechanics
A ball head tripod isn't one-size-fits-all. Video demands smoother panning than stills. Bad ergonomics here cause neck strain or shaky pans. Check:
Pan handle position: Should sit just below your eye when legs are at true height. If you're craning down, add a low-profile head.
Friction control: Knobs must adjust without repositioning your grip. Test: Can you tighten dampers while looking through the viewfinder?
Arca-Swiss compatibility: Avoids fumbling with proprietary plates mid-shoot. I've seen $1000 setups fail because a plate wouldn't seat smoothly in wind.
Critical Oversight: Most reviewers ignore head height in total calculations. A tall ball head (like some with integrated levels) might push you past true height. Measure from top of legs to viewfinder, not just leg extension.
The Terrain-Aware Tripod Selection Flowchart
Still overwhelmed? Run your needs through this field-tested filter:
Your true height (from Step 1) > 60"? → Prioritize low-splay legs (e.g., Peak Design Travel Tripod's 23° low mode). Avoid "travel" models with max leg height <55".
Shooting video in wind? → Skip twist locks. Choose flip locks or single-lever systems (Sachtler, iFootage). Verify lock tightness before leaving home.
Wearing gloves often? → Reject any knob <1" wide. Test with actual gloves in-store.
Under 5'4" or over 6'2"? → Ignore "max height" specs. Demand leg-height data (e.g., "58" legs").
Why This Beats Spec-Sheet Shopping
I once watched a shooter return a carbon tripod because "it vibrated at 400mm." The load rating said 20lbs, but his 5lb rig with 100-400mm lens leverages like 50lbs in wind. Specs don't measure stiffness per ounce. Field-tested habits do: locking legs wide, ditching the center column, and verifying true height. That's how you get keepers in conditions that melt marketing claims.
The DJI OM 4 stabilizer complements this too. For run-and-gun mobile vlogging where tripods are impractical, its 3-axis grip lets you shoot at true height without setup. But don't confuse it with a tripod solution, it's a supplement when you're between stable setups. Use its tripod mount for low-angle phone shots when your main rig's too tall.
Final Checklist: Your Wind-Proof Deployment Routine
Before leaving for location, drill this sequence until it's muscle memory:
Legs First: Extend to true height on level ground (no column!). Widen splay for wind/soft terrain.
Level Base Once: Lock leveling base before mounting the head. No mid-shoot tweaks.
Pan Free: Verify smooth panning with your rig loaded. If stiff, adjust head tension, never force it.
This isn't about gear. It's about building a repeatable rhythm. When gusts hit your dune workshop or a cliffside vlog, you won't freeze. You'll reset: legs to height, level once, pan free. And your footage? Crystal sharp.
Your Actionable Next Step: This week, measure your true height with your heaviest rig. Find one tripod matching it (no center column!). Deploy it 3x in your backyard, simulate wind by swinging a weight. Master the three-step sequence until it's automatic. When the light hits, you'll work faster, safer, and sharper. Because slow is smooth; smooth is sharp.
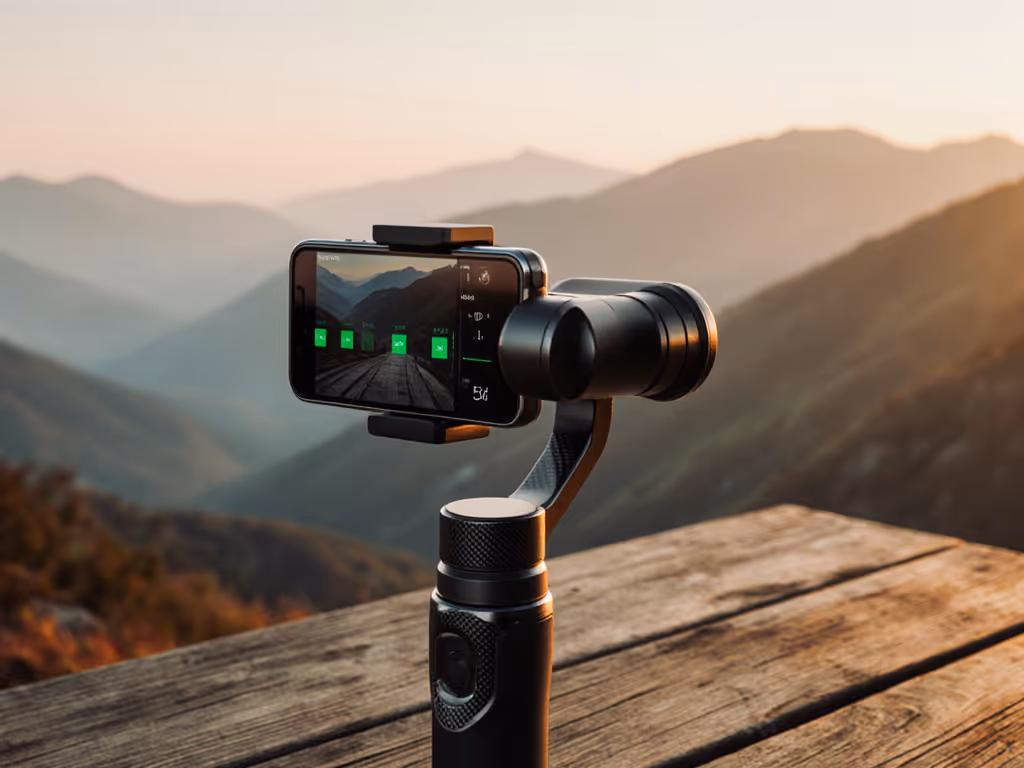
Field tests cut through the AI hype, revealing solid tracking but meaningful trade-offs in battery life, portability, and compatibility. For most creators, the base Smooth 5S paired with modular accessories delivers better stability per dollar, while daily solo vloggers may benefit from the AI model.
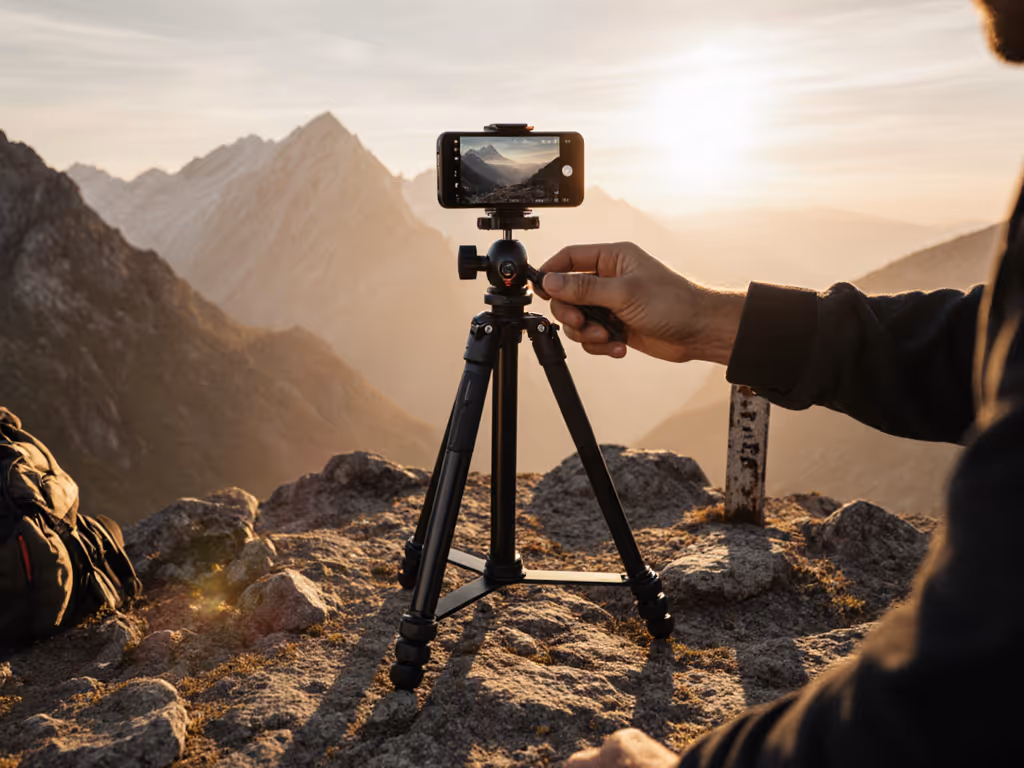
Dial in the correct compact tripod height for phone shooting with a straightforward measurement and a leg-first setup that avoids center-column wobble. Apply terrain- and wind-specific checklists to keep footage stable and reduce strain in real-world conditions.
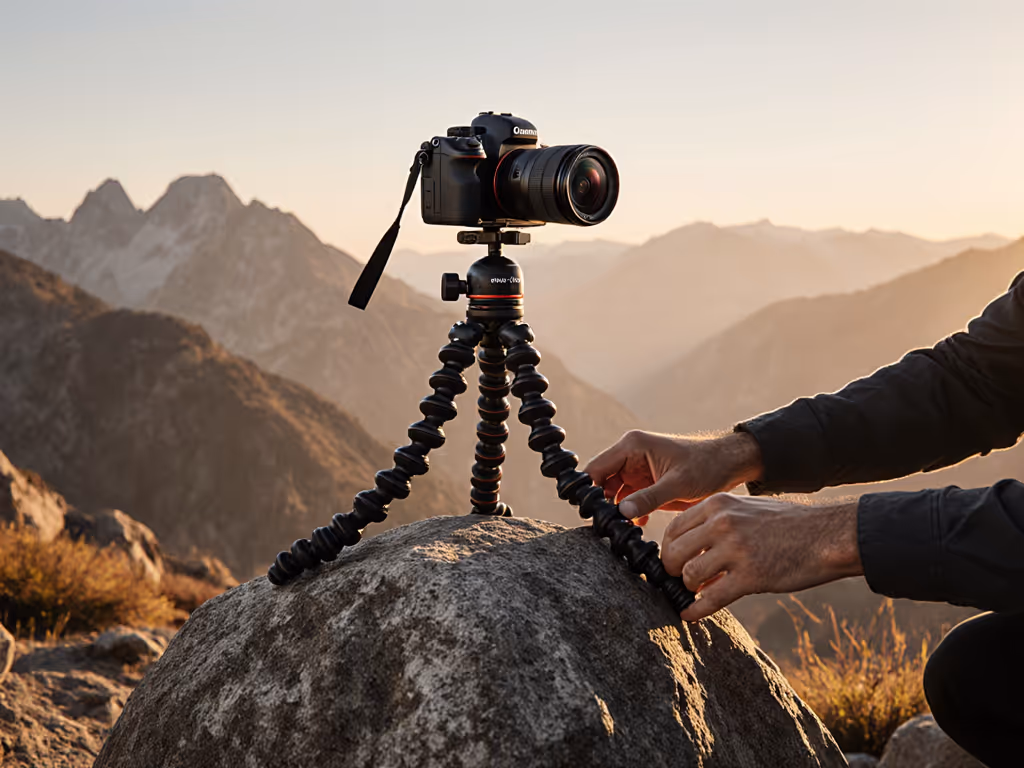
Quantified field tests reveal how to get sharp results with the GorillaPod 5K - when a rigid wrap truly supports 11 lb, where flat-ground use falters, and which modular add-ons deliver the most value.
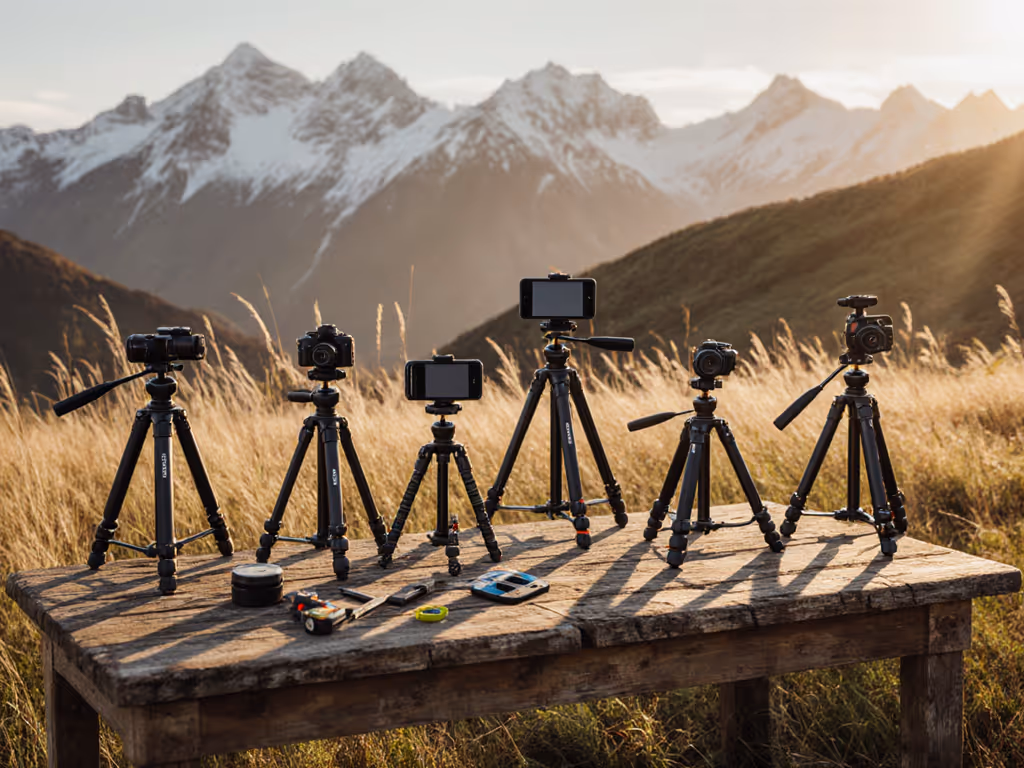
Use True Height and stability-per-ounce metrics - backed by deflection, vibration, and wind tests - to choose a modular, budget-savvy setup that matches your body and content while minimizing shake and weight.