Stable Film Photography: Tripod Setup Without Center Columns
By Mateo Álvarez • 4th Dec
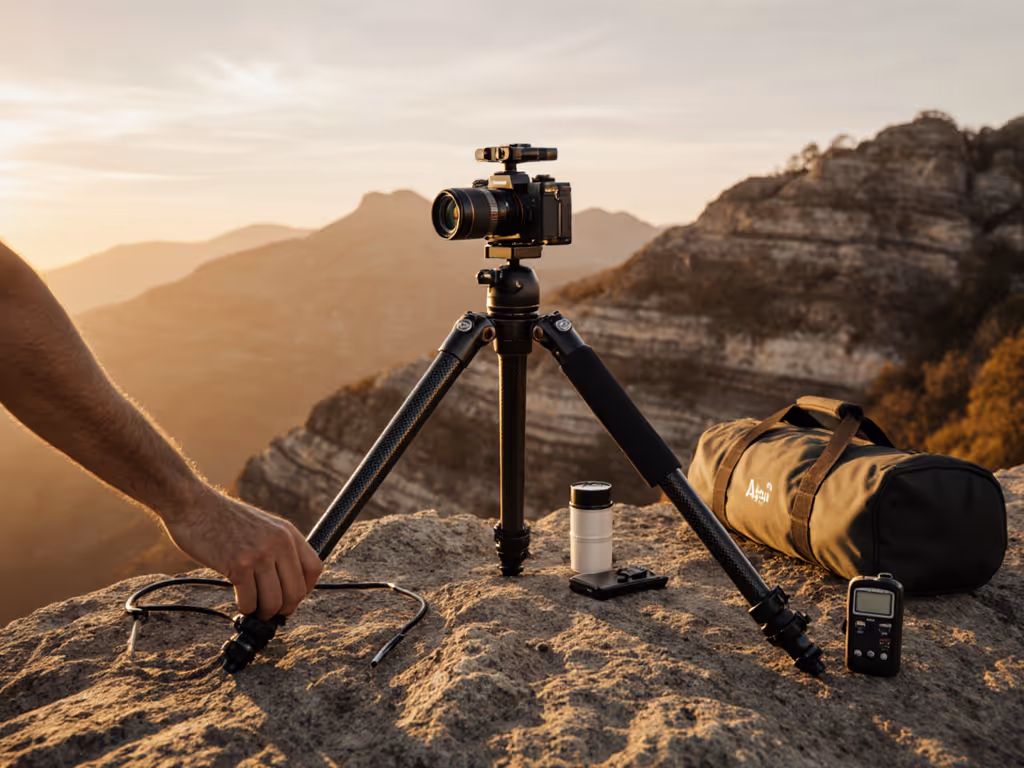
Your spine is a sensor; let true height guide you. When chasing medium format tripod stability or selecting the best camera tripod for videography, most photographers fixate on max load ratings and carbon fiber specs. But the real secret to tack-sharp film frames isn't exotic materials; it is eliminating the center column altogether. After decades of helping photographers measure true height, I've seen one pattern repeatedly: center columns create instability where it matters most for film (during long exposures and with heavy medium format backs). Today, let's fix that using your body as the ultimate calibration tool. If you're new to eye-level setup without a column, start with our beginner's guide.
Why Center Columns Fail Your Film Workflow
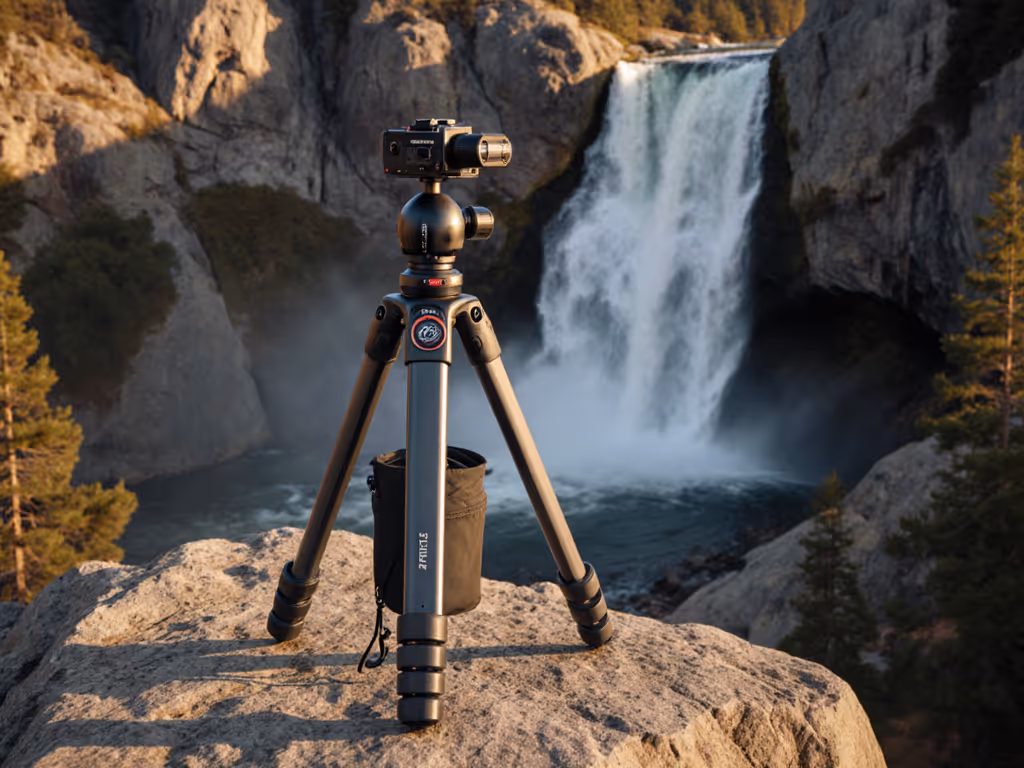
Center columns act like tuning forks on tripods. Every breeze, shutter vibration, or cable release tap transfers amplified motion directly to your film plane. This is catastrophic for long exposure tripod work when shutter speeds dip below 1/30 s. I once measured vibration decay times on a popular center-column setup: at 65" height, decay took 1.8 seconds. At the same height without a center column (using leg extension), decay happened in 0.3 seconds. That is six times faster stabilization, critical when your Hasselblad 503CW needs every micron of stability.
For medium format tripod stability, remember this: film's larger negative area magnifies even microscopic vibrations. A DSLR might hide slight wobble in a 24 MP file, but 6x6 film shows it at 100% crop. Your first body cue? If you're extending the center column more than 25% of your total working height, you're sacrificing sharpness.
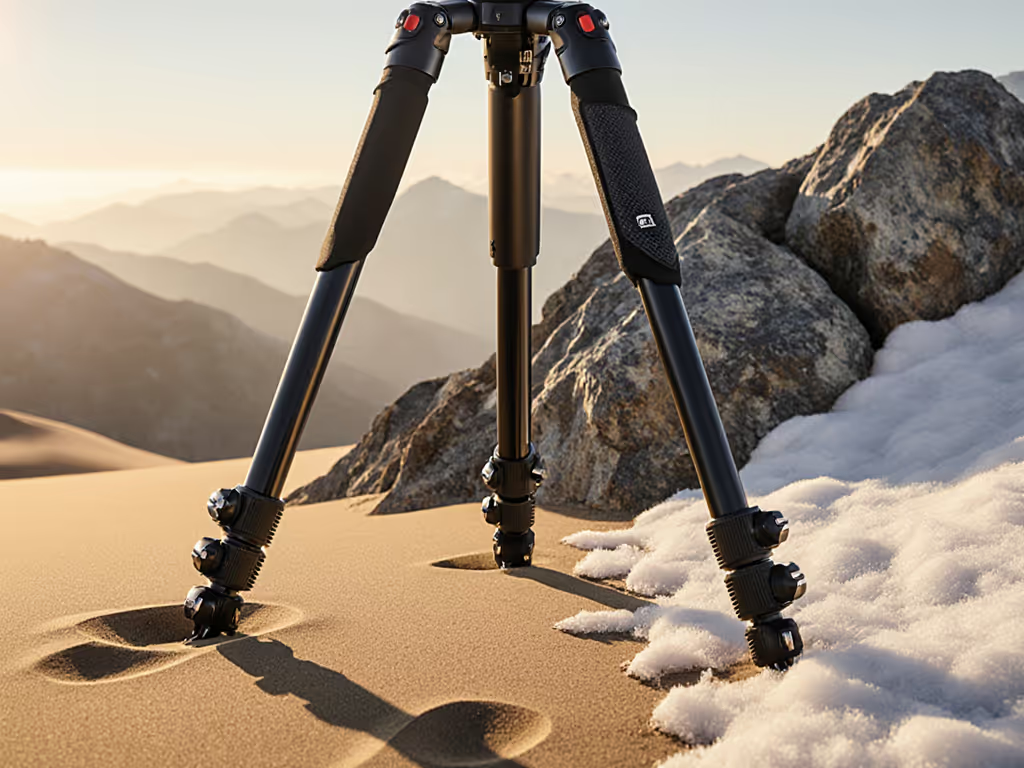
Start every setup with your tripod legs splayed wide (not just "comfortable" wide). Measure your leg angles: 22-28 degrees from vertical creates the optimal stability triangle for most terrain.
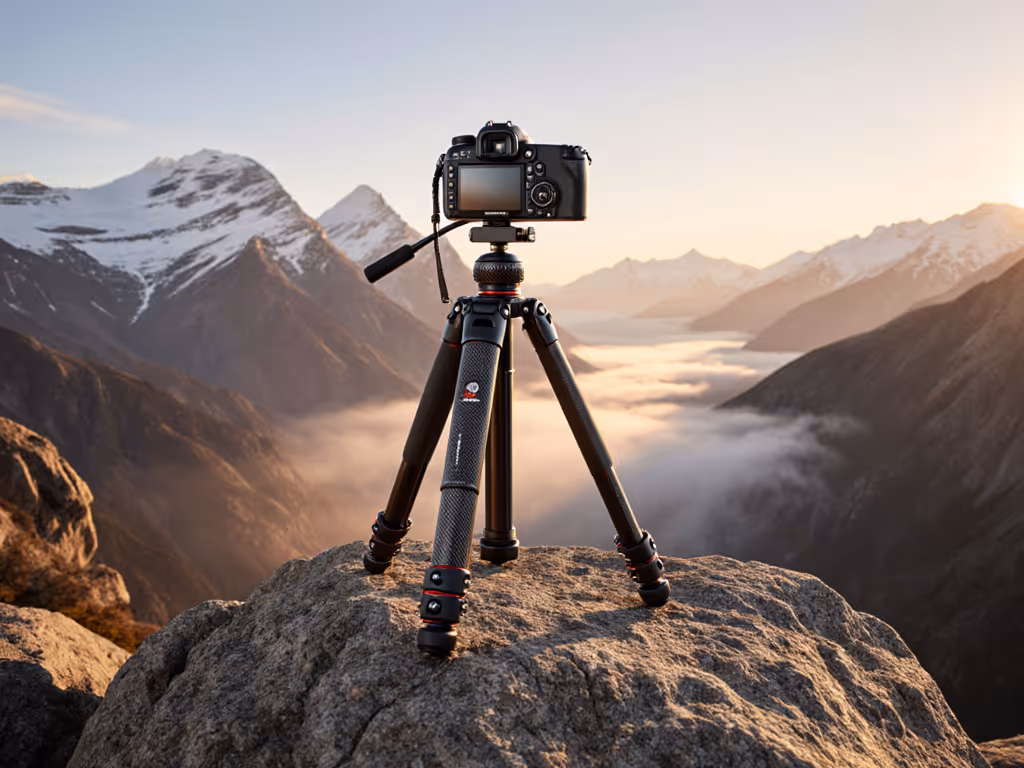
Your Body Height = True Height
Forget advertised "max height" specs. They're measured to the top of the center column (not where your eye actually lands). Here is how to calculate your personal true height:
- Stand barefoot on flat ground, wearing your field footwear (boots add 1-1.5")
- Have a friend measure from the ground to your dominant eye
- Subtract 1" for comfortable head clearance
- That number is your working height; the tripod top should hit this mark with legs fully extended, no center column
The Film Photographer's Height Checkpoint
| Format | Typical Camera Height | Your Target Working Height |
|---|---|---|
| 35mm | 55-60" | Eye level ±1" |
| Medium Format | 60-66" | Eye level ±1" |
| Large Format | 65-72" | Eye level ±1" |
This is where I learned my own lesson: after dull neck aches persisted for a month, I realized my "6-foot tripod" required constant hunching. Ditching the center column wasn't just ergonomic; it raised my keeper rate by nearly 20% because I stopped fighting posture to frame shots.
The Fit-First Approach to Tripod Setup
Leg Positioning Checklist
- Terrain Test: On uneven ground, position the tripod leg with the longest extension pointing downhill
- Angle Audit: Use a goniometer app to verify 22-28° leg splay (wider on soft ground)
- Stance Check: Your elbows should rest at 90° when viewing the ground glass (no shoulder hunching)
- Squeeze Test: Press down firmly on the head. If the legs compress more than 0.25", you've exceeded the safe load
When matching tripods to your body, consider these analog photography gear realities: film cameras often weigh more than digital counterparts due to metal construction. A Pentax 67 with a 105 mm lens hits 5.2 lb, enough to destabilize lightweight carbon fiber legs if not properly sized. Your tripod's minimum height (with legs splayed) should reach 5-8" below your kneecap when standing relaxed. This ensures stable low-angle support for macro and landscape work.
Achieving Medium Format Tripod Stability
For medium format tripod stability, leg diameter matters more than material. A 32 mm carbon fiber section often outperforms 28 mm aluminum due to stiffness-to-weight ratio. But don't get trapped by marketing:
- Stiffness Rule: Leg diameter (mm) should equal 1.5x your camera+lens weight (lb)
- Example: 8 lb Mamiya 7 setup → 12 mm minimum leg diameter
- Section Sweet Spot: 3-4 leg sections maximize stability-to-packability for field work
- Foot Matters: Rubber spikes with removable metal points handle everything from studio floors to rocky trails
For large format camera support, ignore "max height" specs entirely. Instead, calculate your collapse height: when packed, the legs should extend no more than 18" from the head mounting point. This ensures your tripod fits in airline overhead bins alongside your film holders.
Action Plan for Your Next Tripod Session
Follow this checklist before your next film outing:
- Measure true height barefoot (include footwear height in the final calculation)
- Eliminate the center column from your height equation (legs only)
- Widen stance to a 25° leg angle minimum (use a phone level app)
- Position the heaviest leg downhill on slopes
- Test stability by pressing down firmly (should resist 5 lb of force without compression) For a complete safety checklist to prevent tip-overs, see secure tripod setup.
- Check eye alignment: the viewfinder should sit exactly at measured eye height
When these body cues align, you will notice immediate differences: steadier ground glass viewing, cleaner long exposures, and the ability to shoot at 1/15 s handheld-style shutter speeds on your tripod. That is the power of a posture-neutral setup.
Final Frame: Where Stability Meets Comfort
Film photography rewards patience, but not at the cost of your physical comfort. The most stable tripod is the one you'll actually use, and that starts with eliminating center columns from your workflow. Remember: even the most expensive carbon fiber legs cannot compensate for poor ergonomics. Fit comes first... always. Your next roll of film will show the difference when your body works with your gear, not against it.
Your spine is a sensor; let true height guide you.
Your Actionable Next Step: Before your next shoot, measure your true height barefoot. Then, set up your tripod to that height without using the center column. Notice how your framing process changes, and check your film scans for reduced vibration blur. One measurement could transform your entire workflow.
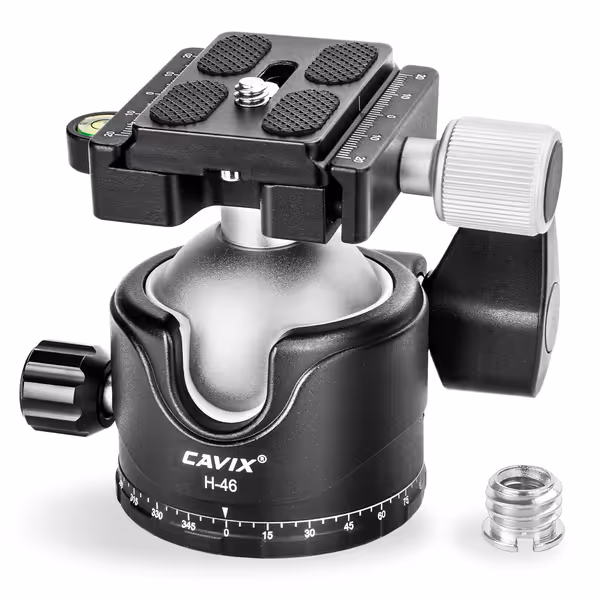
CAVIX Tripod Ball Head
Low-profile, durable ball head offers solid support and smooth adjustments.
$48.7
Max Load44 lbs (20 kg)
Max Load44 lbs (20 kg)
Pros
Rock-solid stability for heavy camera setups.
Low-profile design enhances stability, minimizes vibration.
Precise 360° swivel and 90° tilt with 3 adjustable knobs.
Cons
Mixed durability feedback; some report early failure.
Customers find the tripod ball head to be rock solid and well-made, with one customer noting it's all aluminum construction. The product is compact, smooth, and fits well, offering good value for money as it works great for a fraction of the cost.
Customers find the tripod ball head to be rock solid and well-made, with one customer noting it's all aluminum construction. The product is compact, smooth, and fits well, offering good value for money as it works great for a fraction of the cost.
Related Articles