VR Tripod Setup Without Center Column: Stitching Stability Guide
By Nia Okafor • 26th Nov
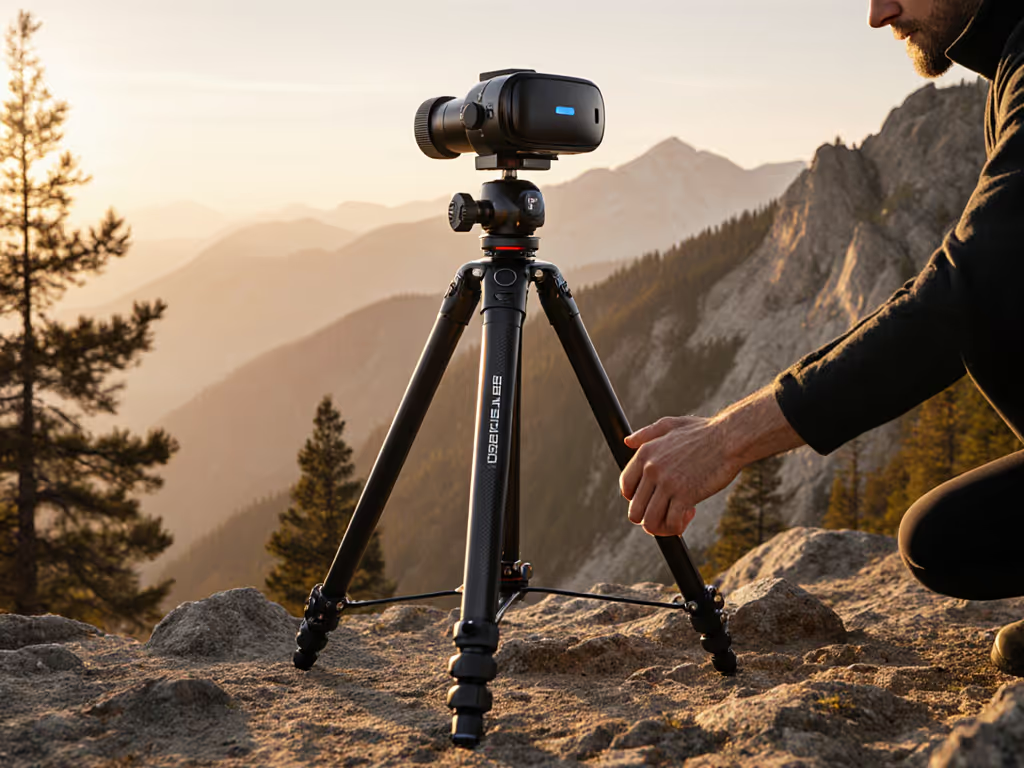
When your 360° panorama shows duplicated objects or warped horizons, the culprit often isn't your camera, it's your travel tripod setup. For VR photography, stability isn't just about sharpness; it's the foundation of seamless stitching. I've seen countless creators wrestle with ghosting artifacts because their tripod's center column turned into a vibration amplifier. Let's fix that with terrain-aware habits that work whether you're on city pavement or coastal dunes.
Why Center Columns Compromise VR Stitching (FAQ Deep Dive)
Q: Aren't center columns convenient for height adjustment? Why avoid them for VR work?
A: Convenience trades directly with stability. When extended, center columns act like tuning forks, they magnify ground vibrations and wind resonance. For the physics behind this, see our tripod vibration damping guide. In spherical photography, even 0.5 mm of movement during rotation fractures alignment at nodal points. As one workshop participant discovered after hours of failed equirectangular exports: "I thought my lens was misaligned. It was the center column wobbling in 10 mph gusts."
<center>Slow is smooth; smooth is sharp when the wind rises.
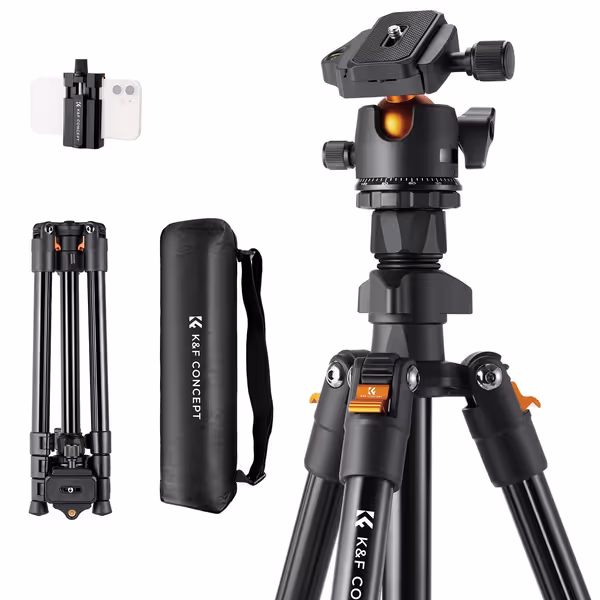
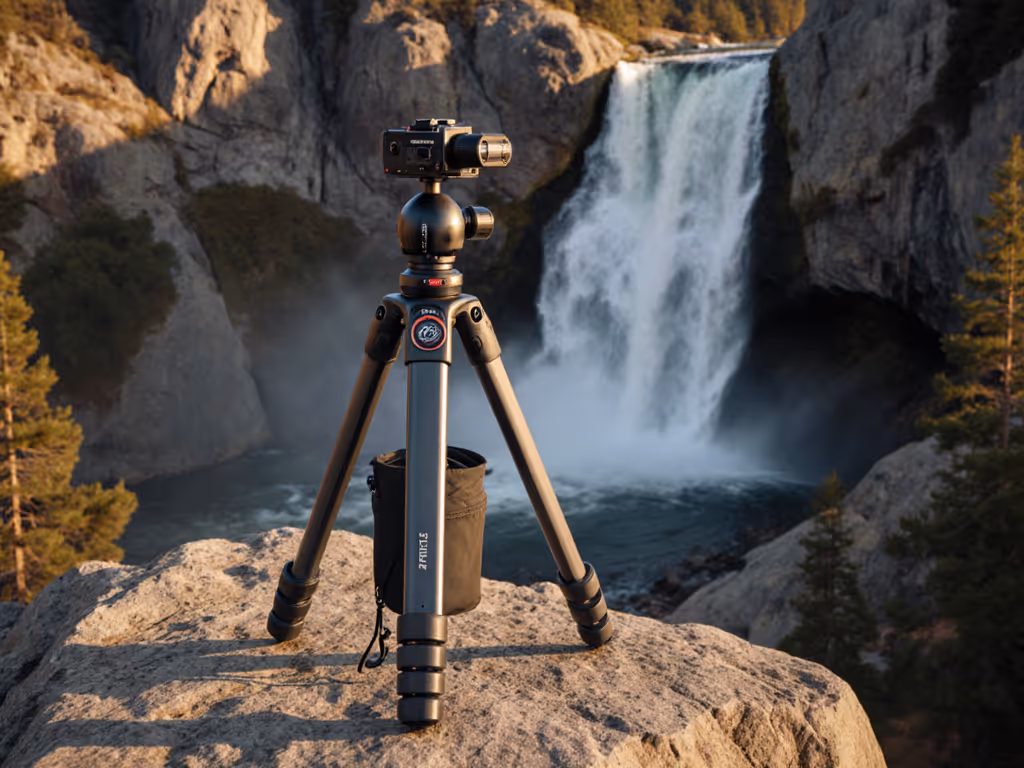
K&F CONCEPT 64 inch Camera Tripod
Stable, lightweight tripod for travel and versatile shooting for DSLRs.
$42.49
Max Load Capacity17.6 lbs / 8 kg
Max Load Capacity17.6 lbs / 8 kg
Pros
Lightweight (2.53 lbs) & Compact (15.5" folded) for travel.
Sturdy and stable for sensitive equipment.
Quick flip leg locks for fast setup.
Versatile for low-angle and creative shots.
Cons
Tall users might need to extend center column.
Customers find the tripod sturdy and stable for sensitive equipment, with good build quality and surprising value for the price. It is lightweight and easy to transport, fitting in backpacks for airplane travel, and customers appreciate its compact size and quick setup. The tripod works well with Sony A6700 cameras, and one customer notes it supports up to 17.6 lbs/8 kg.
Customers find the tripod sturdy and stable for sensitive equipment, with good build quality and surprising value for the price. It is lightweight and easy to transport, fitting in backpacks for airplane travel, and customers appreciate its compact size and quick setup. The tripod works well with Sony A6700 cameras, and one customer notes it supports up to 17.6 lbs/8 kg.
Q: How do I reach eye level without a center column? My current tripod's legs only get to my chest.
A: True height starts with leg positioning (not vertical extensions). Most photographers overestimate required height by 8 to 12 inches due to:
- Standing on uneven terrain (a 2-inch rock pitch adds effective height)
- Ignoring shoe soles (hiking boots add 1.5 in)
- Compensating for head tilt during panning
Your field checklist:
- Measure your working stance: Stand straight, arms relaxed at sides. Note where your knuckles hit your thigh.
- Subtract 15 cm (6") from your height, that's your ideal tripod collar height.
- Test on varied terrain: On slopes, splay legs asymmetrically before extending sections.
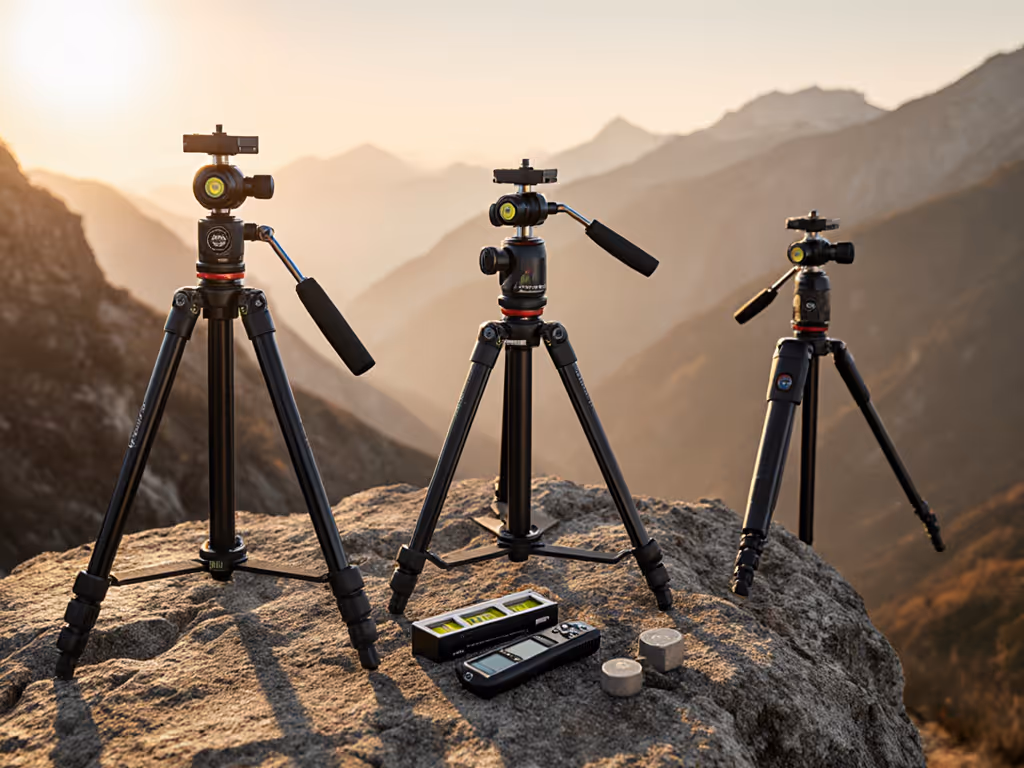
A 5'10" photographer typically needs 52 in legs, not the 60 in spec-sheet height. The Manfrotto 290's multi-angle legs demonstrated this during a seaside test: users gained 4 in of stable height by splaying one leg downward into damp sand while keeping others vertical.
Q: What if I'm very tall/short? Won't no-center-column tripods force awkward poses?
A: This is where terrain-aware habits beat rigid specs. Extremely tall users (6'4"+) should prioritize tripods with:
- Leg splay angles > 25° for low work
- Collar height ≥ 58 in with legs fully extended
- Shortest folded length (to avoid carry-on issues)
Shorter users (under 5'4") gain hidden height by:
- Using boots with 1.5 in soles as "portable elevation"
- Positioning tripod behind slight ridges (e.g., curbs)
- Choosing heads with low-profile bases (like Arca-Swiss style)
I once corrected a 5'2" landscape shooter's panorama curvature by having her stand on a 4 in driftwood log (using terrain instead of raising the center column). Her stitch success rate jumped from 60% to 95%.
Q: How do I ensure nodal point stability without a center column?
A: Nodal point alignment fails when vibration disrupts rotation precision. Follow this sequence:
The 3-Step VR Stability Drill
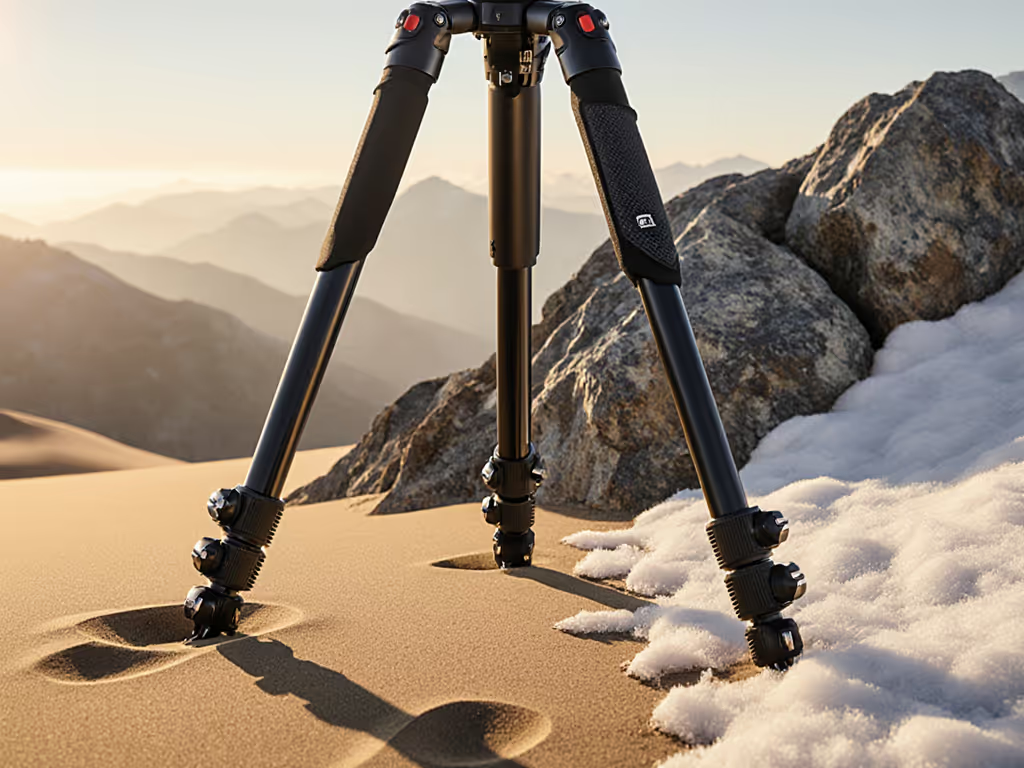
- Legs First: Extend thickest leg sections first on firm ground. On soft terrain (mud, sand), push legs 1 to 2 in deeper than "stable" feels (this anchors against lateral sway).
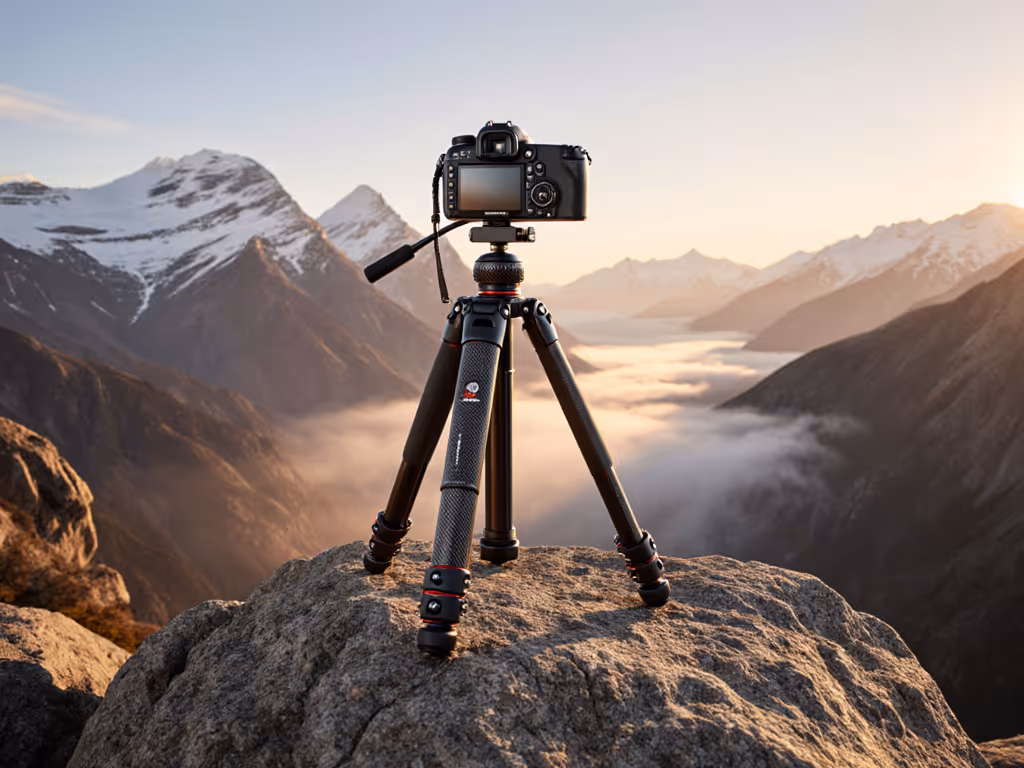
- Level Base Once: Tilt the entire tripod using leg length (not the head) until base plate bubbles level. A dedicated leveling base speeds this step for panoramic stitching. Never correct tilt via center column.
- Free the Pan Last: Only after legs are locked and base leveled, attach your spherical photography support rig. Do a 360° pan test without camera, if you feel resistance, recheck leg contact points.
This mirrors the dune workshop breakthrough: students stopped fighting twist locks when they committed to this sequence. Their frames sharpened not because the gear changed, but because the habit was repeatable under pressure.
Hazard Notes for VR Creators
- Wind Discipline: In gusts > 8 mph, wrap legs with bungee cords anchored to sandbags on the ground (not hanging from center column). Airborne weights swing; ground-contact points dampen resonance.
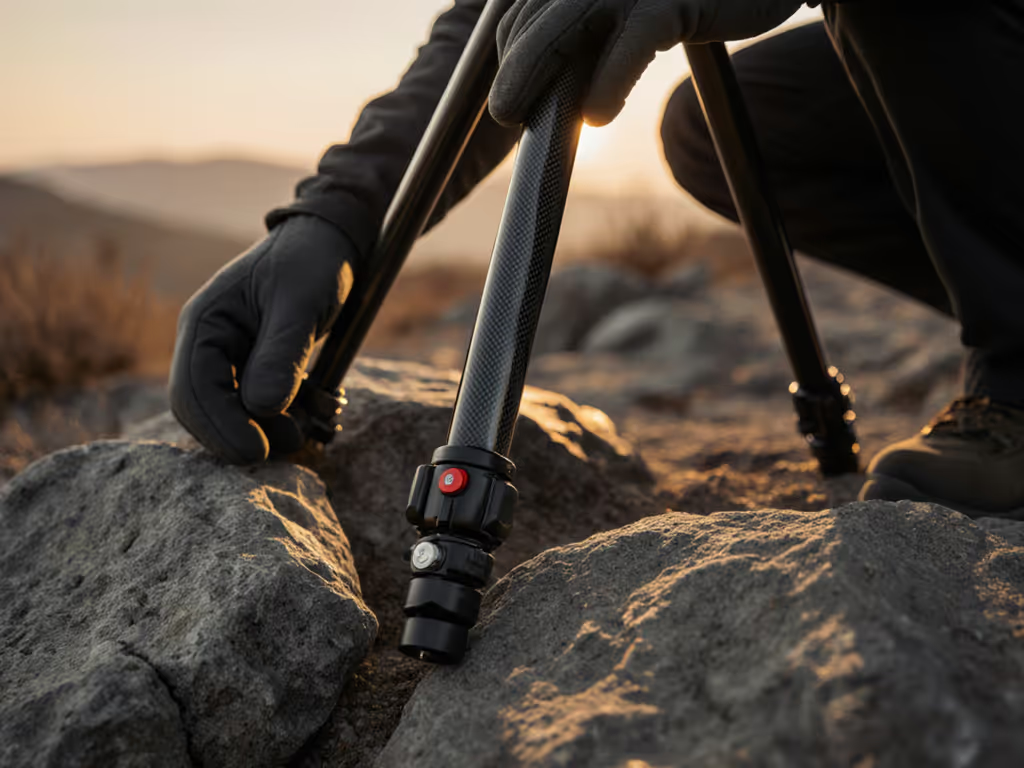
- Terrain Mismatch: Never force leg splay on hard rock, use stick-on rubber pads to prevent slipping. On deep scree, extend middle leg sections before thinnest tips to avoid sinking.
- Glove-Friendly Priority: Small knobs freeze fingers and invite misalignment. If you can't operate locks with ski gloves, the tripod isn't field-ready for cold VR work.
Actionable Next Step: Your True Height Audit
Before your next VR shoot, do this 5-minute drill:
- Stand on level ground wearing your shooting footwear.
- Place tape where your tripod collar should sit (subtract 6 in from your height).
- Set up your tripod with legs fully extended but no center column.
- Mark the actual height with tape.
If it falls short by > 3 in: Use our tripod height guide to fine-tune true eye level without a center column.
→ For travel tripods: Prioritize models with 28°+ leg splay
→ For heavy rigs: Add reversible center columns only for low-angle work (inverted)
Remember: Legs first, then head. Repeat this sequence until it's muscle memory, especially when wind scours your location or terrain turns treacherous. Your stitching software will thank you with clean, ghost-free panoramas. I've watched this shift turn frustrated creators into confident VR shooters, one repeatable setup at a time.
P.S. If your current tripod still falls short, share your height and terrain challenges in the comments, I'll help you map them to a stability solution.
Related Articles