Accessible Tripod Setup Without Center Columns
By Mateo Álvarez • 14th Nov
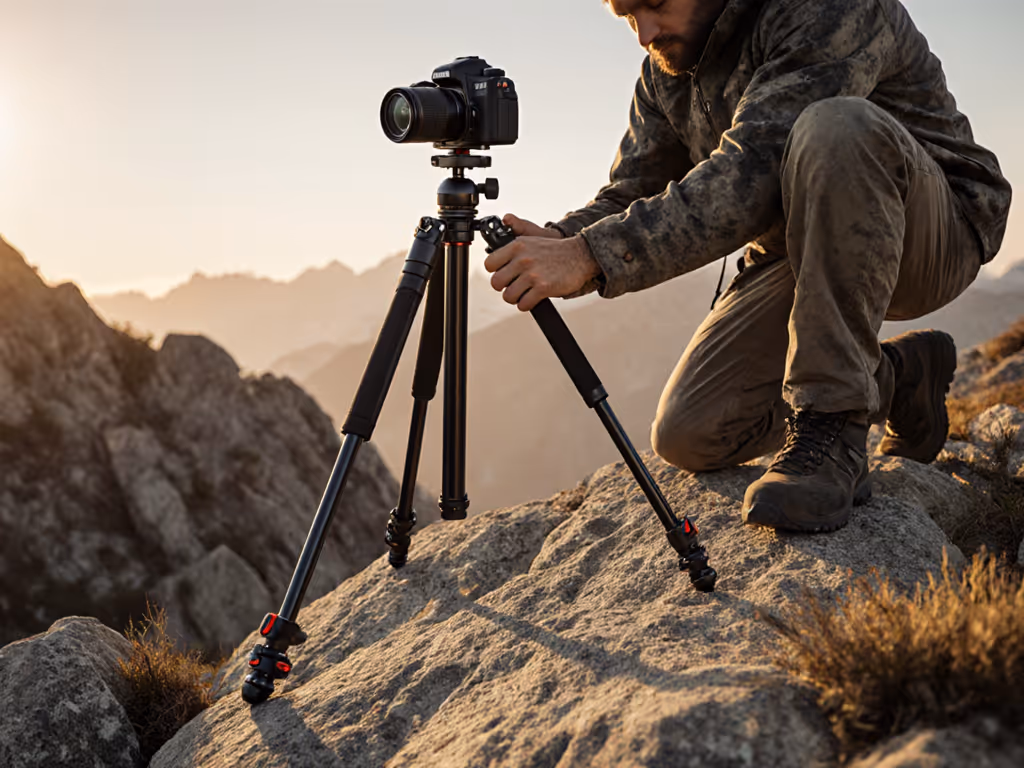
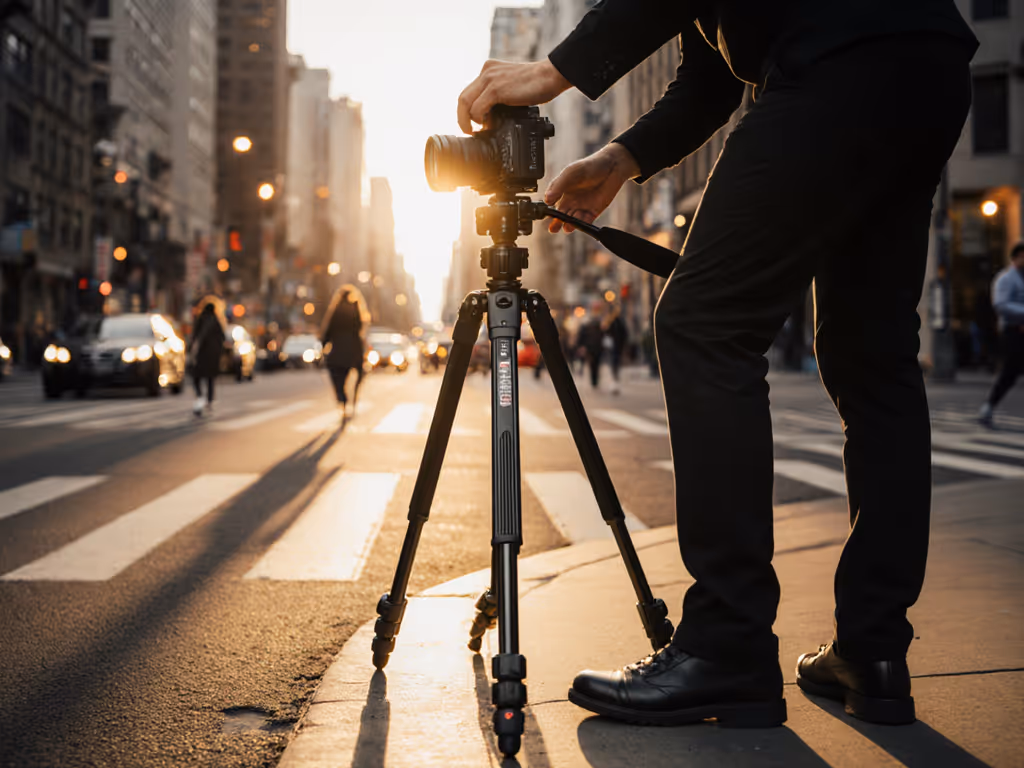
An accessible tripod setup shouldn't require contortions or compromise. For photographers with mobility limitations, standard tripod designs that rely on center columns often create barriers to achieving that crucial eye-level composition. After years of helping photographers solve this exact problem, I've developed adaptive photography equipment strategies that work with your body, not against it. Let's fix this once and for all.
Your Spine is the Ultimate Sensor
Your spine is a sensor; let true height guide you.
When photographers tell me about neck strain, back pain, or simply "not feeling comfortable" at the tripod, I know immediately what's happening: their tripod isn't working with their body's natural posture. After a month of dull neck aches, I discovered something simple: I had been forcing my spine into unnatural positions to reach the viewfinder. Once I measured my true height and set up properly without that center column, my discomfort vanished, and my keeper rate rose. Comfort and posture neutrality unlock sharper images and longer, calmer sessions.
Your spine is a sensor; let true height guide you.
Center columns create what I call "height deception" (they give the illusion of reach while sacrificing stability and forcing photographers into hunched positions). For accessibility, this is particularly problematic. When you extend the center column, you're not just introducing vibration potential; you're creating an ergonomic trap that requires constant physical compensation.
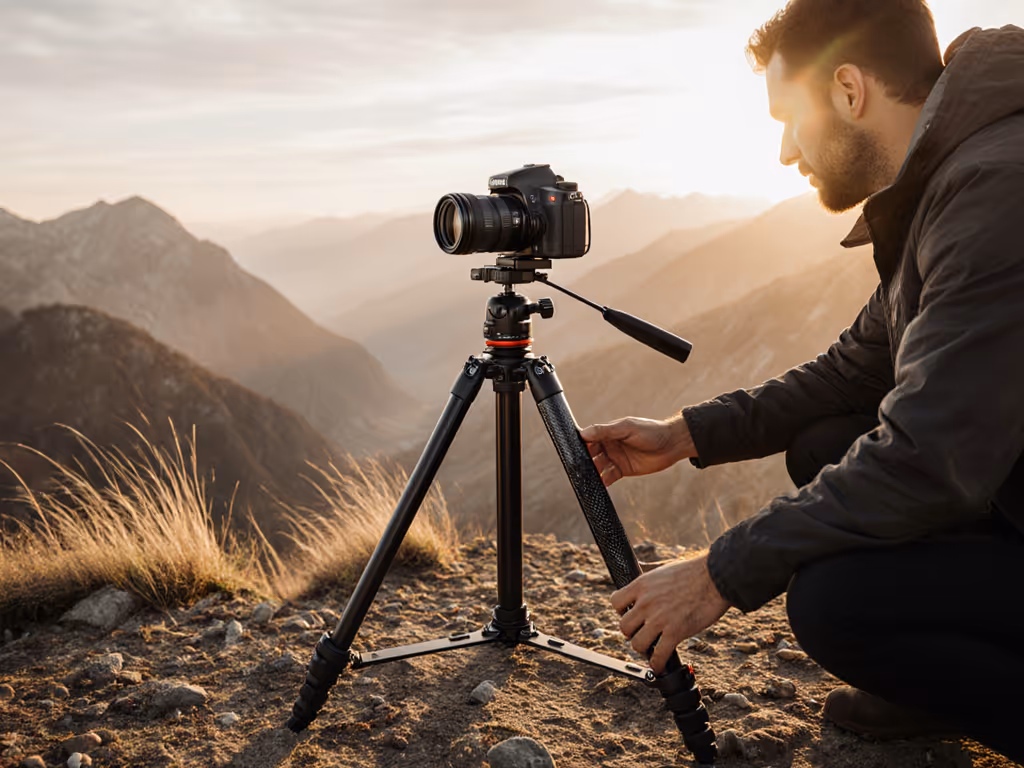
Measuring Your True Height
The foundation of an accessible tripod setup is measuring your actual working height (not your standing height). Follow this simple process:
Step 1: Capture Your Natural Stance
- Stand barefoot in your normal shooting position (slight knee bend, head up)
- Have someone mark a pencil line where your eye level hits a wall
- Measure from floor to mark (this is your key dimension)
Step 2: Account for Terrain and Footwear
- Add 1.5" for hiking boots
- Add 2 to 3" for uneven terrain (rocky ground, snow, sand)
- Subtract 0.5" for soft surfaces (grass, sand) where legs sink slightly
Step 3: Determine Your Seated Height (if applicable)
For wheelchair photography setup or seated photography techniques:
- Sit in your normal shooting position
- Measure from seat surface to eye level
- Add 0.5 to 1" for any head movement during composition
This measurement is your True Height target: the height where your tripod should position your camera without center column extension. This is where you'll achieve eye-level without strain, regardless of mobility considerations. For a full beginner walkthrough of no-center-column setup, see our beginner tripod setup guide.
Adaptive Setup Workflow
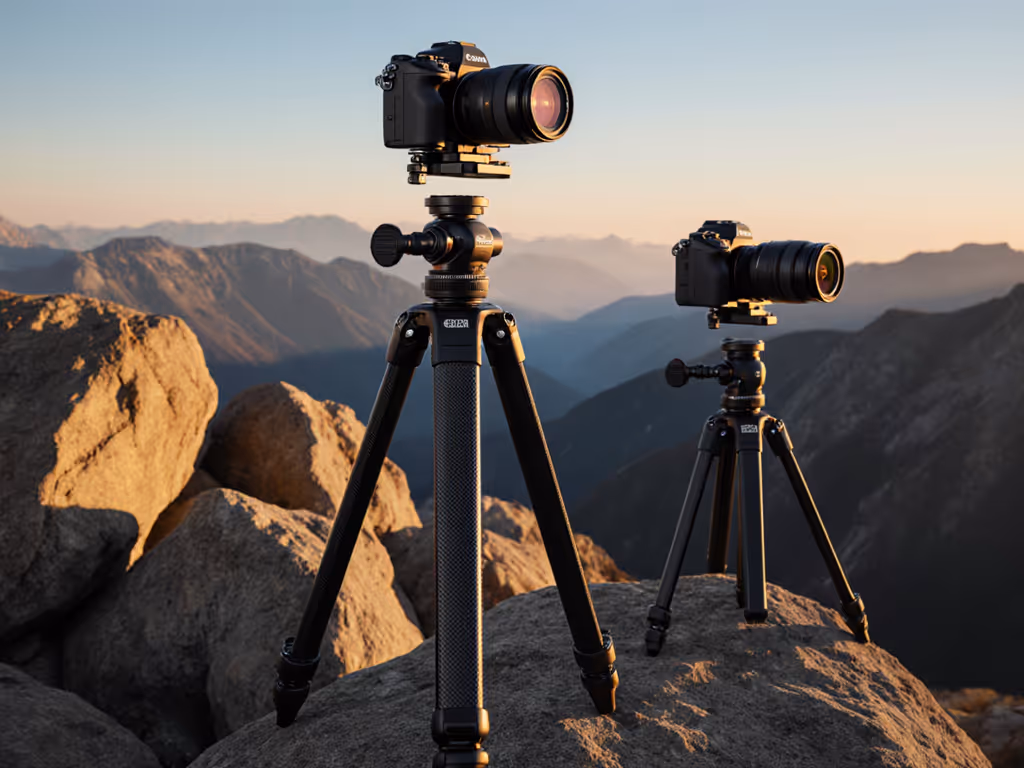
Step 1: Choose Your Leg Angle Strategy
For mobility-limited camera support, wider leg angles create more stability with lower center of gravity:
- Standard ground: 50 to 60° leg angle (creates maximum height without center column)
- Seated position: 70 to 80° leg angle (lowers working height while maintaining stability)
- Wheelchair photography setup: 80 to 90° angle (allows tripod to sit close to chair with legs splayed out)
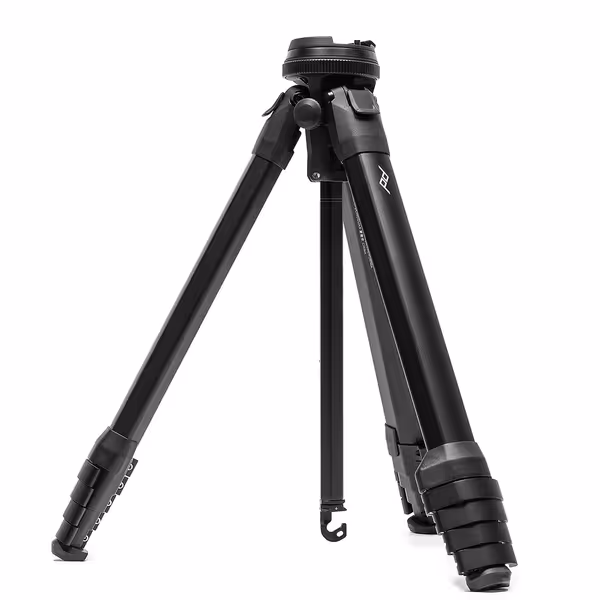
Peak Design Travel Tripod, Aluminum
Pro-level stability in a compact, portable, and quickly deployable design.
$399.9
Max Load Capacity20 lbs
Max Load Capacity20 lbs
Pros
Unmatched portability: packs to water bottle size.
Pro-level stability for full-frame cameras + telephoto.
Rapid setup means you never miss a shot.
Cons
Mixed feedback on build quality and leg locking mechanism reliability.
Customers praise the tripod's brilliant design, compact size, and its suitability for traveling and backpacking photography.
Customers praise the tripod's brilliant design, compact size, and its suitability for traveling and backpacking photography.
Step 2: Position Your Tripod Around Your Body
Don't force yourself to the tripod, arrange the tripod around you:
- Extend the nearest leg slightly shorter than the others to create clearance for your body
- Position the tripod so the head is directly in front of you, not off to the side
- Ensure no leg is under your dominant foot; this creates natural weight distribution
Step 3: Fine-Tune with Body Cues
Use these plain language checks to verify your accessible tripod setup:
- Can you look through the viewfinder without tilting your head?
- Is your neck in neutral alignment (not extended forward)?
- Can you trigger the shutter without shifting your weight?
- Do you feel grounded, not balanced precariously?
If you answered "no" to any of these, adjust leg lengths until you get all "yes" responses. This is your personalized posture-neutral setup.
Special Considerations for Mobility-Limited Setup
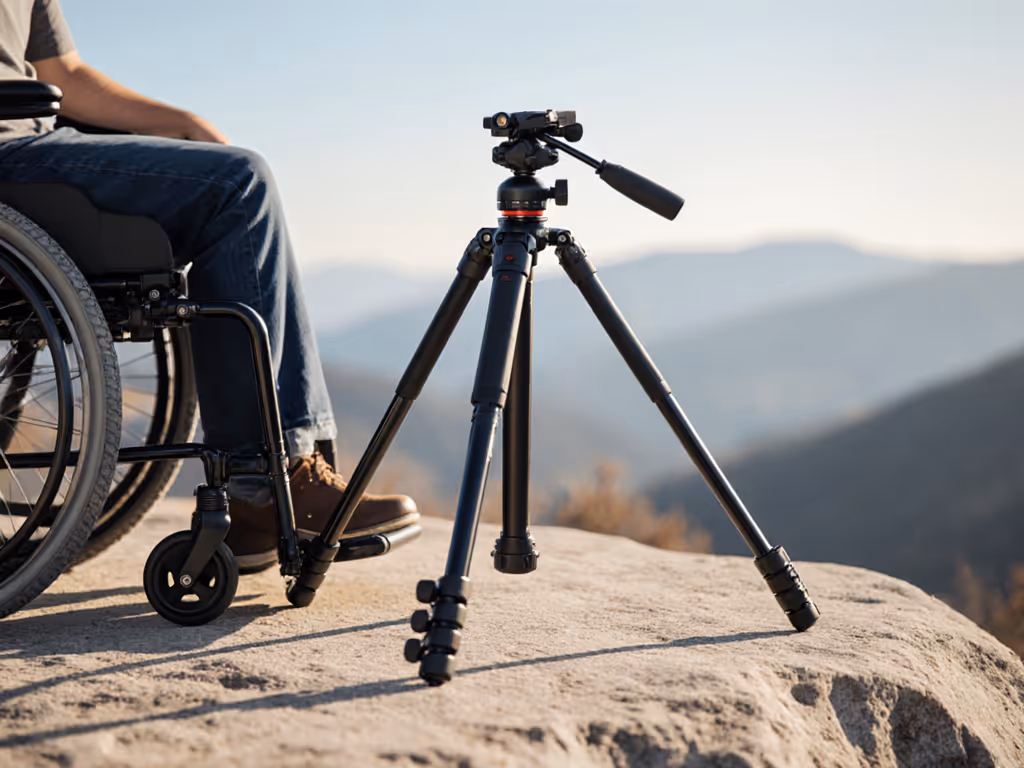
For Wheelchair Users
The most effective wheelchair photography setup uses these specific techniques:
- Position the tripod between your knees rather than to the side
- Widen leg angles to 85 to 90° for maximum stability on smooth surfaces
- Use the tripod's lowest possible height setting
- Consider a ball head with a longer arm for better clearance
- Place a rubber mat under tripod feet to prevent sliding on smooth surfaces
For Limited Standing Duration
If standing for extended periods is challenging:
- Create a "recovery position" by setting one leg significantly shorter
- This allows you to rest your hip briefly on the shorter leg
- Keep your center of gravity low by avoiding unnecessary height
- Use a camera with a good electronic viewfinder to minimize head movement
Stability Solutions for Lightweight Setups
When working with lighter adaptive photography equipment:
- Add removable weight to the center via a hook under the tripod
- Use a bean bag on the shorter leg for seated stability
- Position one leg against a solid object (rock, tree, wheelchair frame)
- Tighten leg locks firmly but don't overtighten (causes stress points)
The Checklist: Accessible Setup Verification
Before you start shooting, run through this final check:
- Tripod height matches your measured True Height without center column
- All body parts are in neutral alignment (spine straight, neck neutral)
- You can operate all camera controls without shifting position
- Tripod is stable with minimal vibration on light touch
- Leg angles accommodate your specific mobility needs
- You feel balanced and grounded, not strained or precarious
The Next Step for Your Accessible Workflow
This weekend, before you head out to shoot, take 10 minutes to measure your True Height and set up your tripod without the center column. Practice composing shots from this position until it feels natural. Notice how much less you're fighting your posture, your images will be sharper, and your sessions will last longer. I guarantee you'll experience what so many of my clients report: the moment you reach eye-level without strain, everything clicks. Your spine will thank you, and your camera will deliver.
When you've mastered this base setup, you'll find adding creative variations (like low-angle work or shooting over obstacles) become intuitive rather than exhausting. For an applied project that builds on this posture-neutral base, try our time-lapse setup without a center column. That's the power of starting with posture neutrality: it's not just about comfort, it's about creating more photographic opportunities.
Related Articles