ARCA Swiss Compatibility Solved: Cross-Brand Tripod Systems Guide
By Nia Okafor • 3rd Dec
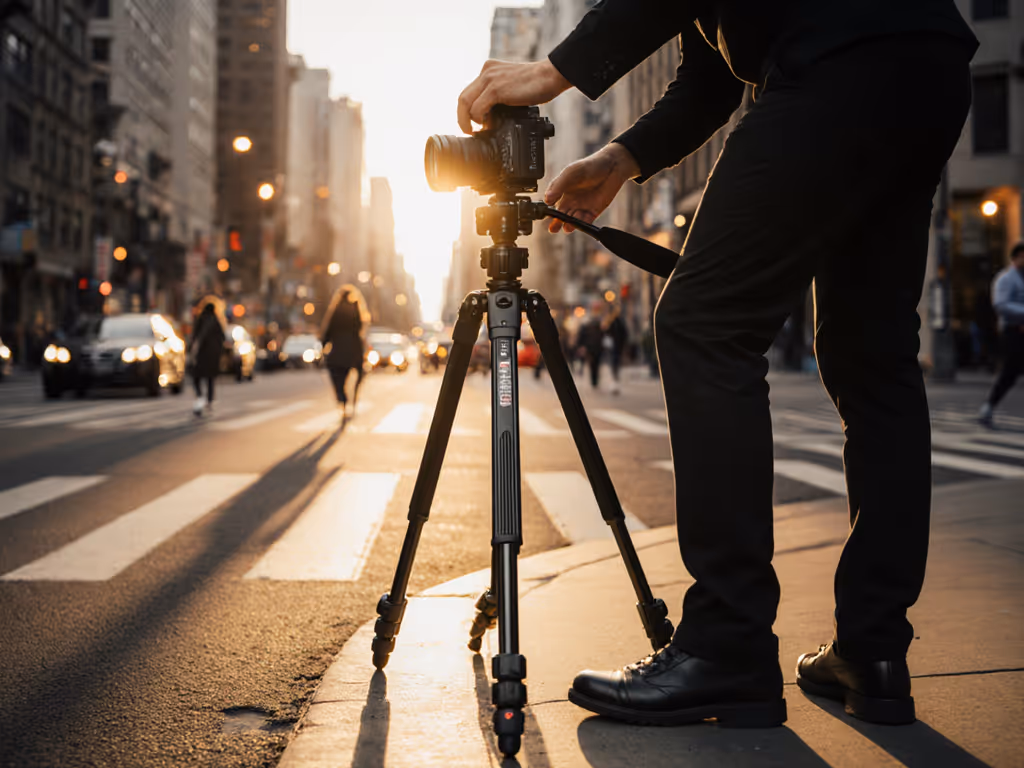
If ARCA Swiss compatibility headaches ever made you hesitate before swapping tripod heads or adding an L-bracket to your kit, take a breath. You're not alone. If you need a quick primer on fixing plate and clamp mismatches, see our plate compatibility guide. That moment when your "compatible" plate wedges tight in a borrowed clamp during a rising tide shoot? Or when your carefully packed travel system jams because safety pins misalign? These aren't gear failures (they are avoidable friction points in today's fragmented cross-brand tripod system). Let's untangle the confusion with field-tested habits that work whether you're on a windy dune or a rain-slicked city ledge.
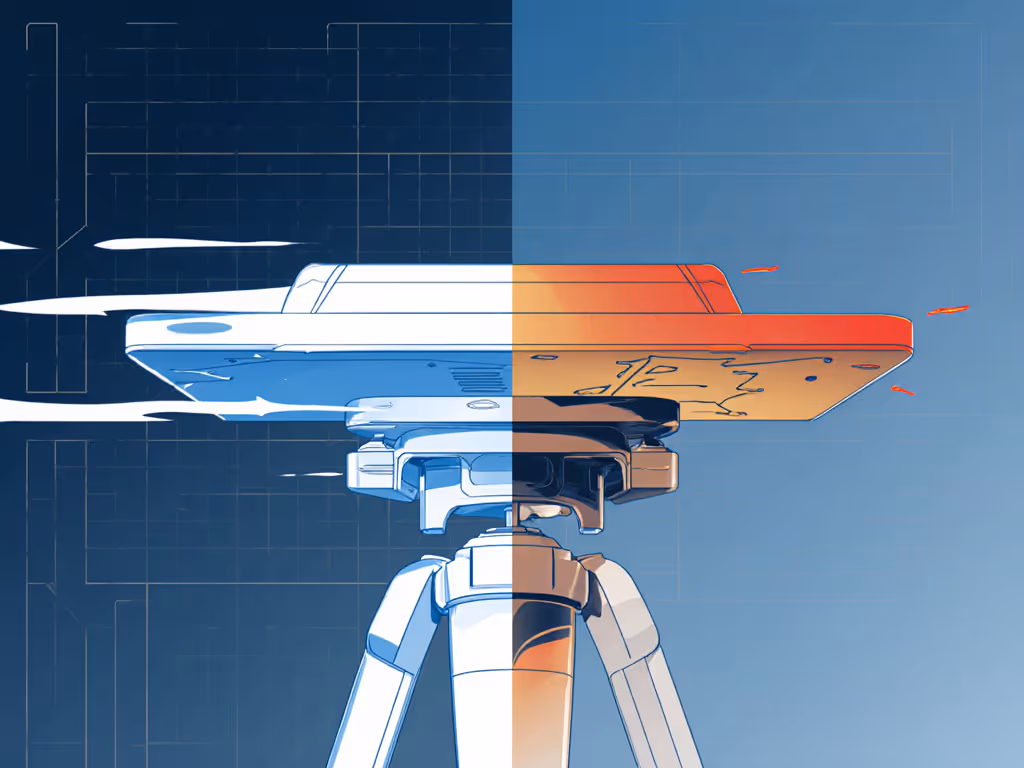
Why "ARCA Swiss Compatible" Isn't a Single Standard
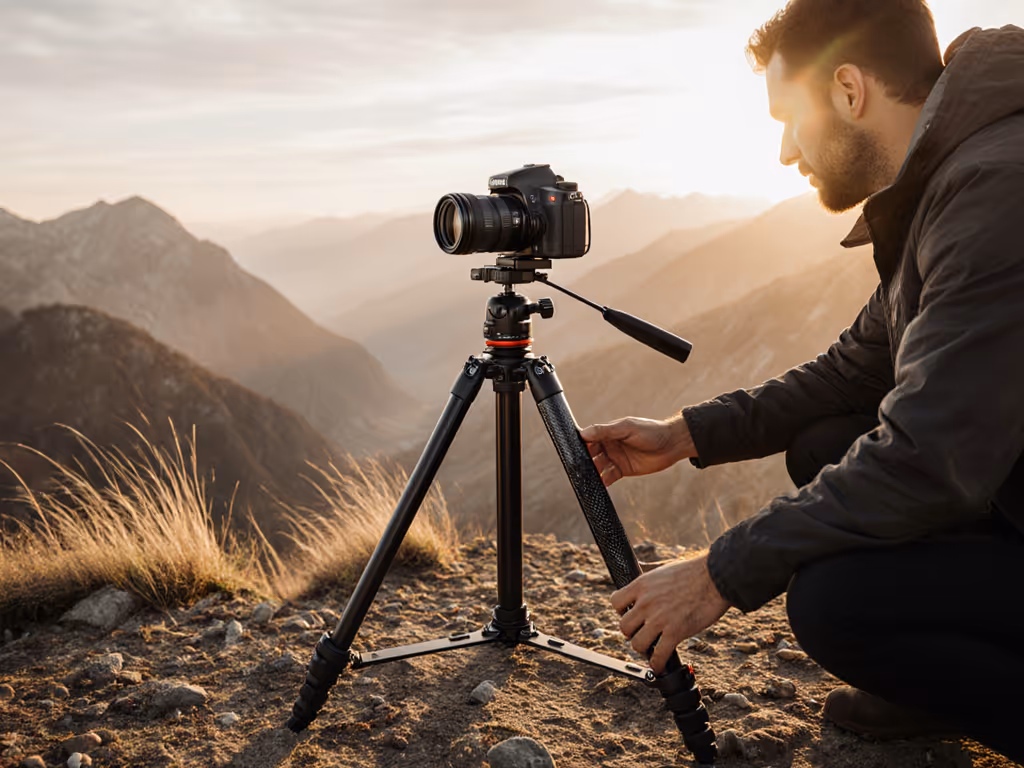
You've seen the label everywhere: "Arca-Swiss compatible." But here is the unspoken truth: there is no governing body for this system. The original Arca-Swiss dovetail spec (38 mm wide, 45-degree angles) was just a starting point. Now manufacturers tweak tolerances, safety pin placements, and clamp mechanisms like chefs adjusting a shared recipe. For a deeper look at how Arca-Swiss and Manfrotto quick release systems differ, read our quick release comparison. One brand's "compatible" plate might slide smoothly in another's clamp one day, then lock like concrete in wind or cold. I learned this the hard way leading a workshop on a wind-scoured dune. Students wrestled twisted locks while plates jammed (not from bad gear, but from assuming "compatible" meant universal). What changed was not the equipment. It was resetting to predictable steps.
Slow is smooth; smooth is sharp when the wind rises.
The Real Compatibility Checklist (Do This Before You Head Out)
Always verify fit with these three field-ready checks (no tools needed):
-
Clearance Test: Slide your plate into the clamp while it's loose. Does it glide freely both ways? If it scrapes or sticks at any point, note the exact pressure needed to move it. Tolerances vary by 0.1 to 0.3 mm across brands, enough to bind under load.
-
Safety Pin Verification: Engage the clamp's locking lever. Press your plate upward firmly. Does it lift at all before the safety pin engages? If yes, that gap could let your camera slip during pan-tilt adjustments. Plates with removable pins (like older Sunwayfoto models) let you adapt; spring-loaded pins (common on Peak Design) require exact alignment.
-
Glove Test: Wear your usual field gloves. Can you fully tighten the clamp's lever without straining? If you're fumbling to hit a tiny release button or over-tightening to compensate for slip, you have a hazard. Prioritize clamps with broad, textured levers (like those from Markins) that work with ski gloves. For step-by-step protocols that prevent drops, see our tripod safety setup guide.
Troubleshooting Stuck Plates: Calm Under Pressure
You've mounted your camera. Now the plate will not release. Panic is your enemy. Most jams happen when safety pins misalign during rushed mounting (especially in wind or low light). Here is your reset sequence:
-
Step 1: Level once, pan free. Ensure the head is perfectly level. A leveling base guide can speed this step and keep horizons true. An angled base twists the plate in the clamp.
-
Step 2: Depress the safety pin. If your clamp uses spring pins (e.g., some Vanguard heads), locate the manual release button, often a tiny slot requiring a coin edge. Hazard note: Never force the lever. If it's seized, tap the clamp's side gently with your palm to dislodge debris.
-
Step 3: Slide down first. Most plates eject easier toward the ground. Tilt the head slightly downward and wiggle the plate loose.
This three-step rhythm transforms a crisis into routine. Remember that dune workshop? We paused, reset to this sequence, and the flailing stopped. Frames sharpened. Not because the gear changed, but because the habit was repeatable under pressure.
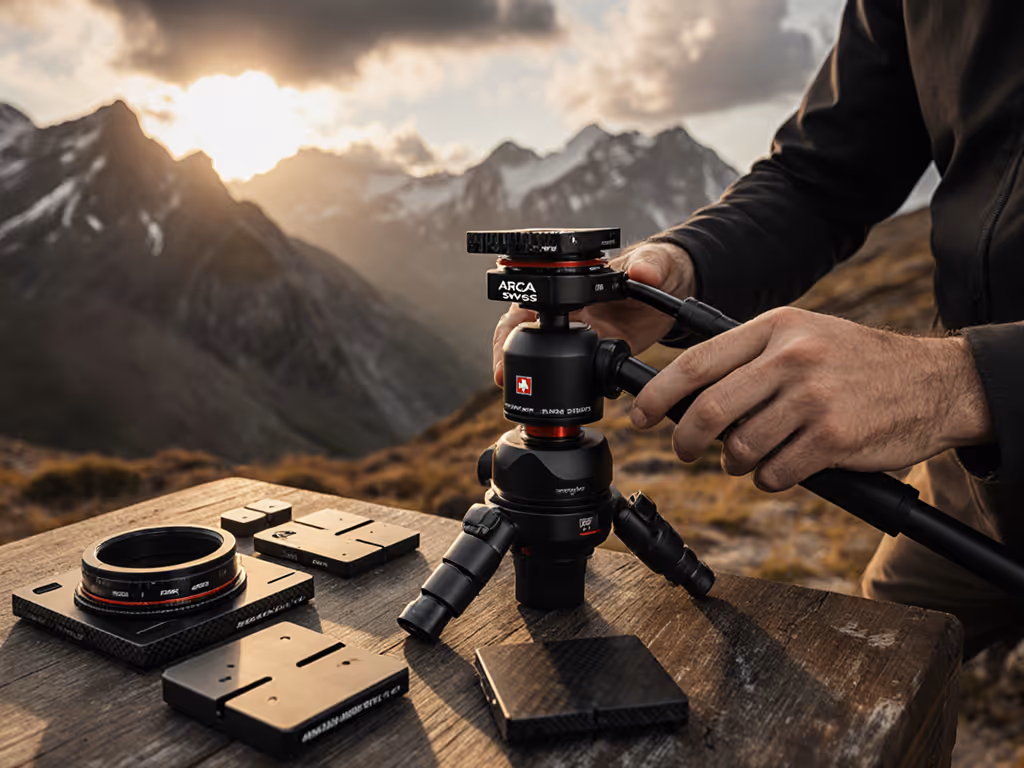
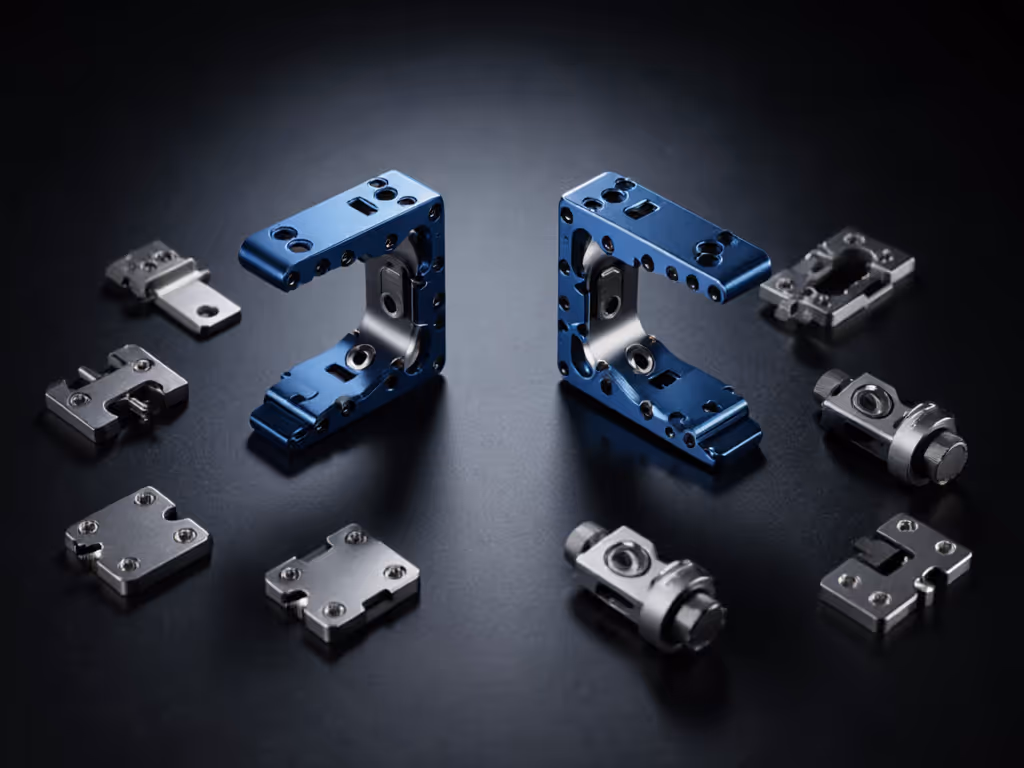
L-Brackets & Lens Feet: The Hidden Compatibility Traps
L-brackets multiply compatibility headaches. Many third-party models (even those labeled "Arca-Swiss") use subtly wider bases or recessed pins that clash with certain clamps. Same for lens feet (especially telephoto collars). Here is how to avoid mid-shoot disasters:
-
Check Plate Symmetry: Rotate your L-bracket 180 degrees in the clamp. Does it slide identically both ways? If not, one side's machining likely differs, risking tilt under load.
-
Lens Foot Test: Attach your telephoto lens directly to the clamp (no plate). Does its foot sit flush? If it wobbles, you need a dedicated Arca foot (like those from RRS) tailored to your lens model. Never force it, since misalignment stresses the lens mount. For choosing support that matches heavy glass, read our lens weight distribution guide.
-
Macro Caution: Short plates on macro rails often lack safety pins. Add a secondary lever clamp below your rail for backup. One slip in a delicate setup ruins more than the shot.
Build Your Own Cross-Brand Standard
True reliability comes from treating your kit as the system (not chasing "universal" labels). Here is how:
-
Standardize your plate: Pick one plate model (e.g., a full-width Arca-Swiss style) and use it everywhere. Transfer it between camera bodies. Never let different plates enter your kit, because variations compound failure points.
-
Map your clamp tolerances: Keep a log: "Plate X binds in Clamp Y at 70% tightness; use 90% for security." Note temperatures where tolerances shift (cold = tighter fit).
-
Carry a pin removal tool: A 1.5 mm hex key (weight: 2 g) fits most removable pins. Tuck it in your tripod leg groove.
This is not about perfection, it is about predictable behavior. When you know exactly how much lever pressure keeps your plate secure without jamming, you trade guesswork for confidence. No more hesitating before swapping heads because you trust the ritual.
Your Actionable Next Step
Before your next shoot, run the three-point compatibility test with every plate and clamp in your kit. Note mismatches in your field journal. Then, pick one plate to standardize across all cameras. Within two weeks, you'll spend less time wrestling gear and more time capturing the shot, even when the wind rises. Because repeatable habits beat improvisation when conditions turn hostile.
Level once, pan free, and keep your focus where it belongs: on the image.
Related Articles