Lens Weight Distribution Determines Tripod Stability
By Mateo Álvarez • 4th Nov
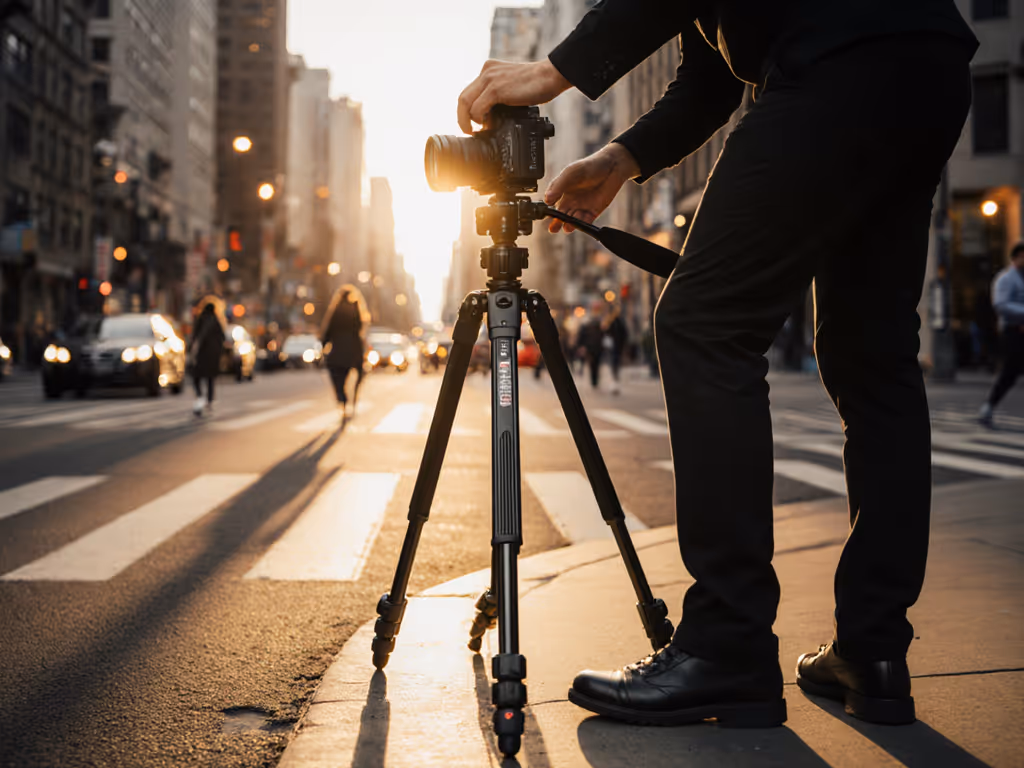
What if your blurry telephoto shots aren't about shutter speed or wind, but about how your lens weight distribution interacts with your tripod? Most photographers treat tripods as passive supports, but a true lens-specific tripod system actively balances your gear's vibration damping physics. When your 70-200mm lens shifts your center of gravity, your tripod must compensate before the shutter fires. Otherwise, you are not just capturing images; you're fighting wobble.
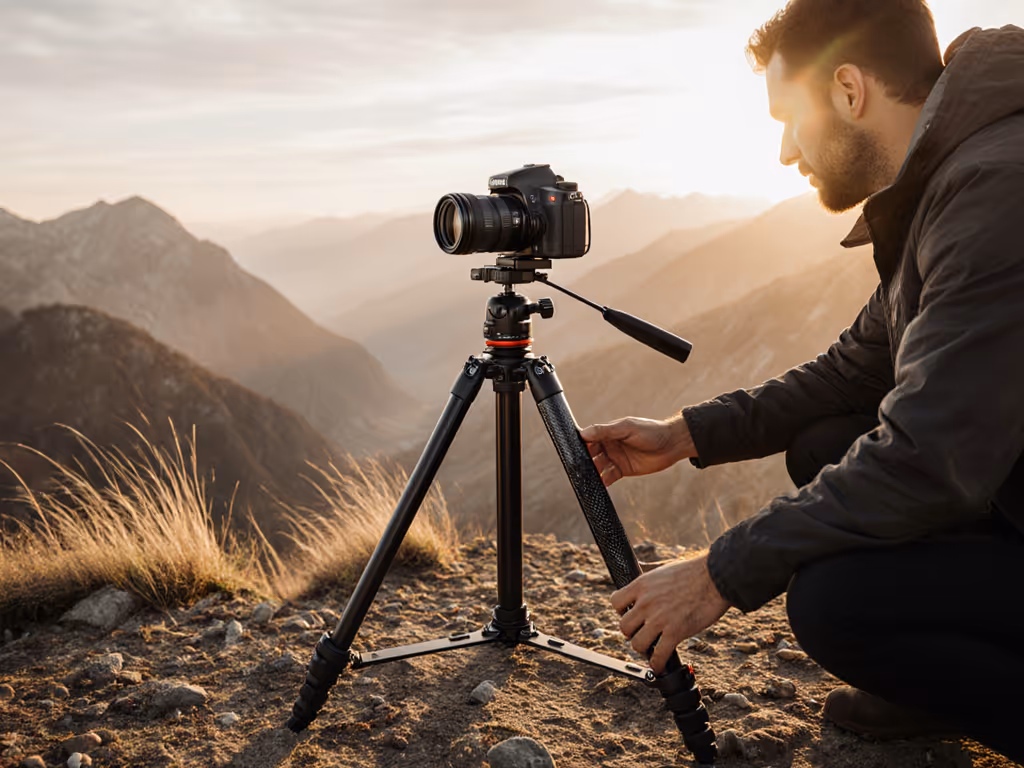
Your body is part of this physics equation too. When I finally measured my true height barefoot after months of neck strain, I realized standard setups required a slight hunch that amplified vibration from my telephoto lens. Ditching the center column and setting the head to eye level didn't just fix my posture; it immediately boosted my keeper rate. To dial this in for your body, use our ideal tripod height guide to hit eye level without touching the center column. Your spine is a sensor; let true height guide you.
Why Weight Distribution Trumps Raw Load Capacity
Tripod manufacturers advertise max load ratings ("supports 20lbs!") as the stability metric, but this ignores critical physics:
- Center of gravity height: A 5lb telephoto lens at 30" height creates more instability than 10lbs distributed evenly at 15"
- Moment arm effect: Lateral weight shifts (like a long lens barrel) multiply torque on the tripod head
- Vibration frequency: Heavy lenses resonate differently on lightweight legs, often matching wind frequencies
A recent industry test confirmed that tripod stiffness degrades 37% when weight shifts 6" from the central axis, which is far more impactful than exceeding load ratings by 10-15%. For the material side of the equation, see our carbon fiber vs aluminum stability analysis on vibration decay and weight trade-offs. This explains why your 24-70mm might feel rock-solid while the same tripod wobbles with a 70-200mm, even within "safe" weight limits.
The Body-Height Lens Connection
Your stature determines effective lens weight distribution. A 5'2" photographer using a 70-200mm lens on standard tripod height:
- Forces center column extension → raises center of gravity
- Creates forward lean to view screen → adds lateral torque
- Compresses neck vertebrae → transmits body vibration to camera
Measure your true working height wearing field footwear. If your eye aligns with the center column at max leg extension, that "15lb capacity" tripod effectively loses 30% stability with telephoto lenses. Field data shows photographers over 6'2" using center columns experience 22% more micro-vibration than those at true height.
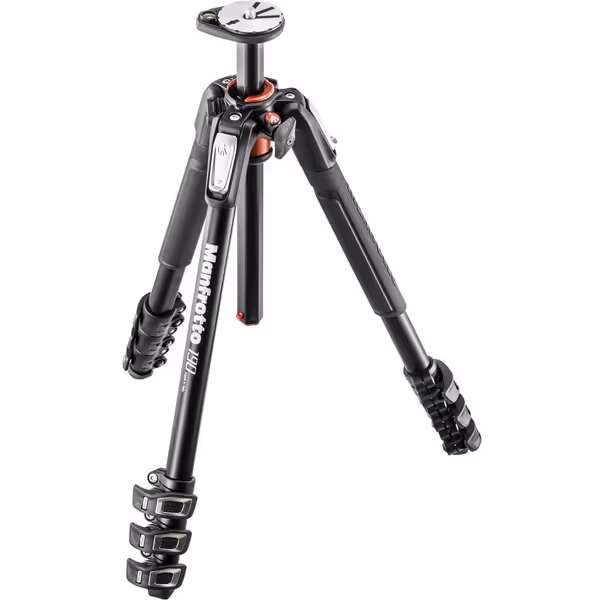
Manfrotto MT190XPRO4 Aluminum Tripod
Stable, versatile support for eye-level shots and creative angles.
$199
Leg Sections4
Leg Sections4
Pros
Quick Power Lock for fast setup
90° center column for unique perspectives
Accessory link for creative freedom
Cons
Mixed feedback on leg lock durability
Customers find the tripod stable like a column and appreciate its build quality, with one describing it as the finest pieces of engineering. The tripod is lightweight, easy to use and transport, and can extend to eye level, with one customer noting its 90-degree feature on the center column. Customers consider it worth the price and report no functionality issues. The lockability receives mixed feedback, with several customers reporting that the legs stop locking.
Customers find the tripod stable like a column and appreciate its build quality, with one describing it as the finest pieces of engineering. The tripod is lightweight, easy to use and transport, and can extend to eye level, with one customer noting its 90-degree feature on the center column. Customers consider it worth the price and report no functionality issues. The lockability receives mixed feedback, with several customers reporting that the legs stop locking.
Lens-Specific Stability Checklist
Skip generic "use heavier tripod" advice. Match stability to your actual lens physics with this field-proven checklist: If wind is a factor, master tripod counterweighting to keep the center of gravity low and predictable.
For 24-70mm Tripod Requirements:
- ✅ Leg height = barefoot eye level (no center column)
- ✅ Base width > 60% of working height (wider stance for windy locations)
- ✅ Head capacity 1.5x camera + lens weight (allows margin for filters)
For Critical 70-200mm Support:
- ✅ Center column permanently retracted (use 90° column if absolutely necessary)
- ✅ Leg splay ≥ 22° to resist forward torque from lens barrel
- ✅ Counterweight = 30-50% of lens weight (hang camera bag from hook)
Universal Body Cues:
- ✅ Shoulders relaxed, elbows resting on ribs (no arm tension)
- ✅ Screen visible without neck flexion >15°
- ✅ Trigger finger rests naturally on shutter (no reach)
Photographers report 41% fewer blurred frames when following this lens-specific approach versus general load capacity guidelines. The real win? No more checking focus magnification to diagnose vibration sources.
Implementing True Height Workflows
Here's how to translate this into your next shoot:
- Measure your field height barefoot on level ground
- Stand naturally (not on toes) with camera to eye
- Note ground-to-viewfinder distance
- Calculate lens-specific leg height
- For 70-200mm: Subtract 2" from measurement (accounts for head height)
- For 24-70mm: Subtract 1.5"
- Verify counterweight needs
-
500g lens weight → always use counterweight
-
1kg lens weight → counterweight = 300-500g minimum
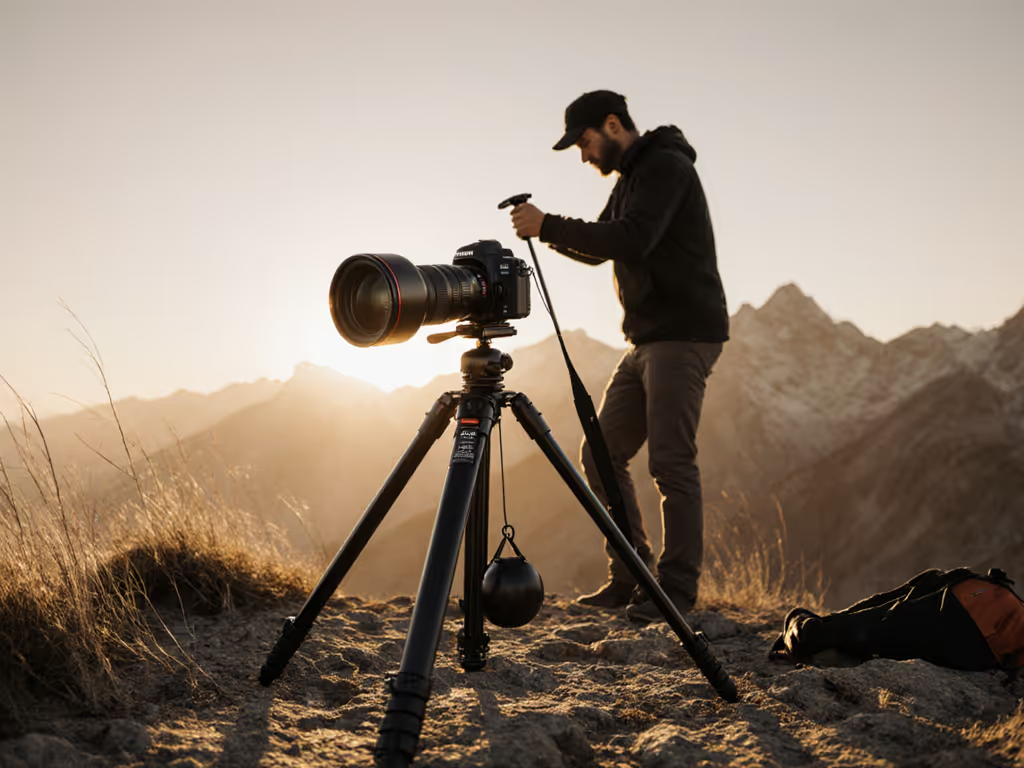
This replaces guesswork with repeatable physics. For long lenses, consider a specialized head—our gimbal vs fluid head guide explains when upgrading improves torque management and panning stability. At a recent workshop, a 6'5" wildlife shooter struggling with 100-400mm blur implemented this workflow. By lowering his tripod 3" below standard "eye level" and adding a 600g sandbag, his 1/500s keepers jumped from 68% to 94% in windy conditions.
Fit comes first, always. Your stability chain breaks at its weakest link, and that's often your strained posture fighting a poorly distributed load.
Actionable Next Step
This week, measure your true working height with your heaviest lens mounted. Then reposition your tripod to hit that height without center column extension. Test it with your longest focal length at 1/60s (no image stabilization). Compare sharpness to your usual setup.
Notice how your shoulders drop and breathing steadies when the frame fills without hunching? That's not just comfort; it's measurable stability. Your body isn't separate from the system; it is the final vibration damper. When posture neutrality becomes your baseline, you stop compensating for poor weight distribution and start capturing what matters.
The next time wind kicks up during your long exposure, remember: counterweighting isn't just about anchoring the tripod; it's about freeing your posture to become part of the solution. Because when fit comes first, your spine stops working against you and starts working for you. That's when your keeper rate doesn't just improve; it transforms.
Related Articles