Beginner Tripod Setup: Ball Head Built-In or Separate
By Nia Okafor • 23rd Feb

Choosing between a tripod with ball head already attached or buying them separately is one of the first decisions that trips up new photographers. The difference isn't academic. It shapes how fast you set up in the field, how much friction you fight in wind, and whether your habits hold when conditions turn hostile.
Why This Matters More Than Specs
When you're starting out, you're absorbing dozens of decisions at once: focal length, aperture, shutter speed, composition, light. Your tripod shouldn't be one more puzzle. The cleaner your setup routine, the more mental space you keep for the shot.
A budget tripod often ships as a package (legs plus head already married). That removes one choice. A beginner tripod setup that lets you mix components separately gives you flexibility, but demands you learn what actually works together. Both paths work. The question is which one prevents regret six months from now.
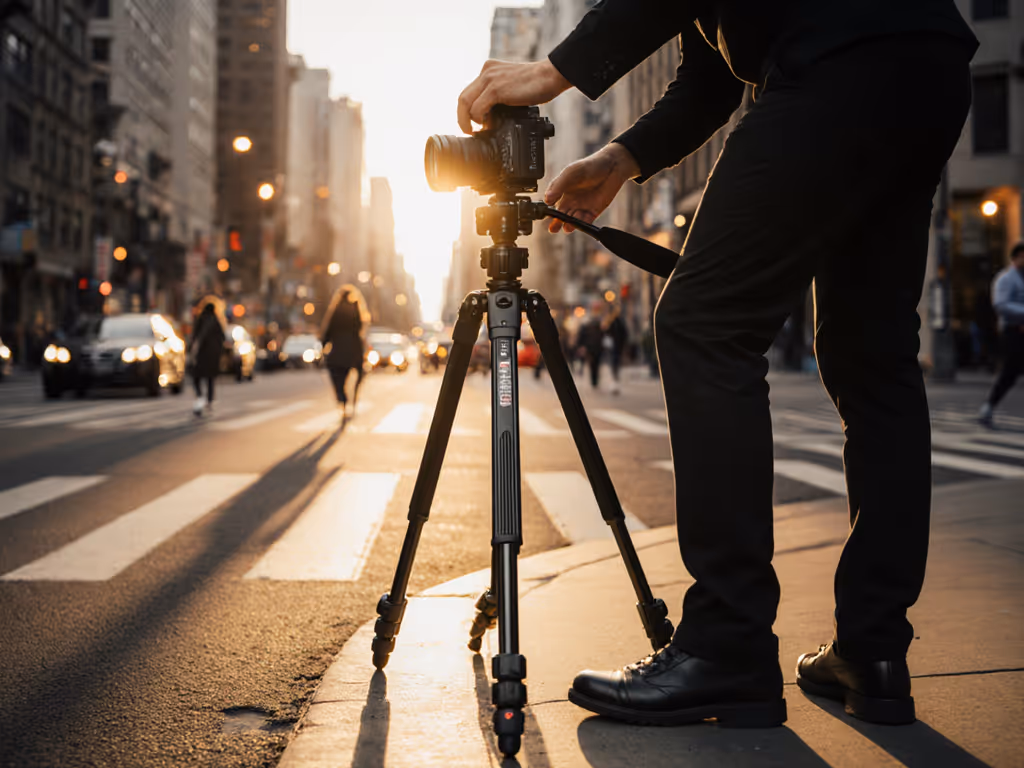
There's a reason workshops focus so hard on habit. On a wind-scoured dune, students wrestled twist locks and slumping columns until we paused and reset to a three-step sequence: legs to true height, level base once, then free the pan. What changed wasn't the gear, it was a habit they could repeat under pressure. That discipline starts with picking the right system.
Built-In Ball Heads: The Simplicity Path
Why They Work for Beginners
A tripod with ball head pre-assembled eliminates compatibility guesswork. The manufacturer has already tested the weight capacity of the head against the leg stiffness. Vertical play, pan tension, and locking feel are pre-tuned. You unpack the tripod, extend the legs, and shoot. No ARCA plates, no matching thread sizes, no wondering if your head will work with your legs.
Built-in heads also tend to be lighter and more compact, an advantage if you're hiking or traveling. A mini tripod for camera use often comes this way: a single, cohesive package that packs tight and deploys fast.
The Trade-Off
You lose modularity. If the head fails, you replace the whole tripod. If you upgrade your camera and need more load capacity, you can't just swap the head. And if the head's pan tension or locking speed doesn't match your field habits, you're stuck working around it rather than tuning it.
Entry-level built-in heads often use single-knob designs or pan-locks that don't separate smoothly. That forces improvisation, the enemy of sharp images when wind picks up.
Field Checklist: Built-In Head Setup
- Extend legs to your true eye level on flat ground (no center-column stretch)
- Tighten all leg locks in a calm, even rhythm; rushing leads to one loose
- Mount your camera and verify the head doesn't tilt under its own weight
- Test pan and tilt independently; if they bind together, adjust tension before shooting
- Level once, pan free. Make one firm adjustment, then lock the pan for your next shot
Separate Ball Head + Legs: The Craft Path
Why Photographers Choose This Route
Separate components let you match your exact weight and shooting style. You can run a best tripod budget setup by choosing economical legs and adding a quality head (or vice versa). You build a system, not just buy a kit.
Separate heads also let you tune pan and tilt controls independently. On ball heads like those used in precision work, you can tighten the main clamp, then adjust a dedicated pan knob so it feels loose and responsive. That separation of controls is what lets you move fluidly: pan left, tilt up, level, and pan free with no binding.
The Learning Curve
You need to understand ARCA compatibility (the industry standard for quick-release plates), head load ratings relative to your camera weight, and tripod thread sizes. It's not hard, but it requires a few field hours to internalize. Beginners often buy a head and legs that technically work together but feel mismatched, loose in wind or sluggish to adjust.
Field Checklist: Separate Head Setup
- Inspect the tripod-to-head connection; tighten the mounting screw firmly but don't muscle it
- Mount your camera on the ARCA plate and confirm the plate seats flush with no wiggle
- Extend legs and spread them to stable angle (wider base for uneven terrain)
- Tighten the main head clamp until it resists your camera weight but doesn't strain
- Back off the main clamp slightly, then independently adjust pan and tilt (this is the key separation that prevents binding)
- Level once, pan free: lock the pan knob once you've positioned your frame
- Before shooting, gently test the rig by pressing the lens (no creep, no settling)
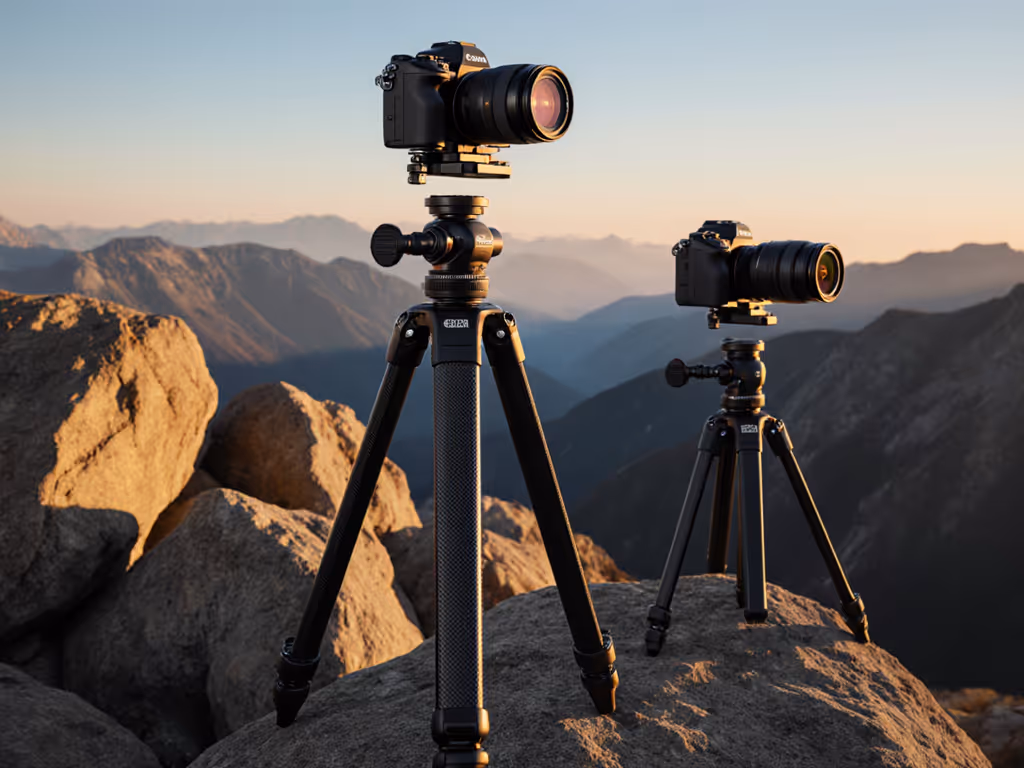
Comparison: Built-In vs. Separate at a Glance
| Factor | Built-In Head | Separate Head |
|---|---|---|
| Setup time | Fastest; minimal assembly | 2-3 min to verify threads and ARCA compatibility |
| Field habit friction | Head behavior is fixed; you adapt | Head tuning becomes part of your routine |
| Weight capacity clarity | Clear: head + legs tested together | Requires you to verify load rating match |
| Modularity | None; replace entire tripod if head fails | Swap head or legs independently |
| Best for | Travelers, budget-conscious beginners | Photographers upgrading gear or adding a second head |
| Cost path | Lower entry; higher total if you outgrow it | Higher initial investment; lower long-term cost |
| Glove-friendly controls | Depends on design; often compromised | You can choose heads with robust, oversized knobs |
The Decision Tree
Choose Built-In If:
- You shoot one camera and one lens weight category
- Pack weight and size are your priority
- You want to avoid learning ARCA compatibility on day one
- You're testing whether tripod work is worth your time before investing
Choose Separate If:
- You own multiple cameras or switch between wide and telephoto regularly
- You've researched and identified a head with pan/tilt controls that match your style
- You're willing to spend an hour learning ARCA mounts and load ratings
- You plan to shoot in varied terrain and want leg adjustability
Step-by-Step: Your First Setup Routine
Step 1: Verify Your Equipment Before the Field
Whether built-in or separate, take 5 minutes at home to confirm all threads are tight and nothing moves when you push. If you're buying separate components, test the head on the tripod legs indoors. Confirm the ARCA plate slides smoothly and seats flush. This habit prevents on-site surprises.
Step 2: Set Legs to Your True Height
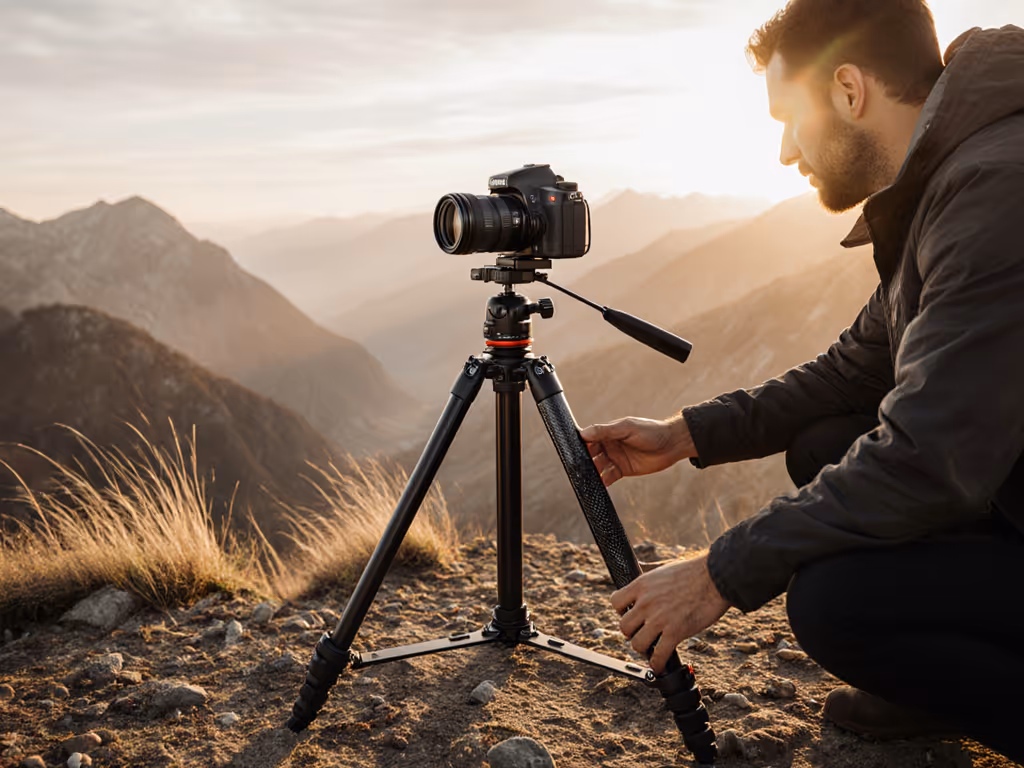
Extend legs until your eye is level with the viewfinder without raising the center column. For choosing the right working height, see our tripod height guide. If you're leaning or craning, the tripod is too short. This is not optional: poor working height is where back pain and rushed focus happen. On uneven terrain, lower the tripod and adjust your own stance rather than hunting for a "level" that doesn't exist.
Step 3: Spread the Legs for Wind Stability
Wider base = more resistance to sway. On grass or sand, splay the legs fully. On rock or packed ground, angle them slightly inward for purchase. Tighten all locks in the same order every time; rhythm prevents the one lock you skip.
Step 4: Mount and Balance Your Camera
Place the camera on the head's quick-release plate. If using a separate head, confirm the ARCA plate is flush, no gaps. The camera should not tilt under its own weight. If it does, you either have a head rated too light for the load or a loose mounting screw. Fix this before you shoot.
Step 5: Tune the Head Controls
If using a separate head with dual-knob controls, tighten the main clamp first, then back it off by half a turn. This gives you room to adjust pan independently. Tight main clamp + loose pan = the smooth, hands-free system where the camera tracks your subject without binding.
If using a built-in head with a single pan-lock, accept its behavior and adjust your shooting technique: frame coarsely first, lock, then fine-tune composition by moving yourself, not the head.
Step 6: Level and Lock
Check that the horizon is true. Make one final pan adjustment, then lock it. Slow is smooth; smooth is sharp when the wind rises. A deliberate, unhurried check at this point prevents the blur caused by a head settling mid-exposure.
Step 7: Do a Pressure Test
Gently press the lens sideways and downward. The rig should not budge, flex, or creak. Review our tripod safety protocols to prevent costly tip-overs. If it does, walk through your locks again. A stiff connection is a sharp image. You're not wasting time (you're building the habit that keeps you sharp in pressure).
Common Friction Points (And How to Avoid Them)
Binding pan-tilt controls: If both knobs feel locked, you're turning them simultaneously. Separate them: tighten the main clamp first, then adjust pan alone. This applies to both built-in and separate heads.
Tripod height mismatch: You're extending the center column more than halfway. Stop. Buy a taller tripod or work from lower ground. Center columns act like tuning forks (they amplify vibration in wind). Don't fight the design.
Loose ARCA plate (separate heads): The plate slides even after you think it's locked. The solution is a firm two-hand seating: slide the plate in, push down hard, and confirm it doesn't rattle. Speed here leads to regret mid-exposure.
Corrosion in leg locks: Sand and salt water creep into twist locks over time. Rinse your tripod in fresh water after beach or desert work. This is maintenance, not optional care. Locks seize fast when ignored. Get the full tripod maintenance checklist to prevent seized locks and corrosion.
Actionable Next Step
Before you buy, spend 30 minutes researching two options: one budget tripod with a built-in head, and one separate-head combination at the same price point. Compare the working height (legs extended, no center column) to your own body height. Check the head's load rating against your camera plus heaviest lens. Then rent or borrow each setup for one afternoon in your shooting conditions, wind, terrain, light.
Your hands know the truth faster than specs. The setup that lets you work without thinking, that doesn't demand constant fiddling, that lets you level once, pan free (that's the system you'll actually carry and use). Repeatable habits beat improvisation every time. Choose the tripod that makes your habits stick.
Related Articles