Metal Tripod Lightning Safety: Essential Storm Protocols
By Nia Okafor • 9th Dec
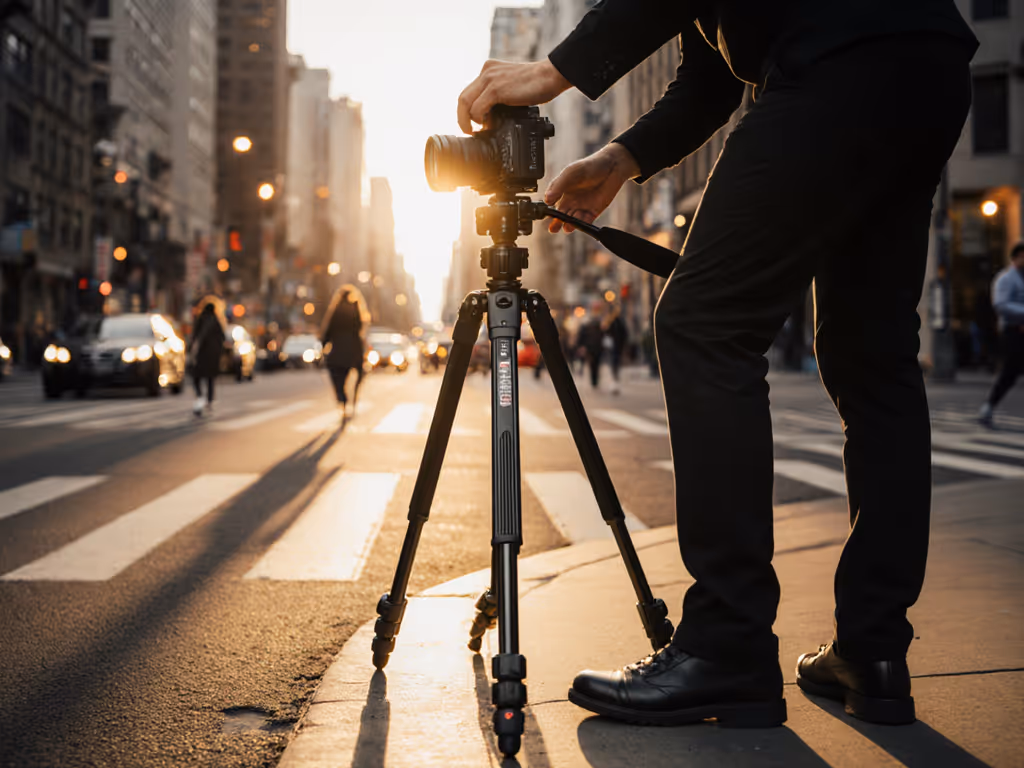
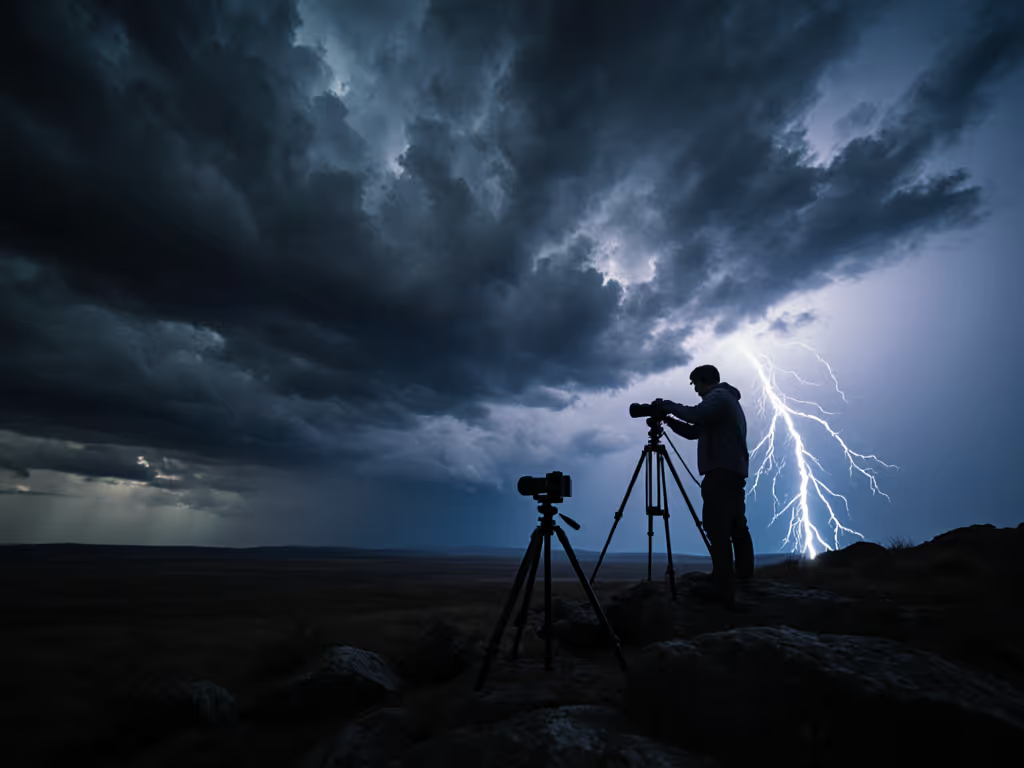
When you're chasing dramatic lightning strikes across the horizon, tripod lightning safety becomes your non-negotiable priority. Serious photographers understand that outdoor photography safety isn't just about capturing the perfect frame, it's about returning home with both images and your health intact. Metal tripods, while essential for stability in challenging conditions, introduce specific risks during electrical storms that demand disciplined protocols. For wind-only stability when storms stay distant, see our counterweighting in wind guide. Let's address the questions professional photographers ask when balancing creative ambition with personal safety.
Slow is smooth; smooth is sharp when the wind rises.
Do metal tripods actually attract lightning?
This is the question that stops most photographers mid-crouch as they feel the first rumble. The truth is more nuanced than "metal attracts lightning." What matters is your relative height and isolation in the landscape. Metal doesn't attract lightning, it simply provides a more efficient path to ground when a strike occurs. Your tripod becomes dangerous primarily when you're the tallest object in an open area, creating a potential channel for that electrical discharge.
Here's what field experience teaches us: in a wind-scoured dune workshop I once led, we paused to address precisely this concern as students wrestled with equipment during gusty conditions. The focus shifted from "what material is my tripod made of" to "where am I positioned relative to the storm." We implemented a three-step location assessment that became their repeatable safety habit:
- Scan for lower ground immediately (depressions, valleys, ravines)
- Identify substantial shelter within 30 seconds' reach (substantial buildings, fully enclosed metal vehicles)
- Establish your escape route before setting up your gear
Carbon fiber tripods offer no meaningful protection in a direct strike scenario. For hostile conditions beyond lightning risk, see our extreme environment tripod guide. Focus instead on your positioning and situational awareness.
What's the safest location for lightning photography?
The ideal scenario is capturing lightning from the side of a storm as it approaches or departs (not when it's directly overhead). When setting up your Peak Design Travel Tripod or similar support, remember this critical principle: lightning seeks the path of least resistance to ground. Your goal is to avoid being part of that path.
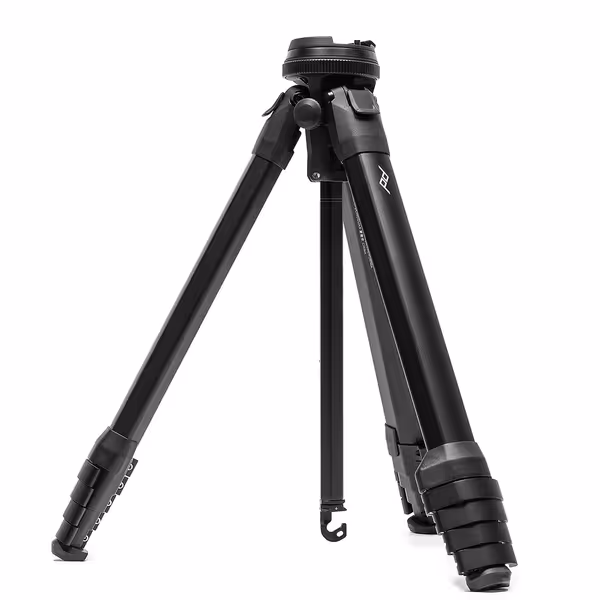
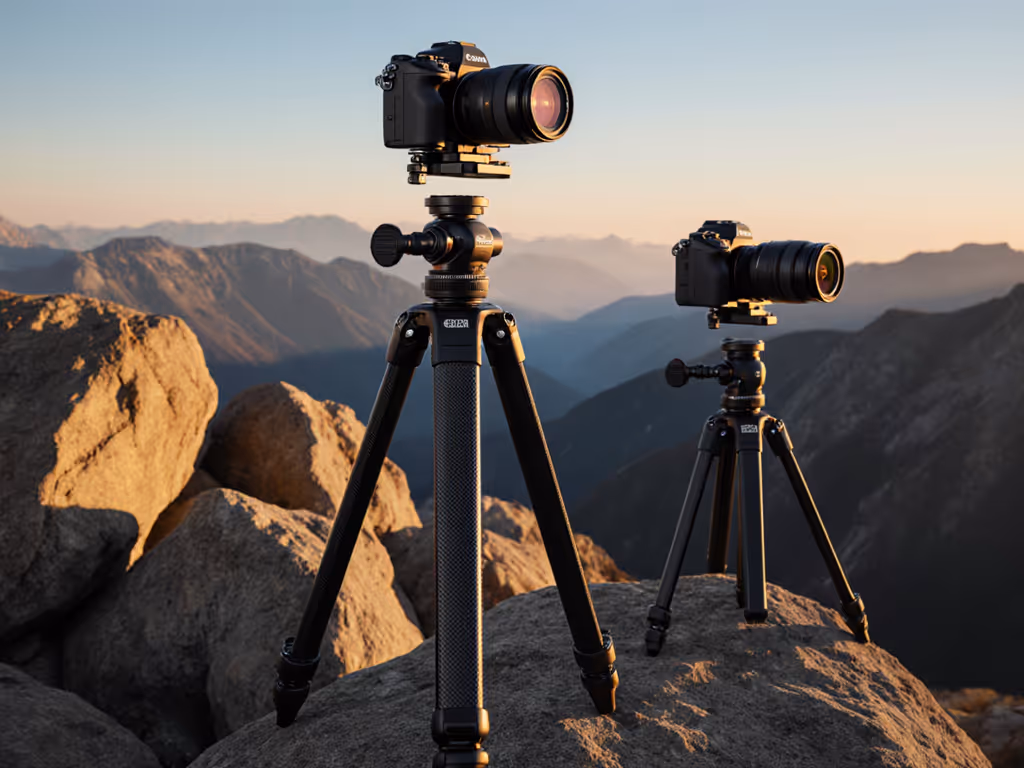
Peak Design Travel Tripod, Aluminum
Pro-level stability in a compact, portable, and quickly deployable design.
$399.9
Max Load Capacity20 lbs
Max Load Capacity20 lbs
Pros
Unmatched portability: packs to water bottle size.
Pro-level stability for full-frame cameras + telephoto.
Rapid setup means you never miss a shot.
Cons
Mixed feedback on build quality and leg locking mechanism reliability.
Customers praise the tripod's brilliant design, compact size, and its suitability for traveling and backpacking photography.
Customers praise the tripod's brilliant design, compact size, and its suitability for traveling and backpacking photography.
Field checklist for safe positioning:
- Never be the tallest object in the area (avoid hilltops, open fields)
- Maintain at least twice your height distance from isolated trees or poles
- Seek locations near groups of trees of similar height (never under a single tree)
- Avoid water bodies, metal fences, and wire structures
- Calculate safe distance: if you hear thunder less than 30 seconds after lightning, the storm is within 6 miles and requires immediate action
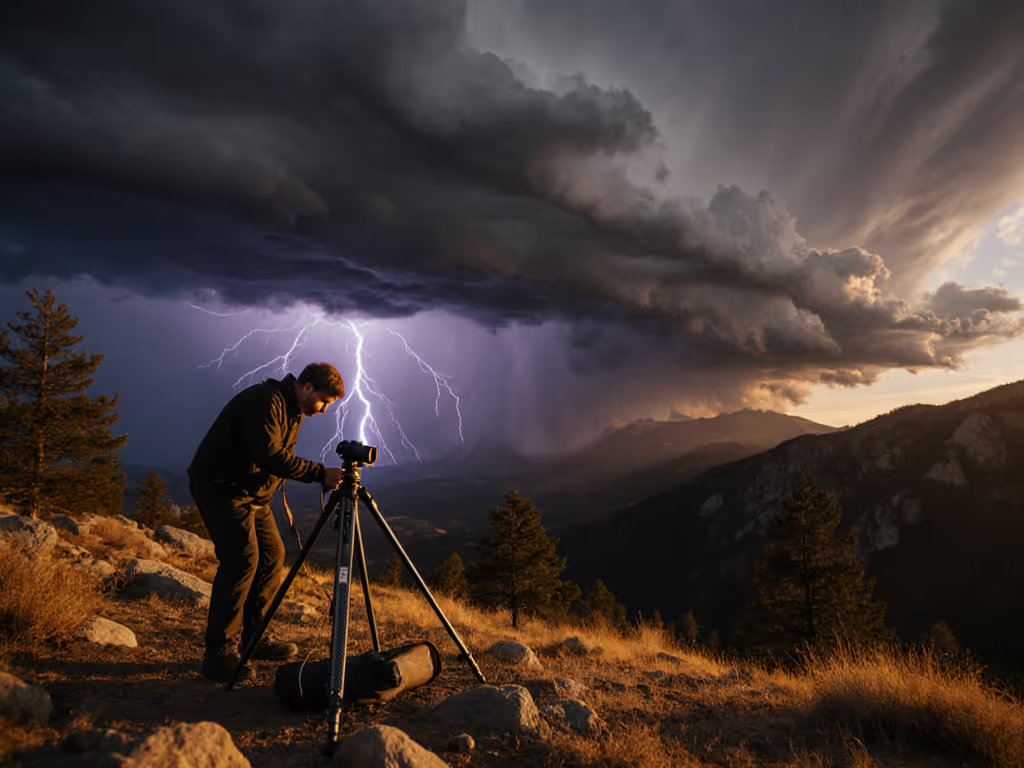
In the badlands of Utah, I once watched a photographer instinctively drop to a crouch when realizing his Manfrotto 190 was making him the tallest object in a sagebrush field. That practiced habit likely kept him safe as a nearby strike sent sand scattering across our lenses. If you're setting up on sand or slick rock, choosing the right tripod feet for rough terrain reduces slip and setup time.
What's my action plan when a storm approaches too quickly?
When thunder becomes concerning, your response must be immediate and systematic. Forget your gear for the moment (your safety comes first). Here's the protocol I teach in all my workshops:
- Stop shooting immediately (no "just one more shot")
- Lower your tripod completely to the ground, never carry it upright
- Assume the lightning crouch: feet together, crouched low, hands over ears
- Move toward safer terrain using short steps (minimizing ground potential difference)
Hazard note: Contrary to popular belief, rubber soles on shoes provide negligible protection. What does work? Being inside a substantial building or a fully enclosed metal vehicle (the metal frame creates a Faraday cage that channels electricity around you, not through you).
I once saw a photographer spend 20 minutes packing gear while a storm closed in, only to scramble for shelter as the first strike hit nearby. Repeatable habits overcome panic: in my workshops, we practice "storm drill" scenarios until the sequence becomes automatic. For everyday risk reduction between storms, review our secure tripod setup guide.
How do I manage my equipment safely during electrical storms?
Your relationship with your gear changes dramatically when lightning is present. Here's how to minimize risk:
- Never hold metal equipment during active lightning
- Set tripods down and move away from them if lightning is imminent
- Avoid touching multiple metal objects simultaneously (cameras, tripods, lenses)
- Wait at least 30 minutes after the last observed lightning before resuming photography
Plain example: When photographing a distant storm, I always set up my gear, frame my shot, then step back to a safer location while the camera records. Many modern triggers and intervalometers allow remote shooting without maintaining physical contact with potentially conductive equipment.
What weather monitoring tools should I use?
Technology provides early warning that can keep you safe. Integrate these into your daily routine:
- NOAA Weather Radio for official alerts
- Lightning detection apps that show real-time strike locations
- RadarScope for tracking storm movement and intensity
- Analog backup: Count seconds between lightning flash and thunder (5 seconds = 1 mile distance)
Remember: Lightning can strike 10 to 15 miles from the storm's rain core. Just because it's not raining where you are doesn't mean you're safe.
How can I develop automatic safety responses?
This brings me back to the core belief that guides my teaching: Repeatable habits beat improvisation when conditions turn hostile. When seconds count, you won't have time to consult a manual.
Build your safety muscle memory through deliberate practice:
- Rehearse storm drills during calm conditions (where to move, how to drop equipment)
- Set personal thresholds ("At 15 seconds between flash and thunder, I pack up")
- Create a pre-storm checklist you follow religiously
- Practice your escape route at each location before setting up
On that wind-scoured dune workshop, the moment we established the three-step sequence (legs to true height, level base once, then free the pan), the students' anxiety transformed into confidence. They weren't just learning tripod setup; they were building habits they could repeat under pressure. Level once, pan free became their mantra for both stability and safety.
What's my actionable next step?
Before your next storm photography session, do this one thing: conduct a lightning safety rehearsal at home. Time yourself packing your gear and moving to your designated safe location. If it takes more than 60 seconds, simplify your workflow. Practice until your safety response becomes as automatic as adjusting your tripod legs.
Remember, the most impressive lightning photograph you'll ever take is the one that allows you to tell the story of capturing it. Plan for safety first, and your creative success will follow. Your instinct for safety should be as well-practiced as your ability to set up on uneven terrain, because when conditions turn hostile, repeatable habits are what bring you home.
Related Articles