Tripod Height for Body Type: Stop the Strain
By Yuki Tanaka • 19th Mar

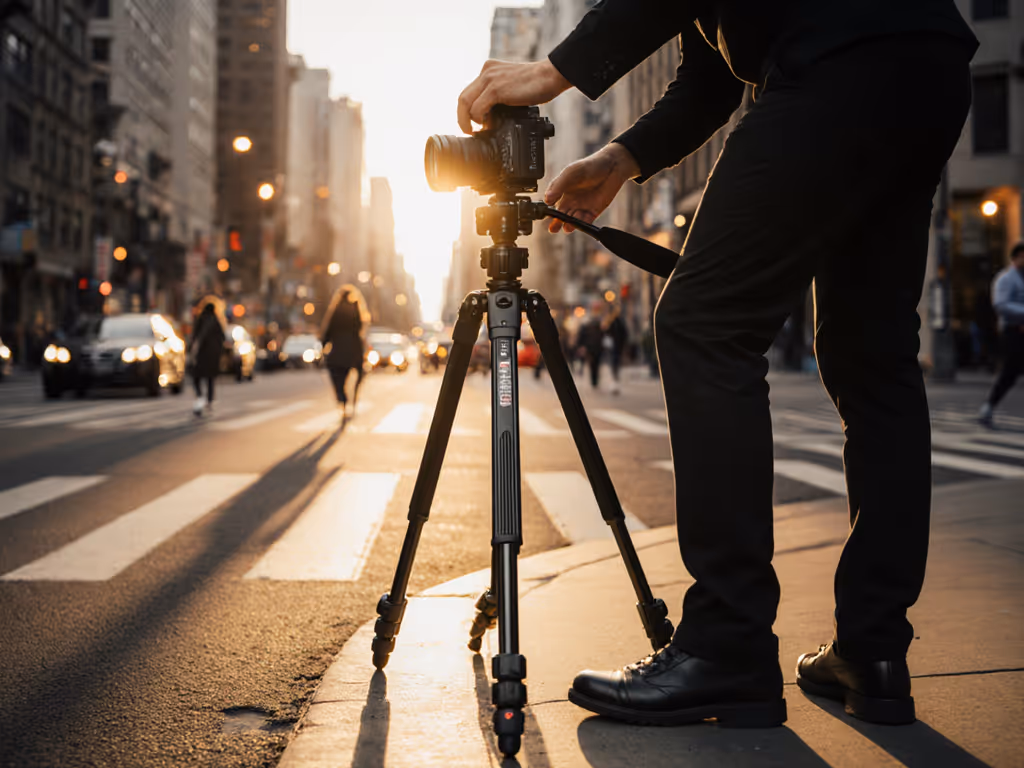
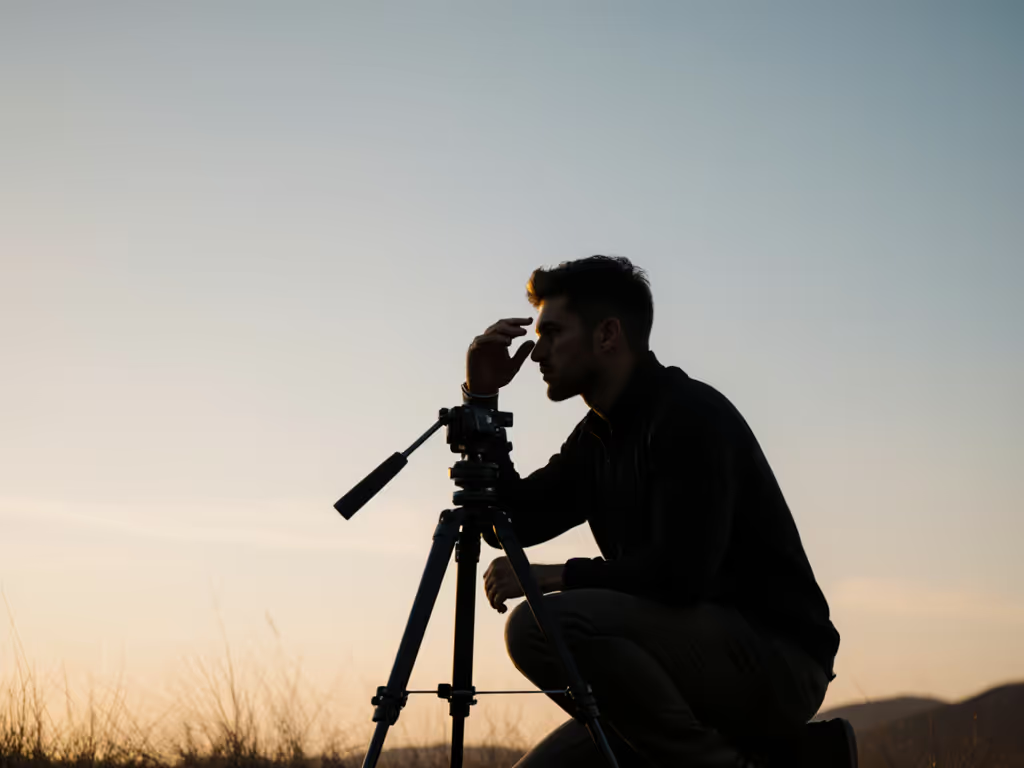
Tripod height for body type is rarely discussed in spec sheets, yet it's the difference between sharp images and wasted money. Most photographers buy tripods based on advertised maximum height alone, without considering whether that height aligns with their actual eye level, arm reach, or the terrain they shoot. The result: hunched posture, wobbly center columns extended too far, and tripods that sit in closets because they're either too tall or too short to use comfortably.
Ergonomic tripod setup starts with a simple question: at what height can you operate your camera without bending, straining, or compromising stability? This isn't about vanity; it's about keeper rates. A poorly matched tripod forces awkward stances that introduce vibration, slow your workflow, and leave you exhausted after a long session.
The Real Problem: Spec Sheets Lie
Manufacturers advertise maximum height, often achieved only by extending a wobbly center column. This number sounds impressive on a product page but doesn't reflect the height at which your tripod actually remains stable enough for sharp long exposures or telephoto work. The practical eye-level height (using only the legs, no center column extension) is what matters for serious photography.
Consider the math. If you're 5'10", your eyes sit roughly 67 inches from the ground. If a tripod maxes out at 63 inches without the center column, you'll be bending slightly to frame shots comfortably. Add a 4-inch ball head, and you're even further off. The gap between spec and reality widens for very tall or very short photographers. Those over 6'2" often can't find commercial tripods tall enough; those under 5'4" struggle with overly long legs that prevent proper ground-level work.
The agitation compounds when you consider stability. I once purchased an eye-catching aluminum tripod with impressive numbers on the box. Within weeks, it crept under heavier lenses, forcing me to extend the center column, turning the rig into a vibrating tuning fork. I sold it at a loss and built a spreadsheet instead. Mid-tier carbon-fiber legs paired with a proven used ball head outperformed the flagship and freed budget for field plates and leveling gear. That experience reframed my thinking: value lives where stiffness, weight, and price intersect sanely.
Photographer Height Considerations and Comfort
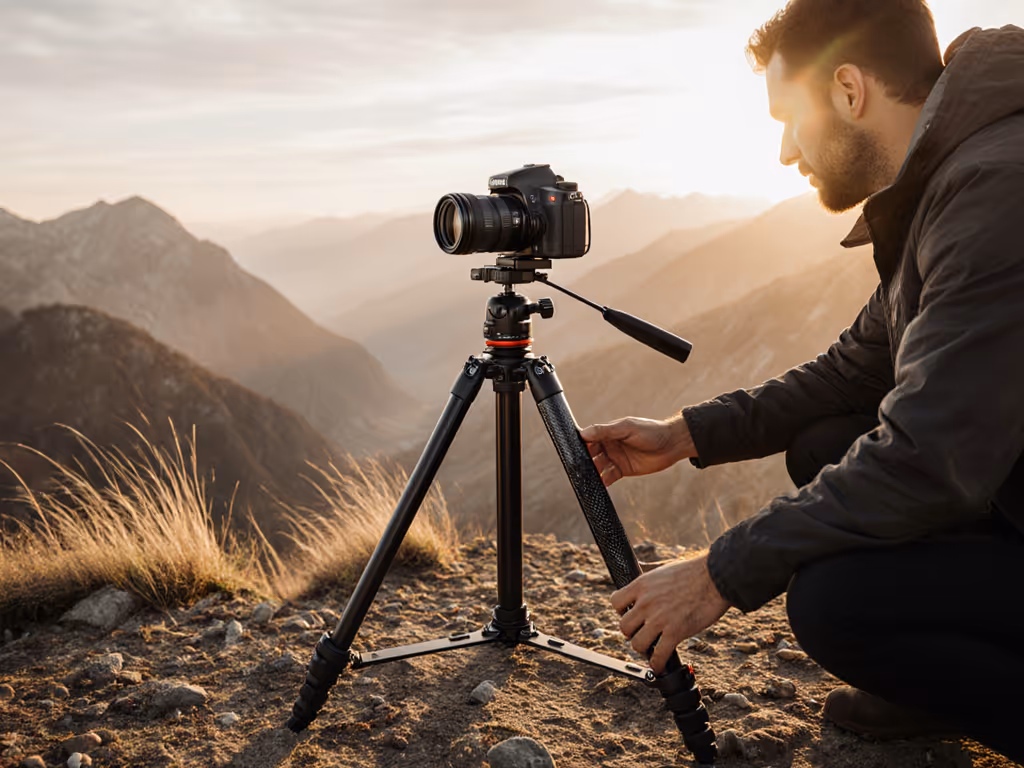
The first step is honest self-measurement. Stand straight, have someone measure from the ground to your eye level in inches. Record it. This becomes your target working height.
For most adults in the 5'4" to 6' range, that target falls between 52 and 66 inches. The best tripods reach this height using only the leg sections, with no center column deployed. Need help choosing leg sections? Our 3-section vs 4-section stability test shows how section count affects true height and stiffness. Why? A fully extended center column creates a single point of support and transforms horizontal vibration into vertical resonance, exactly what you don't want during a 2-second exposure or when panning with a 400mm lens.
A few body-type rules of thumb:
- Under 5'4": Look for tripods in the 50-56 inch range with legs that splay wide and low. Verify minimum height and low-angle capability; standard 63-inch tripods will force excessive bending or unusable center-column workarounds.
- 5'4" to 5'10": The sweet spot. Most tripods in the 60-65 inch range work without center-column extension. Test that your eye level sits just below the head when legs are fully extended.
- Over 6': Seek tripods advertised at 68+ inches without the center column, or invest in longer custom legs. Industry data shows tall photographers often abandon tripods because off-the-shelf models force hunching or excessive center-column use.
Ergonomic Photography Gear: Stability-per-Dollar Framework
Once you've mapped your ideal height, compare candidates using a stability-per-dollar lens. This isn't about the cheapest tripod; it's about the stiffest, most reliable support for your actual load and conditions per dollar spent.
Gather three data points for each tripod:
- Actual working height (leg sections only, no center column) measured in inches. Subtract 2 inches to account for shoes and uneven terrain. Does it match your eye level? If not, reject it or plan for a permanent center-column penalty.
- Carbon vs. aluminum mass trade-off. Carbon tripods are lighter and stiffer but cost more. Aluminum is heavier and less rigid. See the physics-backed carbon vs aluminum vibration guide to understand real-world damping and weight trade-offs. For travel or hiking, the extra pounds add up; for studio or car-based work, the cost savings might justify it. Run the sourcing tips: used carbon-fiber legs often undercut new aluminum by 30-40%, flipping the equation.
- Lock design and stiffness. Flip-locks are fast in gloves; twist-locks are strong. We put flip locks vs twist locks through cold, sand, and wet tests to see which survives worst conditions. Check user reviews for creep (gradual slip under load) and ice/salt durability. A cheap lock on good legs ruins the rig.
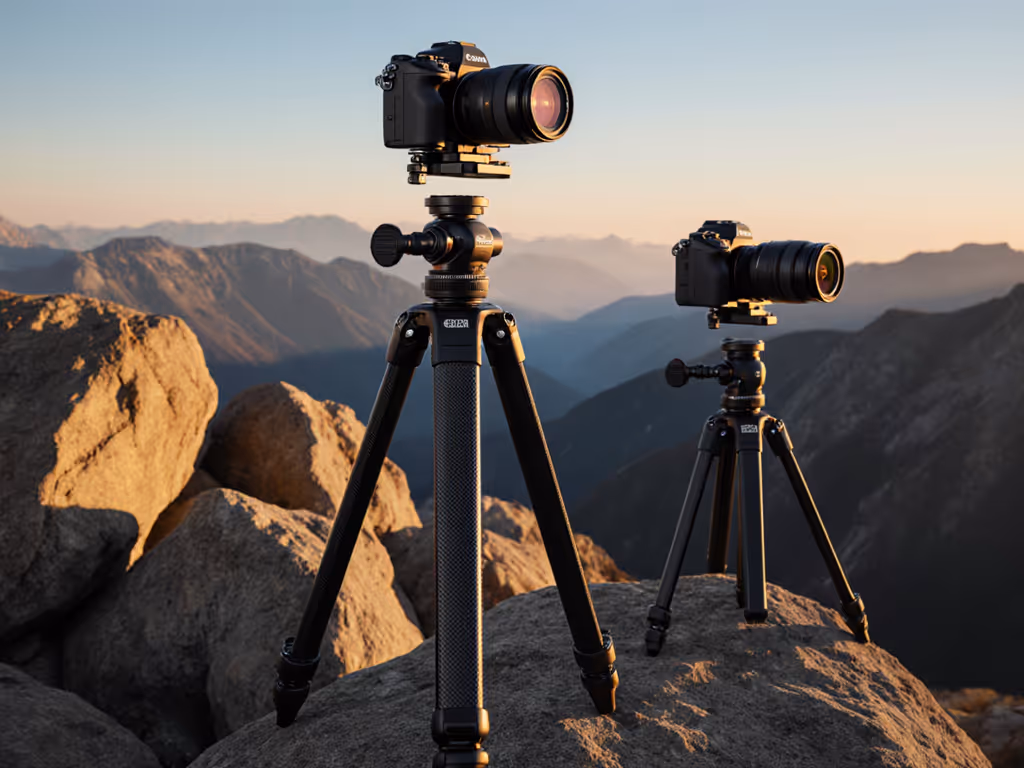
Avoid the impulse to buy "one tripod for everything." A lightweight travel tripod (4.5 lbs, 55 inches) and a studio-class rig (7 lbs, 67 inches) together cost less than one mediocre all-rounder and deliver sharper results across contexts. Modularity focus: pair used, proven legs with a reliable ball head or geared head from a trusted brand.
Budget Tripod Sourcing and Real-World Testing
New doesn't mean better. Used-market tripods from reputable brands often outperform budget new rigs because materials and tolerances haven't declined yet. Sites like eBay, KEH, and Adorama secondhand sections list older carbon-fiber tripods at fraction-of-retail prices. Short caveat: inspect for bent tubes, pitted locks, or corrosion. Ask sellers about drop history and actual use.
When you've narrowed to two or three candidates, test them in your environment. Set up at home, attach your camera, and deliberately induce vibration: tap the leg, touch the center column, simulate wind by hand. Watch the response time. Sharp, quick damping is what you want; lingering oscillation signals poor stiffness or loose joints. Record your impressions in a spreadsheet: height, weight, lock-feel, vibration damping, pack size, and cost. Cost-per-point math reveals the winner without emotion.
A practical example: a new mid-range carbon tripod costs $250 and weighs 5.2 lbs. A used prosumer carbon rig from 10 years ago sells for $180, weighs 5.8 lbs, and includes a geared center column you can reverse for low macro work. The used option offers more features, better repute, and lower initial cost. Your choice depends on whether you value cutting 0.6 lbs (for hiking) or extra flexibility and margin (for rent-out or long-term durability).
Matching Tripod Height to Terrain and Use
Body type is half the story. Terrain matters too. On level concrete, a 63-inch tripod feels comfortable at eye level. On a rocky slope, the same tripod leaves you hunching if one leg settles lower. On soft sand, legs sink unevenly. Budget an extra 2-3 inches of head height if you routinely shoot uneven ground. Conversely, if you're often on decks or smooth tarmac, you can afford a shorter, lighter model.
For landscape photography, prioritize stability-per-dollar by starting with legs that reach your eye level without the center column, then pair with a simple ball head. You'll spend $250-$350 total and get sharper horizons than $1,000+ rigs hampered by poor ergonomics or center-column reliance. For macro and product photography, height takes a back seat to low-angle flexibility and precision. Reversible center columns or low-splay legs become valuable. For wildlife and architecture, height and smoothness matter for tracking and framing; invest slightly more in a gimbal head or a fluid video-pan ball.
Actionable Next Steps
- Measure your eye level in inches. Write it down.
- List your three most common shooting scenarios (landscape, street, studio, macro) and the terrain (studio, grass, rock, sand).
- Search used-market listings for carbon-fiber tripods in the 60-68 inch range from brands with 10+ year track records (Manfrotto, Gitzo, Really Right Stuff, Sirui). Record leg length, weight, and asking price.
- Test two candidates side-by-side at home. Prioritize stiffness, lock feel, and actual working height over advertised specs.
- Pair your chosen legs with a single, proven ball head from a trusted brand. Open-standard Arca-Swiss plates cost less than proprietary systems and unlock future upgrades.
This methodical path cuts through noise, minimizes regret, and yields a tripod system that earns its place in your bag for years. Sharp images and comfort aren't luxuries; they're the foundation of repeatable photography. Choose height that respects your body, locks that hold under load, and a price that lets you sleep soundly. That's where stability-per-dollar lives.
Related Articles