Urban Vibration Tripod Techniques for City Street Stability
By Mateo Álvarez • 21st May
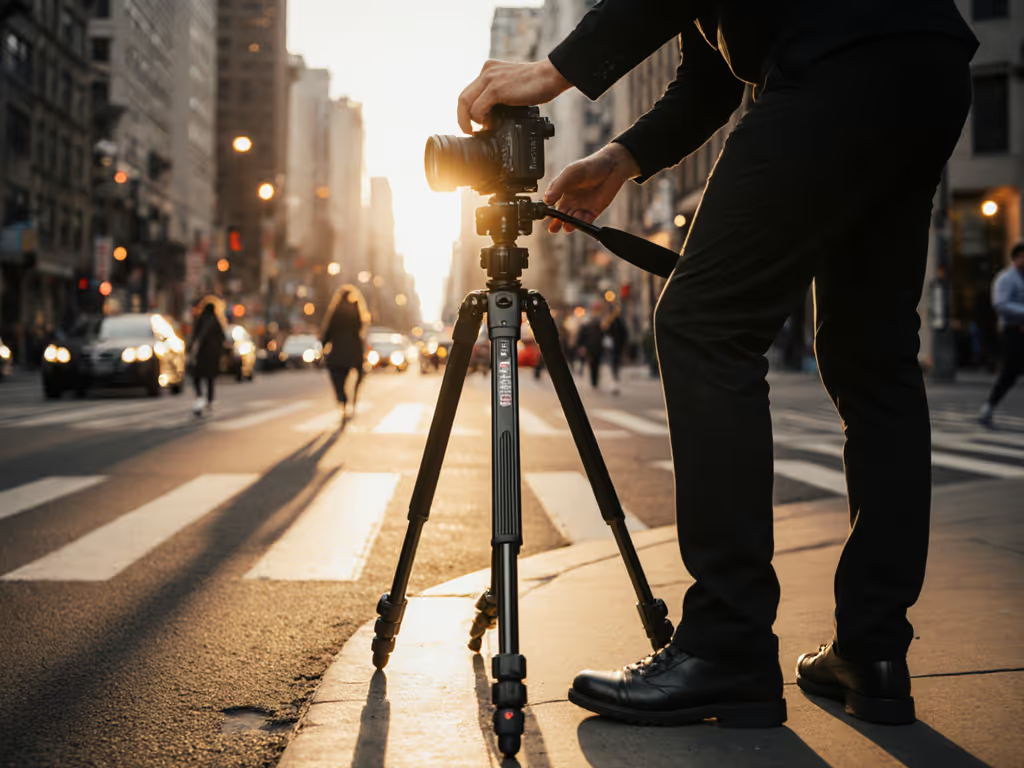
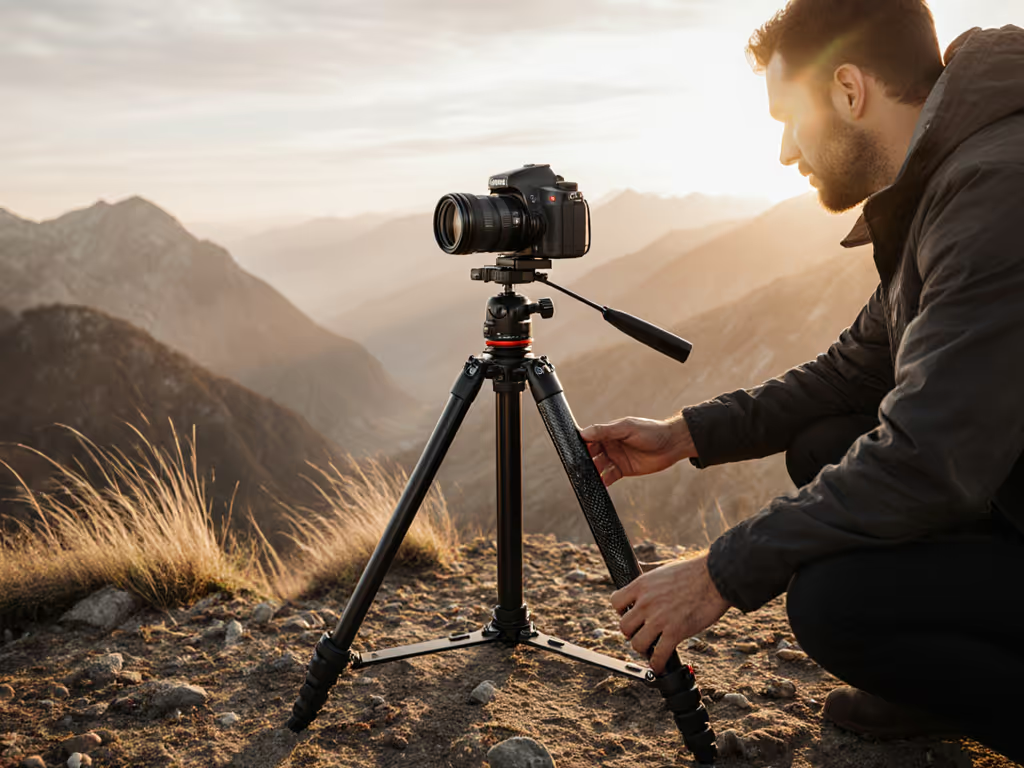
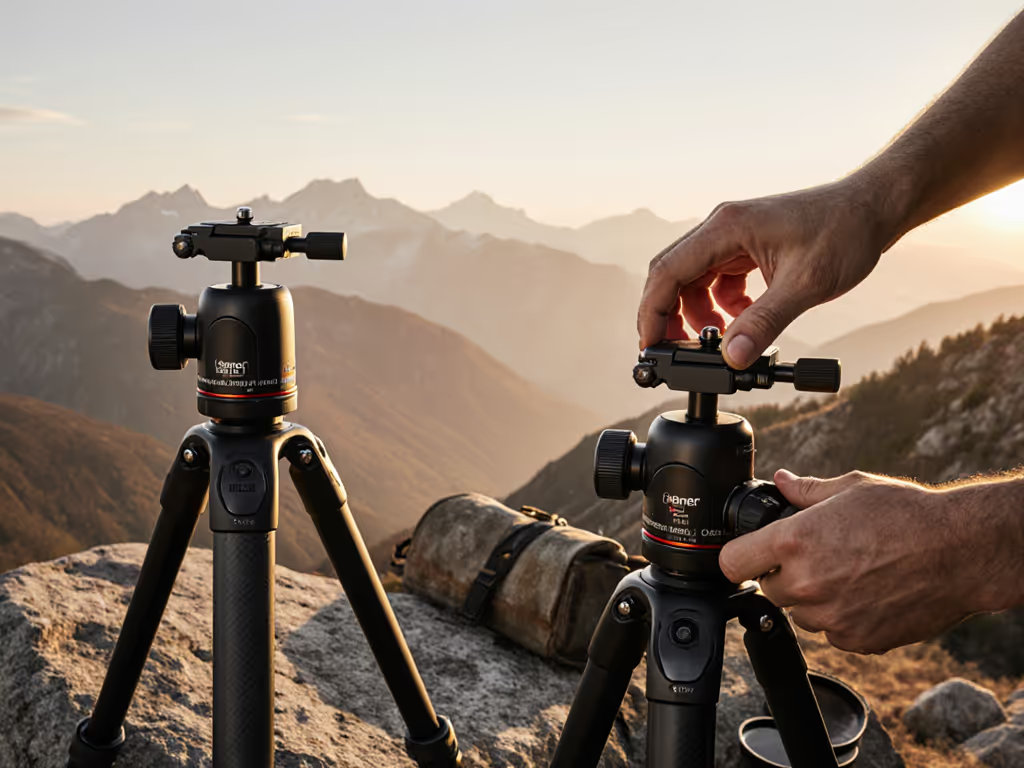
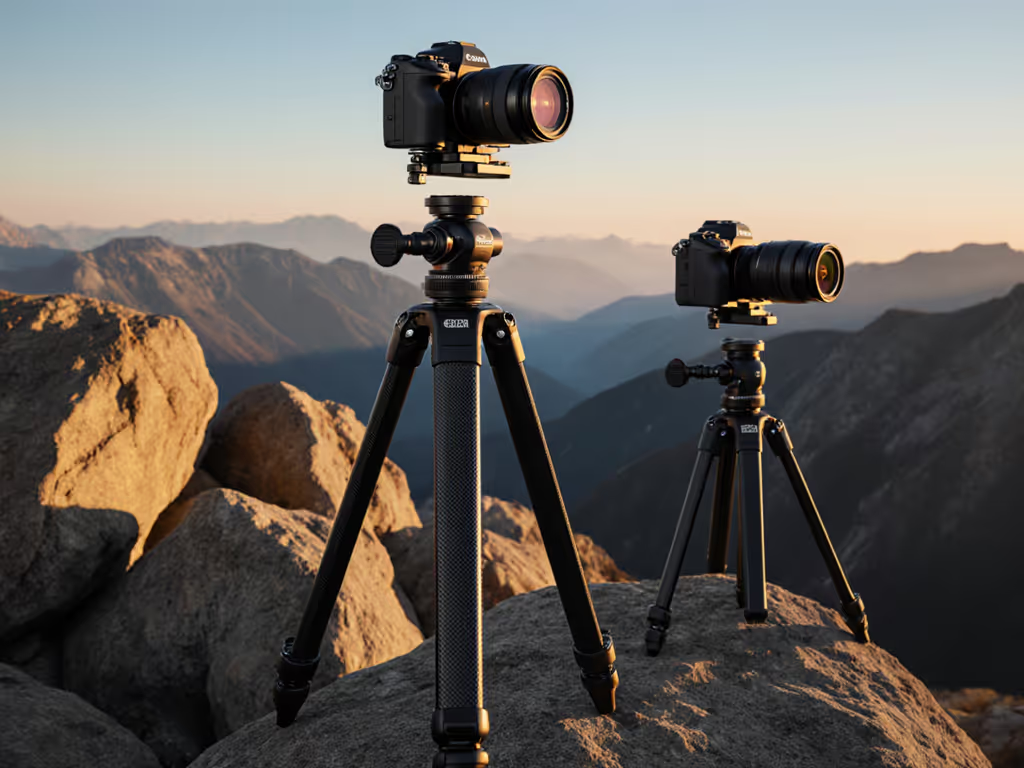
City streets are hostile to slow shutter work, which is why urban vibration tripod techniques matter just as much as good glass when you're chasing city street photography stability in traffic, near trains, or on elevated walkways. Think of a high-vibration tripod setup as a system: the street, your tripod stands, your body, and your camera all either feed or dampen vibration.
In this tutorial, I'll walk you through a step-by-step, fit-first workflow you can repeat in any city, so you stop guessing and start predicting which shots will be tack sharp. For discreet setups in crowded areas, see our street tripod low-profile guide.
Step 1: Read the Street Before You Drop the Legs
You can't control what you don't notice. Before your tripod ever hits the ground, map out where vibration is actually coming from.
1.1 Spot the usual culprits
Look and listen for:
- Heavy vehicles: buses, trucks, trams
- Nearby subway/metro lines, especially under grates or station entrances
- Bridges, overpasses, and elevated walkways
- Construction sites, jackhammers, cranes
- HVAC/ventilation systems humming through building structures
- Dense foot traffic on flexy platforms (plazas, wooden walks, floating docks)
Anywhere the ground feels "alive" under your boots will transmit movement straight into your tripod stands.
1.2 Run a 30-second vibration scan
Before committing to a composition:
- Stand where you plan to shoot.
- Lightly rest your hand or foot on:
- Railings
- Light posts
- Guardrails or fences
- Feel for buzzing or pulsing when traffic passes.
Then do a visual check:
- Mount your longest lens.
- Set a fast shutter (e.g., 1/250 s) and look through the viewfinder.
- Aim at a distant sign or building edge.
- Watch it as trucks, trains, or crowds move.
If the scene visibly shivers in the viewfinder, that location is a high-vibration tripod setup waiting to happen.
1.3 Decide: move, isolate, or work around it
- If vibration is constant and strong (over a subway grate), move a few meters and test again.
- If it's directional (bridge shaking more lengthwise than sideways), orient your tripod across the stiffer axis.
- If it's pulsed (trains every few minutes), plan to time your exposures between pulses.

Step 2: Build a Stability-First, Spine-Neutral Stance
Urban vibration control starts with how the tripod fits you. If the height is wrong, you'll hunch or lean, and your body becomes another moving part in the system. Fit comes first.
2.1 Set true working height
On level ground, your goal is simple: camera viewfinder or screen at natural eye level without raising the center column.
Use this quick routine:
- Stand tall, relaxed, feet shoulder-width apart.
- Unlock all leg sections but leave the center column down.
- Extend thicker leg sections first; only extend the thinnest sections if you truly need the height.
- Raise or lower legs until your head (with camera attached) lands at eye level.
Your spine is a sensor; let true height guide you.
If you feel even a small forward hunch or neck crank, tweak the leg length, not your posture.
2.2 Widen the tripod's base on city surfaces
For city street photography stability, a wide, low stance beats a tall, narrow one:
- Use a wider leg angle setting when you're near traffic or on a bridge.
- If you can afford to drop a little height, shorten the legs a bit and widen the stance.
- Keep the center column retracted; raised columns act like tuning forks in street vibration.
Shortcut: if the sidewalk is rumbling, aim for the shortest comfortable height where you stay upright and relaxed.
2.3 Decouple your body from the tripod
Once framed:
- Avoid resting your hands on the camera between exposures.
- Don't lean on a leg or hook your bag in a way that lets it swing.
- If you must shield the camera from wind, brace your elbows against your ribs, not the tripod.
Your body should cue setup decisions, then get out of the way.
Step 3: Surface-Specific Anti-Vibration Tripod Techniques
Different urban surfaces demand different anti-vibration tripod techniques. Here's how to adapt fast.
3.1 Standard sidewalk near traffic
Use when: On concrete a lane or two away from cars and buses.
- Place legs so that one leg points roughly toward the subject; this often feels more stable when you pan slightly.
- If there's a crack, expansion joint, or manhole cover, avoid placing all three feet on the same slab or cover.
- If possible, put at least one foot onto a section of pavement not directly cantilevered over a tunnel or void.
Bonus: Hang your bag directly under the apex, touching the ground if you can. A bag that swings freely adds vibration; a bag that gently loads the system can damp it. Get the most from counterweights with our wind counterweight guide.
3.2 Over subway grates and hollow structures
Use when: You're above tunnels or on metal grates.
- If you can, step off the grate and reframe from solid ground.
- If you must stay on it, place each tripod foot on a different bar or structural line, not all on one flexy strip.
- Lower the tripod a bit and use a wide leg angle; shorter legs flex less.
- Absolutely avoid raising the center column here.
If you're dealing with public space vibration control (like a busy station plaza), shooting multiple shorter exposures and stacking them later can beat one long, mushy frame.
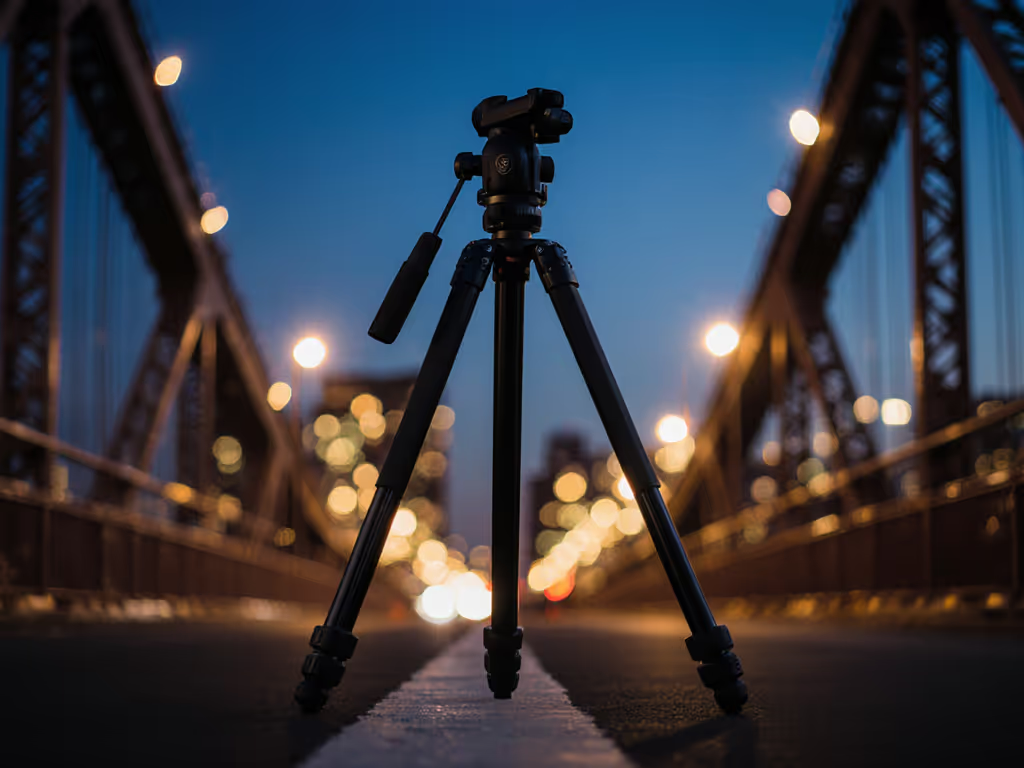
3.3 Bridges, overpasses, and elevated walkways
Use when: You want light trails or cityscapes from a moving platform.
- Walk the bridge once and feel where it flexes most; often the center spans move more than near the towers or anchors.
- Set up near structural nodes (columns, towers, thicker sections) when possible.
- Align your tripod so two legs face along the bridge and one across; then test and invert if the opposite orientation damps better.
On long exposures, time your shots between groups of pedestrians or when traffic briefly lulls. A few quiet seconds can make all the difference.
Step 4: De-Vibrate the Camera Itself
Even with a rock-solid tripod, small internal shakes can ruin slow shutters and long focal lengths.
4.1 Use the quietest shutter behavior you have
On your camera body:
- Prefer electronic first curtain shutter (EFCS) or full electronic shutter when possible and safe for the lighting.
- If you must use mechanical shutter, enable mirror lockup or a self-timer to let vibrations settle.
For hybrid shooters, a well-balanced video head and smooth pan/tilt movements minimize vibration during pans and timelapses.
4.2 Remove your fingers from the equation
- Use a 2-5 second self-timer or remote release instead of poking the shutter.
- For touchscreens, tap once, step back; don't keep a finger on the body during exposure.
4.3 Manage stabilization systems intelligently
- Many modern bodies detect a tripod and reduce IBIS/OIS aggressiveness, but not all.
- If you see "micro-jitter" in long exposures despite a solid rig, test a few frames with stabilization on and a few with it off.
- Keep whichever gives tighter detail at 100%, don't assume one rule fits every brand.
Step 5: Time Around Predictable Vibration
Sometimes the street never truly calms, but it often cycles.
5.1 Learn the local rhythm
Watch for a few minutes:
- How often do trains roll under that grate?
- Do traffic lights create gaps in heavy traffic?
- Does foot traffic on the bridge come in waves (tour groups, rush-hour bursts)?
Note the quiet pockets, even if they're only 10-15 seconds long.
5.2 Adapt your exposure strategy
- Instead of one 30-second exposure, shoot six 5-second frames and blend.
- When trains are the main culprit, shoot between passes, even if that means nudging ISO up a stop.
- In extreme cases, shoot short bursts at a shutter speed just slow enough for your trails, then pick the sharpest frame from each burst.
This is still city street photography stability, you're just trading one long gamble for several controlled, shorter ones.
Step 6: A Repeatable Urban Vibration Workflow
Here's a compact, in-field checklist you can memorize.
6.1 Before you set up
- Scan for vibration sources: traffic, trains, bridges, crowds.
- Test with your body and viewfinder for visible shake.
- Decide whether to move, isolate, or time around the vibration.
6.2 During setup
- Set true working height without the center column.
- Favor thicker leg sections, wider stance, and lower height.
- Place feet on different structural zones, avoiding obviously flexy spots.
- Decouple your body: step back, relax shoulders, breathe.
6.3 Before you shoot
- Enable EFCS/electronic shutter or mirror lockup.
- Use self-timer or remote release.
- Take a test exposure and zoom to 100% on high-contrast edges.
- If you see softness, change one variable at a time:
- Lower tripod
- Widen leg angle
- Move off grate or closer to a structural support
- Adjust stabilization settings
Your spine is a sensor; let true height guide you.
When your posture feels neutral and your 100% crops look crisp, you've hit a good balance of comfort and public space vibration control. If you're shooting on sidewalks and bridges, brush up on tripod laws and etiquette to stay safe and courteous.
Your Next Action: Build Your Personal City Vibration Map
To turn these urban vibration tripod techniques into muscle memory this week:
- Pick three locations you already shoot: a bridge, a busy intersection, and a transit hub.
- At each spot, run the Step 1 vibration scan, then set up using the Step 2 fit-first stance.
- Shoot a short series at challenging settings (e.g., 1-4 seconds at 50-100 mm).
- Back home, compare 100% crops and note:
- Which surfaces and stances stayed sharp
- How much you could lower height before comfort suffered
- Which camera settings (shutter mode, stabilization) gave the best results
Document your findings once, and you'll carry them into every future high-vibration tripod setup in the city. Over time, you'll notice the same pattern I did: when you honor fit and stability together, your neck stays happier, your tripod disappears in use, and your keeper rate climbs, even when the whole street is shaking around you.
Related Articles