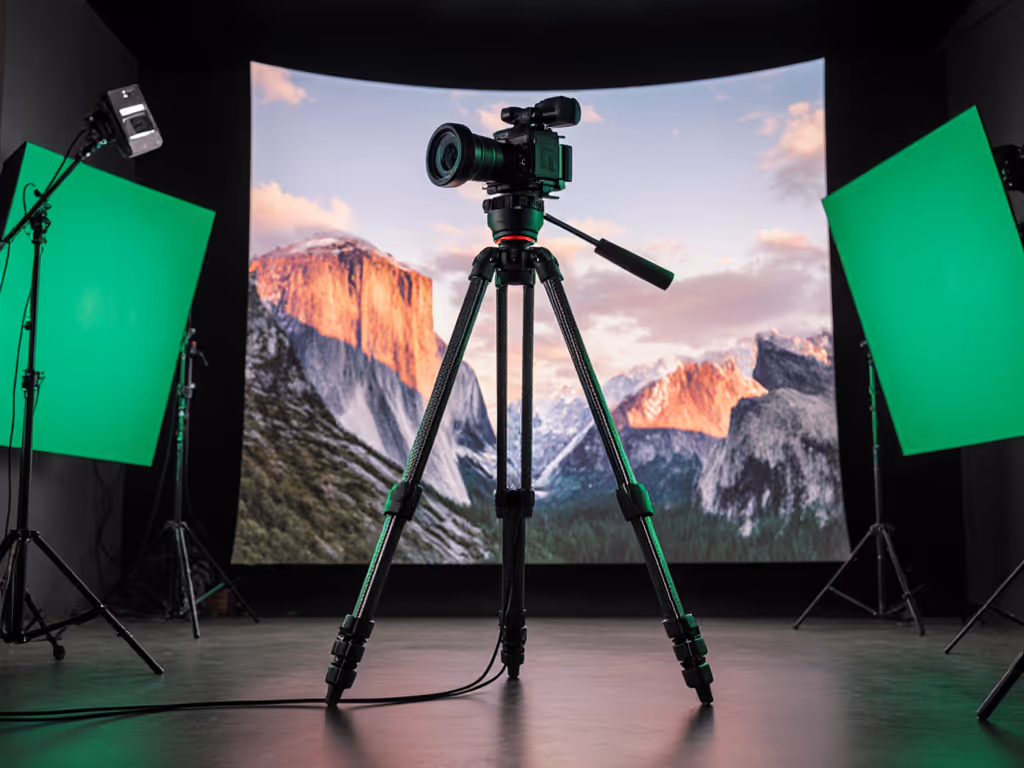
AI Computational Photography: Stable Tripod Protocols
By Nia Okafor • 22nd Jan
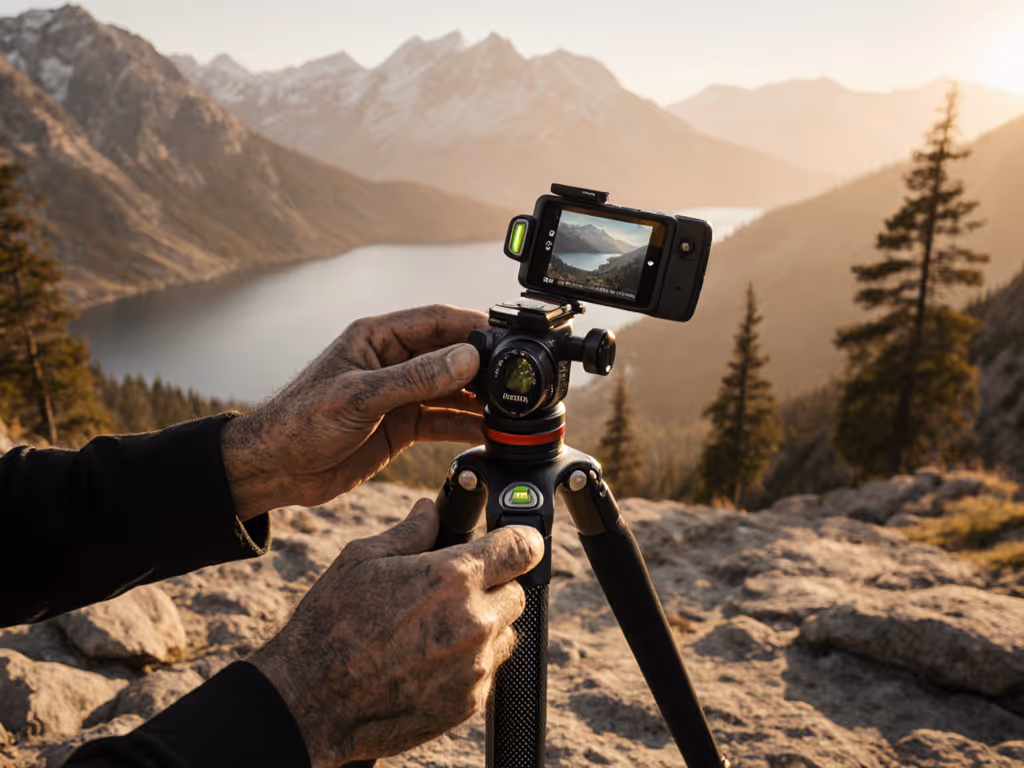
You've invested in the latest AI photography techniques, mastering focus bracketing and exposure stacking that promise gallery-worthy depth. Yet on location, your advanced tripod setups crumble under wind gusts or uneven terrain, leaving you wrestling with misaligned frames while the light fades. That frustration isn't your fault. Computational photography demands surgical stability, but most field routines treat tripods as afterthoughts. For fundamentals on resisting gusts, see our tripod counterweighting in real wind guide. I've watched too many photographers (myself included) lose perfect shots because habits didn't match the tech. Let's fix that.
Why Your Tripod Isn't "Good Enough" Anymore for AI Exposure Stacking
Modern AI workflows like multi-shot exposure stacking or focus bracketing magnify tiny instabilities. Where a single frame might hide a shaky setup, computational photography combines 10-30 shots. A 2mm lens shift between frames? That's ghosting in the final composite. A wobbling center column? Hello, blurred star trails. Most photographers blame their gear, but here's what wind-scoured dunes taught me: Repeatable habits beat improvisation when conditions turn hostile. Your tripod might handle calm studio shots, but computational workflows expose flaws in how we deploy it.
Consider focus bracketing tripod requirements: AI processing needs pixel-perfect alignment across focus planes. Handheld attempts (like those in Jim Babbage's Burleigh Falls experiment) force Photoshop's AI to "repair" misaligned frames, adding noise and halos. On a stable tripod, the software works with clean data instead of damage control. If your workflow relies on a center column, compare center column designs to minimize wobble. Yet I've seen $800 tripods fail this because:
- Center columns extended on slopes (acting as vibration amplifiers)
- Leg locks half-secured to "save time"
- No terrain-specific splay adjustments for soft ground
The Hidden Cost of "Quick Setups"
That 15-second shortcut where you skip leveling the base? It sabotages computational photography stability. When your tripod head tilts to compensate for uneven legs, weight distribution shifts. Wind now torques the entire system instead of transferring force straight down the legs. Result: micro-vibrations blurring your 30-frame exposure stack. I've tested this with the OM-5's high-res mode, RAW files revealed what JPEGs hid: vertical banding in shadows where the tripod almost held steady. Your AI processing can't fix physics.
Field-Tested Protocols for Multi-Shot AI Processing
Stop fighting your gear. Build protocols that work when your hands are cold, gloves are stiff, and wind hits 25mph. These aren't "tips", they are non-negotiables for computational photography:
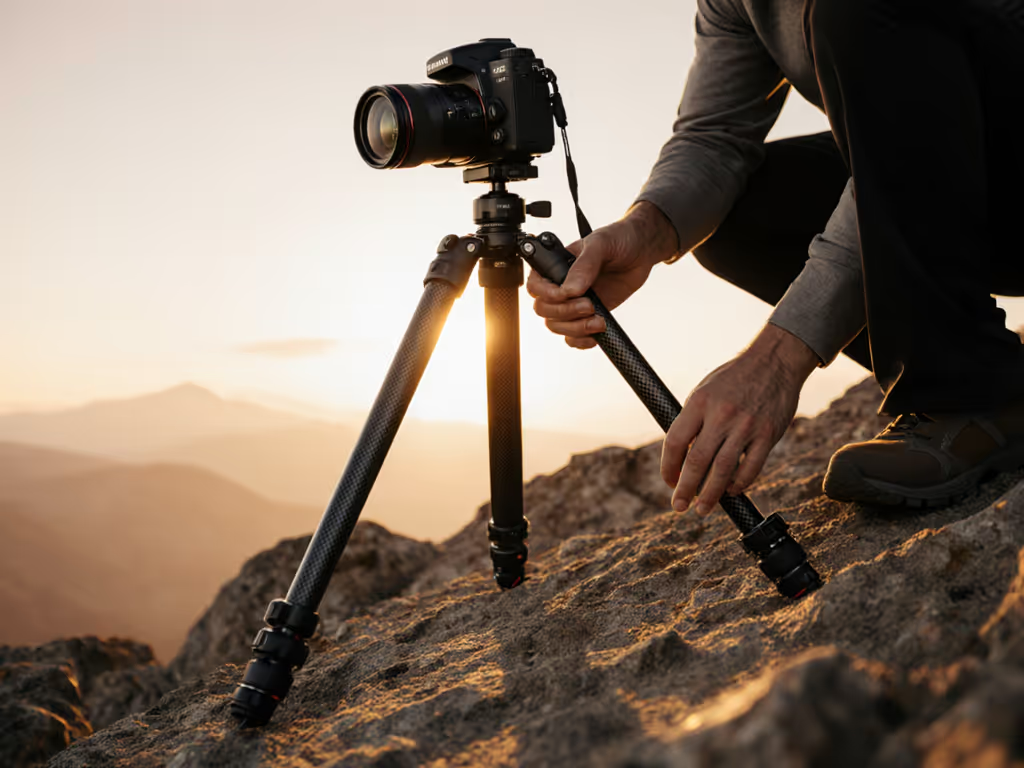
Habit 1: Anchor Before You Ascend
Never extend the center column until legs are splayed, locked, and weighted.
On soft ground (sand, mud, fresh snow), drive legs past the first lock point. Let the footplates sink 1-2cm for true stability. Then, and only then, extend legs to working height. Center columns? Treat them like emergency tools. If you must use one, hang your camera bag from the tripod's hook after mounting your rig. This damps resonance frequencies that wreck long exposures.
Habit 2: Level Once, Pan Free
Your leveling base isn't for final composition tweaks, it is to eliminate head strain before attaching the camera. Not sure which system to use? See our leveling systems comparison for accuracy and speed trade-offs. Here's the three-second ritual:
- Legs to true height: Adjust all leg sections to near your eye level without extending the column.
- Level base once: Tilt the leveling base until the bubble centers (use the one on the base, not the camera!).
- Then free the pan: Release head locks to compose.
This sequence (not your head's smoothness) makes or breaks focus bracketing tripod reliability. I learned this resetting students on that wind-scoured dune: when we drilled these steps, their multi-shot composites stopped "flailing." What changed wasn't the gear, it was a repeatable habit. Slow is smooth; smooth is sharp when the wind rises.
Hazard Note
Never clamp monopod spikes on rock. They'll slip under torque during long AI exposure stacks. Use rubber feet or swap to spiked shoes only on soil/sand. For terrain-specific stability, here's our guide to tripod feet for sand, snow, and rock.
Your Computational Stability Checklist (60 Seconds Flat)
Before mounting your camera, run this glove-friendly field checklist. It's saved my sunrise shoots more times than I can count:
- Leg angles: Spread legs asymmetrically on slopes (longest leg downhill). Verify splay locks click audibly.
- Ground contact: Press down firmly on the apex, sink feet 1cm on soft terrain. No rocking.
- Wind prep: Retract center column. Hang weight after mounting camera.
- Head test: Pan slowly while touching the lens barrel. If you feel vibration, recheck leg locks.
Actionable Next Step: The 60-Second Wind Test
Tomorrow's shoot depends on what you do today. Before sunset, grab your tripod and:
- Set it up on uneven ground (a driveway slope works)
- Run the "Level Once, Pan Free" sequence
- Blow hard at the apex for 10 seconds (simulate wind)
- Check for movement at the lens mount
If it shifts, adjust one variable: leg splay angle, footplate depth, or weight placement. Repeat until stable. This isn't "practice", it is inoculation against field failure. When the AI demands pixel-perfect stability and the wind hits, you'll move like a calm imperative, not a panicked improviser. Because in computational photography, your habits aren't just helpful, they are the foundation of every sharp frame. For a deeper dive into AI-driven requirements, read AI tripod stability essentials.
Level once, pan free. Then watch the magic happen.
Related Articles