How Tripod Stability Actually Works: Beginner's Guide
By Asha Menon • 31st Mar
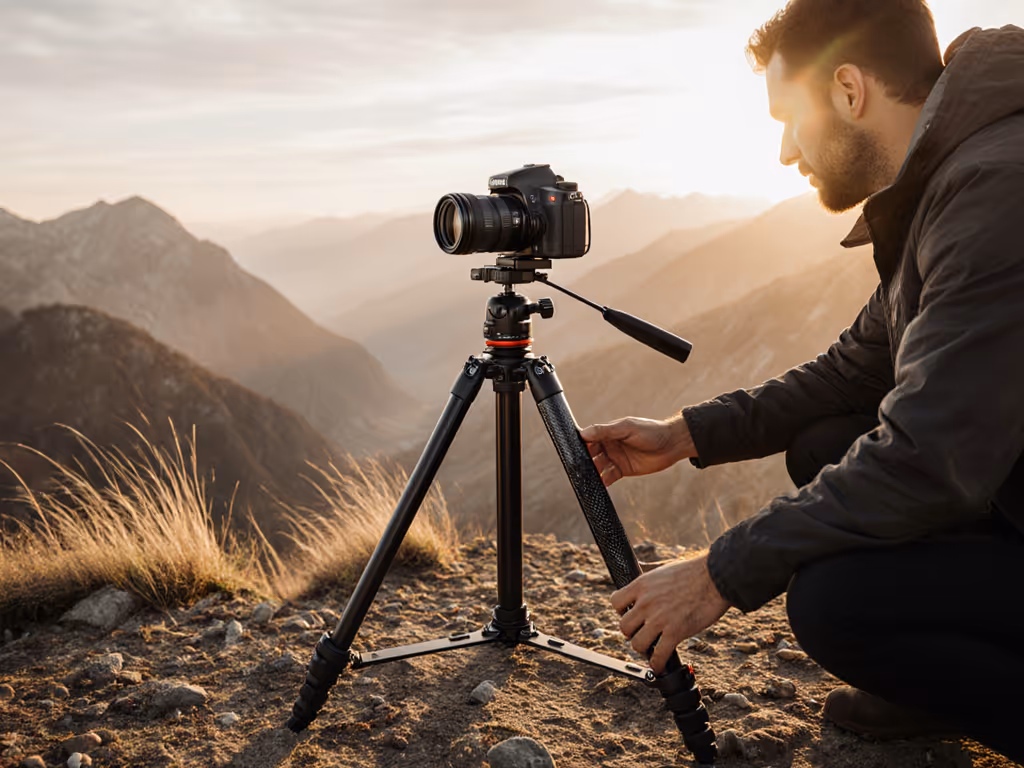
Tripods for cameras sound simple: three legs, a head, done. But when you're out at dawn with a 200mm lens and the wind picks up, or composing a low-angle macro shot on uneven ground, the difference between a spec sheet and how tripods actually work becomes crystal clear. Let me walk you through the mechanics that separate sharp keepers from blurred regrets.
The Stability Problem: Why Load Ratings Don't Tell the Whole Story
Your tripod legs and head each carry a maximum load (say, 40 pounds on the legs, 20 pounds on the head). That number is meaningless in the field unless you know what it actually predicts: vibration damping, wind resistance, and decay time. Load capacity is a static measure. Stability is dynamic. A lighter camera on a stiffer tripod will often outlast a heavier load on a wobbly rig when wind or vibration enters the equation.
Here's the real metric that matters: How long does oscillation take to die out? For the underlying physics and field tests, read our tripod vibration damping explained guide. I learned this on a sea cliff one pre-dawn morning, timing decay with a laser pointer and a timer app. A lighter carbon tripod with superior damping characteristics beat a heavier aluminum rival by full seconds, the difference between nailing focus and missing the shot entirely.
Measure what matters: decay time, not fantasy load ratings.
The Center Column Trap: Geometry Over Rigidity
One of the most misunderstood features is the center column. It seems helpful (extra height, quick adjustments). But it's a stability thief, and not for the reasons beginners think.
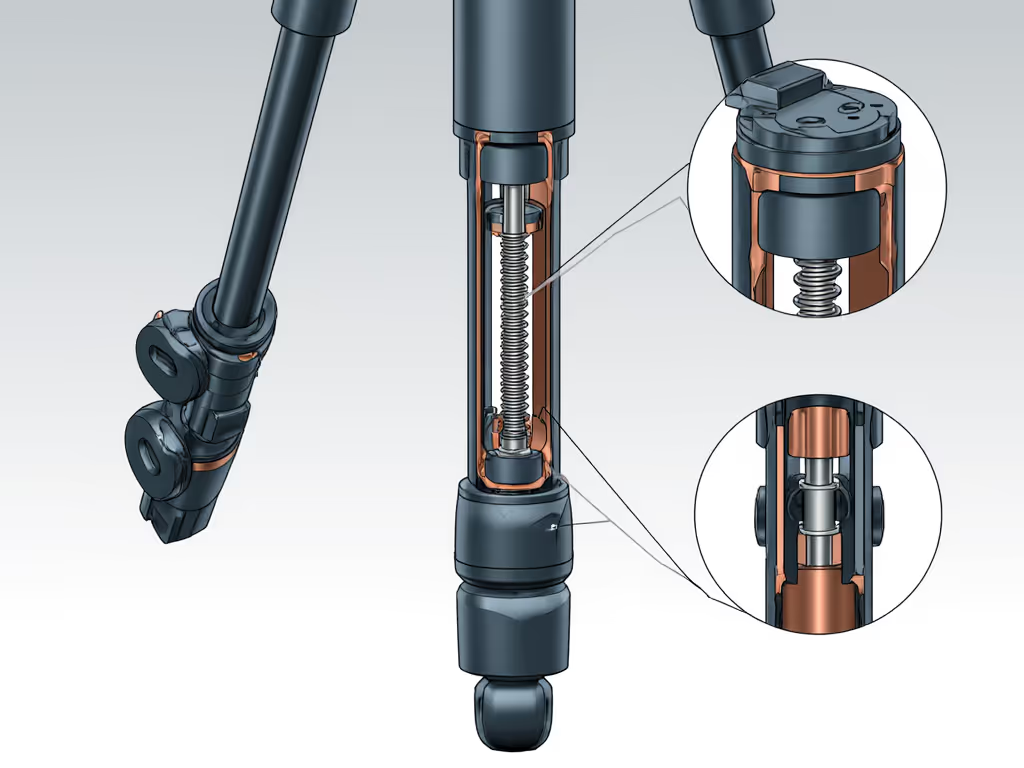
Many assume the problem is the locking mechanism. It's not the weak point. The twist-compression clamps used on most tripods are very secure. The real culprits are three things:
1. Added Flex in the System Every component you add (including the center column) reduces overall stiffness. Think of it like a chain: even if each link is strong, the chain's strength is limited by the weakest connection, but also by the cumulative flex of all links combined. A center column might be stiffer than the legs individually, but the moment it's placed in the system, it introduces another point of compliance. Industry testing shows typical stiffness loss of around 40% when a center column is raised to full extension, depending on the design.
2. Moment of Inertia (Rotational Mass) Raising your camera above the apex, the point where the legs join, increases the moment of inertia (MOI). This is the rotational equivalent of mass. A higher MOI means vibrations decay far more slowly. Testing shows that when a center column is fully extended, vibrations can take four times longer to settle compared to a fully retracted position. That's not a minor inconvenience on a 5-second exposure.
3. Lever Arm Mechanical Advantage Wind or vibration at the camera top becomes magnified as it travels down the center column. The column acts as a lever. A force 3 feet above the apex has three times the rotational power (torque) compared to one at the apex itself. This is pure geometry, independent of how rigid the column is.
True height should be measured with the center column fully retracted or minimally extended on level ground. If the tripod doesn't reach your eye level when the legs are fully spread and the column is retracted, it's too short for you. Period. Don't chase marketing heights that require the column cranked to the sky. Use our ideal tripod height guide to set eye-level without relying on the column.
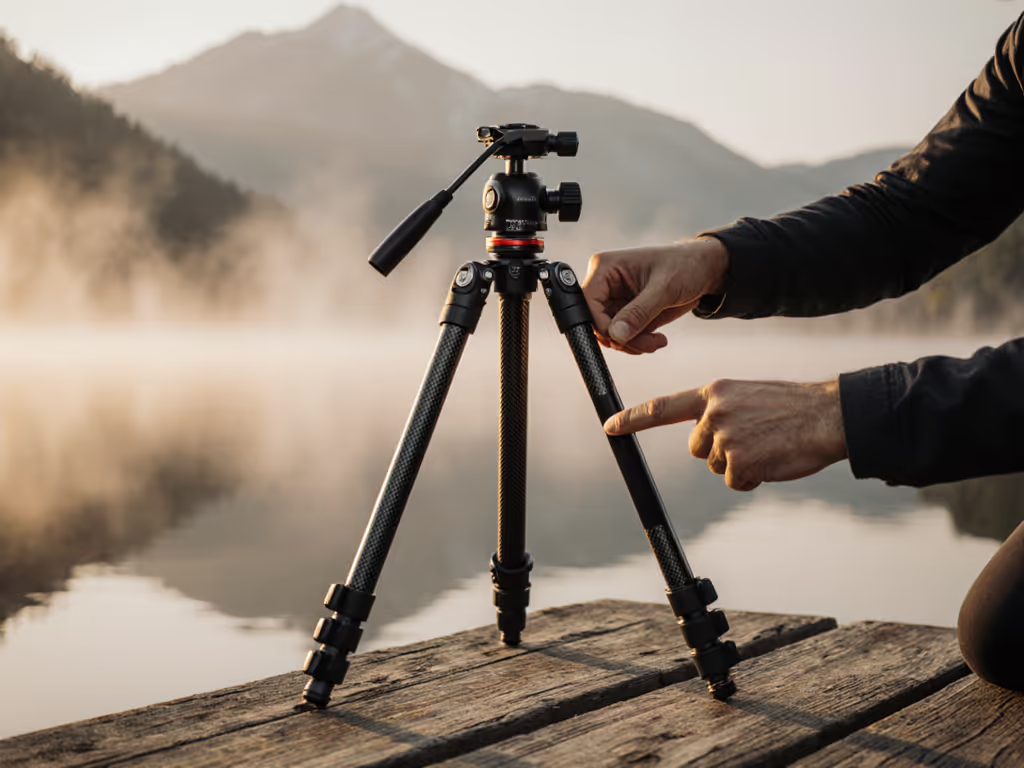
Why Leg Sections Matter More Than You Think
Most tripod legs have three or four sections (segments that telescope in and out). Each section represents a trade-off: more sections pack smaller, but fewer sections mean stiffer legs. See our head-to-head on 3-section vs 4-section tripods for measured stability differences.
Why? Each joint is a point of slight flex. More joints = more cumulative flex. That's why the rule is: extend the thickest, uppermost sections first, and avoid extending the thinnest section all the way if you can help it. Leaving the bottom third partially retracted can measurably improve stability. It feels counterintuitive (you're giving up a few inches of height) but you gain stiffness where it matters most: near the apex where wobble is magnified.
Vibration Damping: Why Wind and Ground Rumble Are Real Problems
Tripods don't just hold your camera still; they absorb vibrations. These come from wind, footsteps, traffic, water movement, or gusts on exposed terrain. The goal is to convert that energy into heat through friction and material damping, rather than let it translate to your sensor.
A heavier tripod naturally damps vibrations better (mass absorbs energy). But a well-designed lighter tripod with optimized materials and geometry can damp nearly as effectively while cutting pack weight by half. The secret is the cross-sectional shape and material properties of the legs and joints. Aluminum with the right section geometry can outperform carbon fiber in damping applications; carbon excels at strength-to-weight but often trades some oscillation control. For a physics-based comparison of carbon vs aluminum vibration reduction and weight trade-offs, start here.
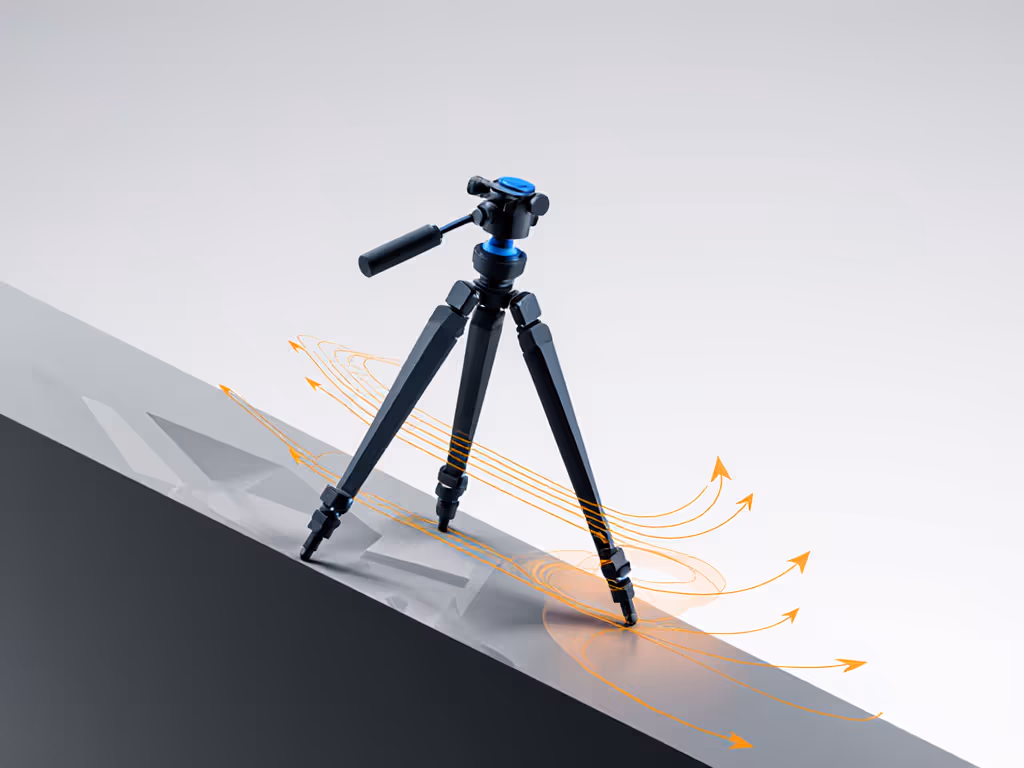
On uneven terrain (slopes, soft ground, rocks), the problem compounds. Swapping to the right tripod feet for rough terrain can dramatically reduce micro-wobble. When a tripod sits on a slope exceeding 25 degrees, gravity no longer aligns with the center column. Instead, it creates torsional (twisting) load on the spider joint (the hub where the legs meet). If the leg hinges have any play or soft detents, the tripod will settle unevenly or micro-wobble persistently. This is catastrophic in long exposures or telephoto work.
Setting Up for Stability: The Practical Checklist
Check your payload first. Both legs and head have limits. The effective capacity is the lower of the two. A 40-pound leg with a 20-pound head = 20-pound system.
Extend legs in order. Thickest sections first. If that height is enough, stop there.
On uneven terrain, adjust leg angles asymmetrically. Set the downhill leg at a wider angle to broaden the base in the direction gravity pulls. But only if your tripod's leg-angle selectors have firm, indexed stops. Soft detents will let the asymmetric load cause the tripod to settle unevenly.
Avoid the center column unless necessary. True height is your baseline. Use the column sparingly, and never for critical shots in wind.
Minimize section extension. Three full sections per leg is the standard. Four or more means thinner, floppier legs. Use them only if you need the height and have no alternative.
Stiffness Per Ounce: The Real Comparison Metric
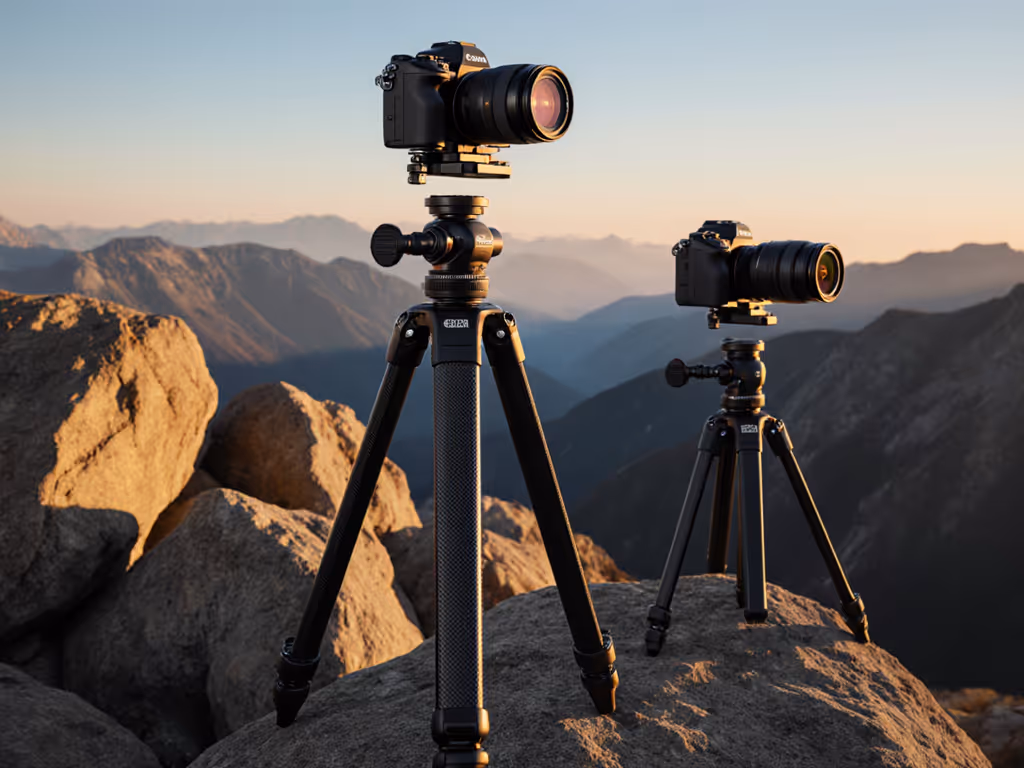
You'll hear claims like "This tripod holds 100 pounds" and "This one is lighter." Neither tells you whether you'll get sharp images at 200mm in a breeze.
The metric that predicts real-world performance is stability per ounce (or per kilogram). It measures the stiffness of the system divided by its weight. A tripod that weighs 4 pounds and loses only 10% stiffness when fully configured beats a 6-pound model that loses 35%, if both can support your payload.
You measure this in the field: oscillation decay time under a known load at true height, in realistic wind. No spec sheet can replace this. Lighter doesn't mean unstable if the engineering is sound; and heavier doesn't mean better if the design sacrifices efficiency for mass.
Why Material Doesn't Predict Performance
Carbon fiber is lighter. Aluminum is denser. But neither alone determines stability. The cross-sectional geometry (diameter, wall thickness, shape) matters more than the material. A fat aluminum column can outperform a thin carbon one in torsional resistance because torsional stiffness depends more on cross-sectional area than on material alone.
Similarly, composite joints in carbon tripods are susceptible to fatigue from repeated extension, retraction, and torsional loading on uneven terrain (micro-cracking and delamination under stress). Columnless designs that use machined aluminum blocks at leg joints often outlast thin cast parts under the same abuse.
FAQ: Your Remaining Questions
Q: Will a heavier tripod always be more stable? Not necessarily. A well-designed 4-pound rig can outperform a poorly designed 8-pound one in damping and stiffness. What matters is the combination of geometry, material properties, and tuning. Mass helps, but efficiency wins.
Q: Should I always retract the center column? Yes, for critical work. For casual handheld composition checks or quick setups on stable, level ground, small raises are acceptable. For long exposures, telephoto work, or wind, keep it retracted and extend the legs instead.
Q: What if I'm very tall or very short? This is where true height becomes essential. Measure from the ground to your comfortable eye level (slightly below your actual eye line, in your natural stance). Any tripod that doesn't reach that without a raised column is a compromise. Longer legs or a different model is better than years of neck strain or bent-knee frustration.
Q: How do I know if the tripod will handle my camera and lens? Check the payload first. Then, if possible, test the oscillation decay time with your exact load at true height, in typical wind. No lab test replaces field reality.
The Takeaway: Specs Don't Shoot
A tripod's job is to eliminate variables. But only if it's actually stable at your working height, in your wind, with your gear. A lighter tripod that stays home because it's awkward to carry or too short to use comfortably gives you zero sharp images. A heavier one you dread setting up delivers blurred keepers because you rush the setup.
The path forward is clear: true height on level ground with legs extended (column retracted), measured oscillation decay under your actual load, and honest assessments of stiffness per ounce in the conditions you actually shoot. Skip the load ratings as a primary metric. Measure what matters: decay time, working height, and real-world wind performance. That's how you turn a tripod from a frustration into an invisible workhorse that lets you focus on light and composition instead of the gear.
Start with these principles the next time you evaluate a tripod (whether you're a beginner or upgrading after years of compromise). The difference between a sharp keeper and a regretful return often comes down to understanding how stability actually works, not what the marketing page claims.
Related Articles