Budget Tripod for Macro: Steady Low-Angle Stability
By Nia Okafor • 8th Nov
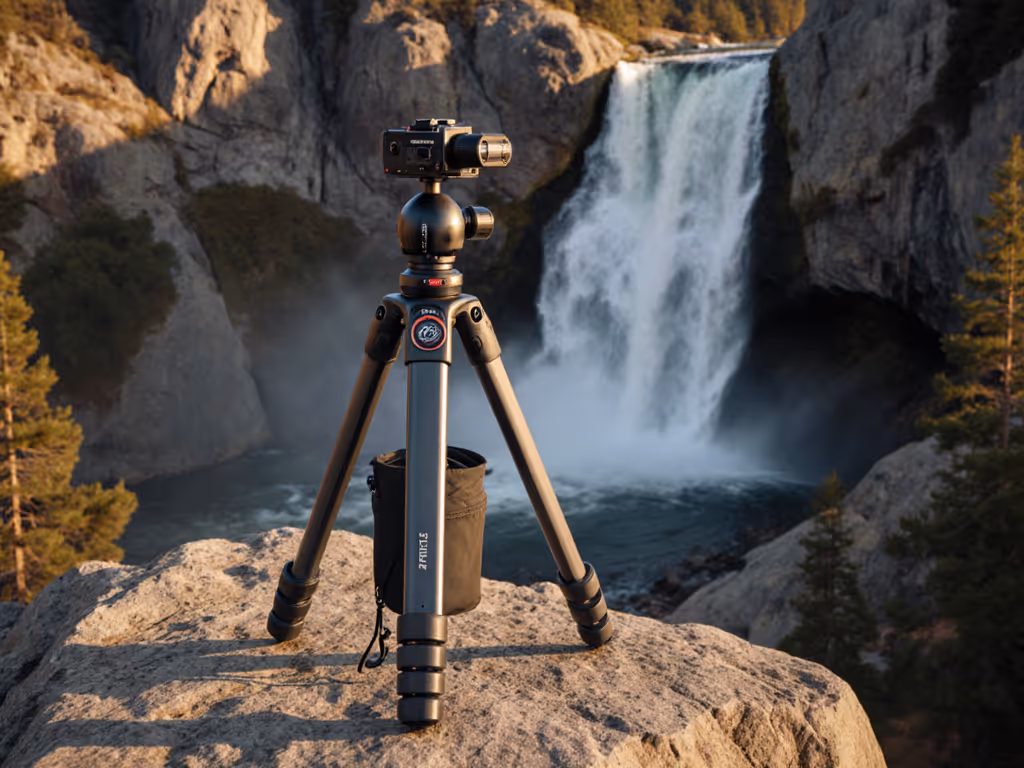
Finding a true budget tripod that delivers reliable close-up photography support feels impossible. You've seen tripods claiming "macro-ready" heights that leave your camera hovering frustratingly above dew-kissed spiderwebs. Or models that promise stability but wobble like a tuning fork when wind gusts hit your 100mm macro lens. For years, I've taught photographers how to conquer uneven terrain and gusty conditions (not with expensive gear, but with repeatable habits). What if I told you your next sharp macro shot depends less on price tags and more on how you deploy what you already own? Let's cut through the marketing noise.
Why Your Budget Tripod Keeps Failing You at Ground Level
"Why can't I shoot lower without kneeling in mud?"
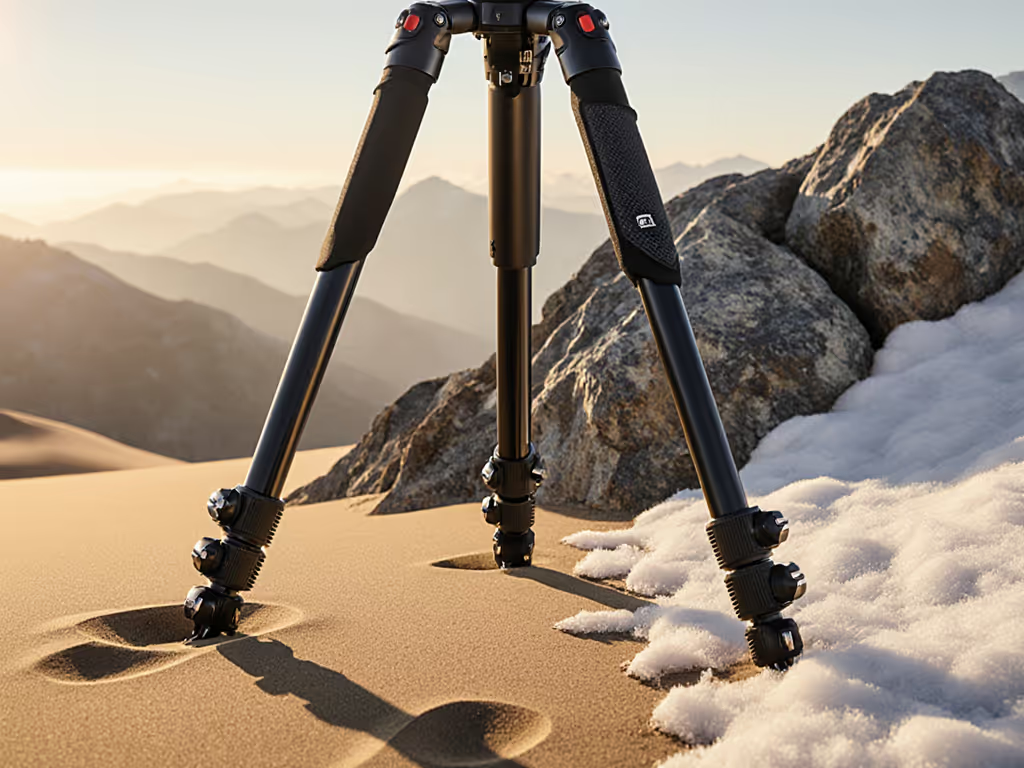
Most budget tripods have a fatal flaw: false low-mode advertising. That "15cm minimum height" often assumes you've removed the center column and splayed legs fully, steps manufacturers bury in footnotes. Real-world macro stability demands small subject photography rigs that:
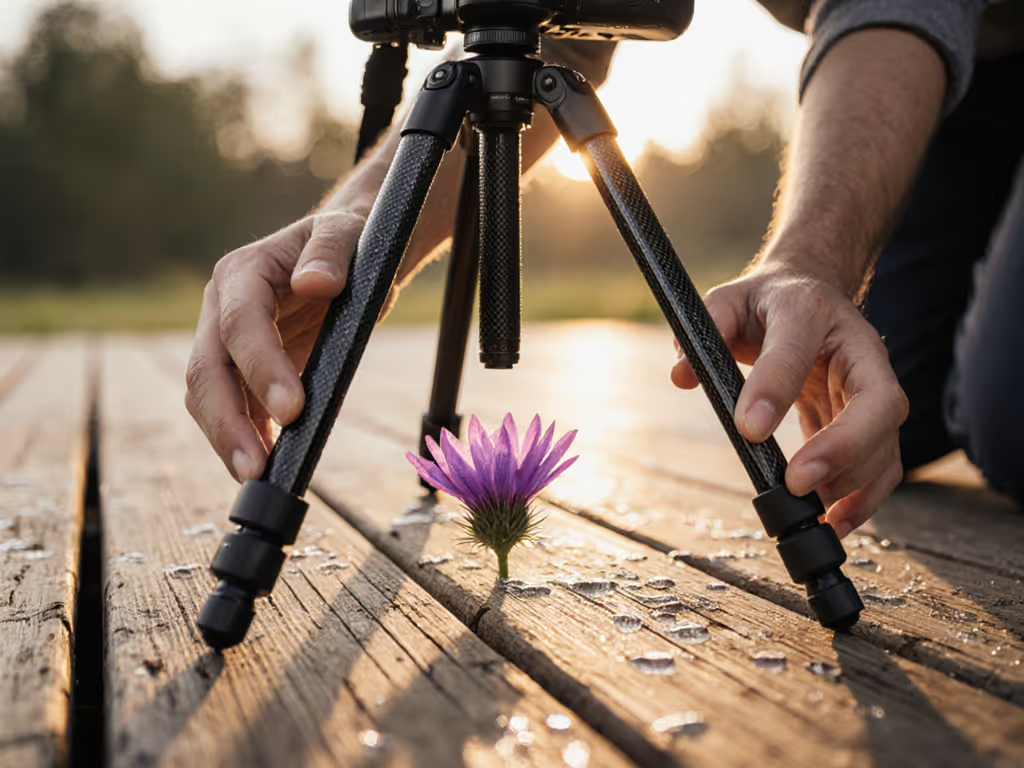
- Eliminate the center column entirely (not just invert it)
- Allow legs to splay 90°+ apart without collapsing
- Position the camera body between legs, not above them
Hazard note: Never force leg locks beyond 90° (this strains joints). If your tripod won't splay wide, it's terrain-incompatible, not "budget."
"My tripod wobbles even in calm air... why?"
Vibration control for macro fails when:
- Center columns extend (acting as vibration amplifiers)
- Leg locks aren't fully seated (a single loose cam ruins rigidity)
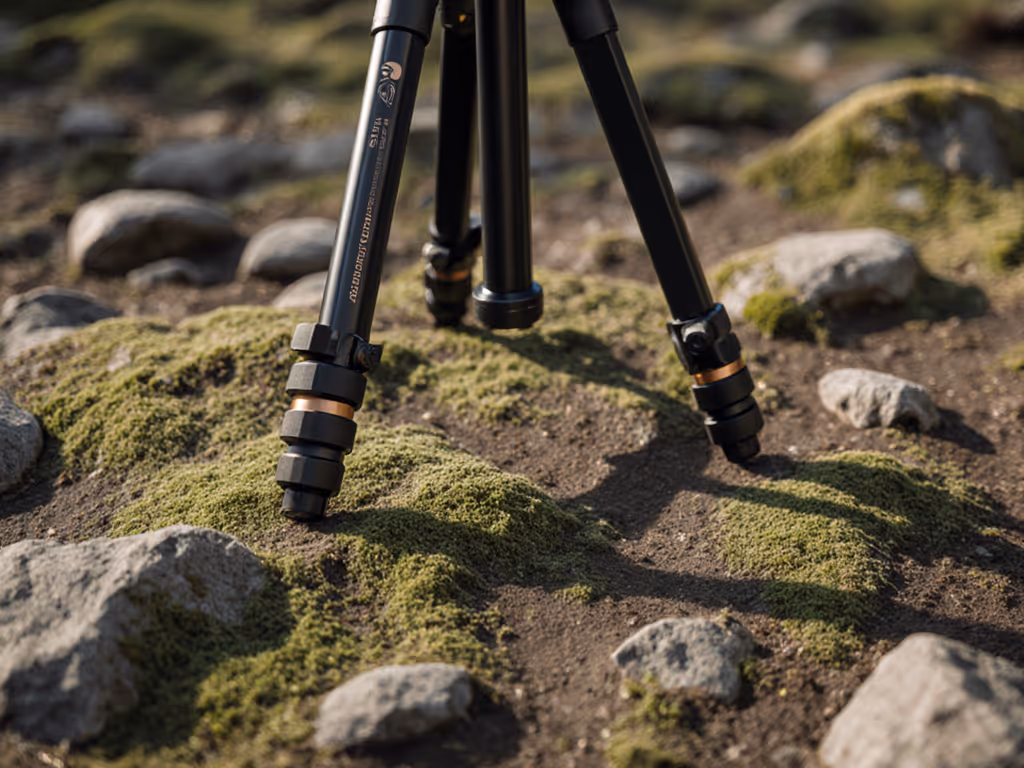
- Feet sink into soft ground (use wide footprint plates) For terrain-specific grip and stability, see our tripod feet for tough terrain.
On a recent lakeside workshop, students shot dragonflies on reeds. Their $200 tripods vibrated despite "stability" claims. We paused, reset legs to true height (no center column), and checked every lock with gloved hands. Flailing stopped. Frames sharpened. Slow is smooth; smooth is sharp when the wind rises. What changed wasn't the gear, it was a habit they could repeat under pressure.
Building a Repeatable Macro Deployment Routine
Forget spec sheets. Macro stability starts with your habits:
Field Checklist: The 3-Step Ground-Contact Sequence
-
Legs to true height FIRST Always deploy legs before attaching your head. Splay legs wide on uneven ground, don't force symmetry. If legs won't stabilize, shift your stance around the subject, not the tripod.
-
Level base once Only after legs are locked do you adjust your leveling base (or head). If you rely on leveling for panoramas or precision framing, a leveling base primer will help you pick the right plate and setup technique. This prevents micro-shifts as you tighten knobs. Level once, pan free (a mantra saving hours of recomposing).
-
Free the pan, then lock With legs stable and base leveled, then mount your camera. Make final composition adjustments before locking the head. Rushing this step causes frame creep during focus stacking.
Plain example: Shooting a beetle on a mossy rock. Splay legs wide (step 1), tilt the head base 5° left (step 2), then rotate the camera smoothly to center the subject (step 3). No last-minute tweaks.
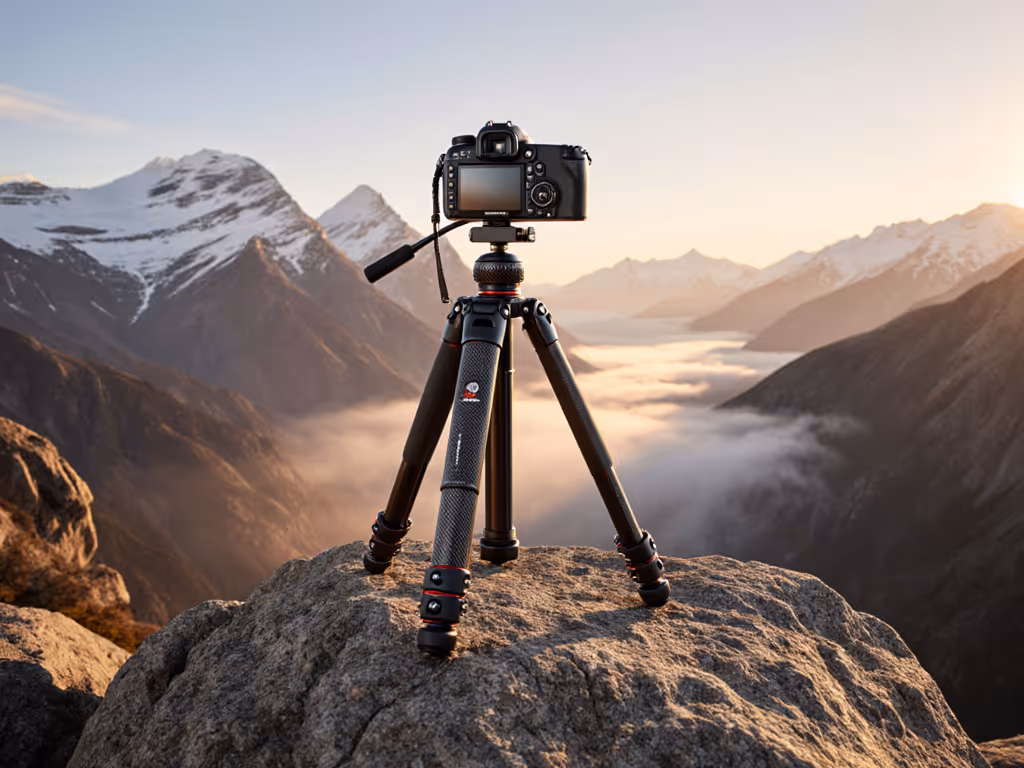
"Can I use a budget tripod standing up?"
Only if it hits your eye level without the center column. Use our tripod height guide to calculate your true eye-level requirement. Most budget models max out 10-15cm below average photographers' sightline, forcing awkward stooping. Instead:
- Wear your field boots during setup tests
- Prioritize tripods with 50-55cm minimum height with legs extended (not folded!)
- Remember: focus stacking tripod work requires standing access for efficient recomposing
"Slow is smooth; smooth is sharp when the wind rises."
What Truly Matters in a Budget Tripod
| Feature | Myth | Reality |
|---|---|---|
| Max height | "160cm = eye level" | 150cm without center column fits 90% of users wearing boots |
| Load capacity | "Holds 10kg = stable" | Matters less than leg lock rigidity with your camera/lens combo |
| Weight | "Lighter = better" | Heavier bases resist wind; sacrifice weight only after terrain testing |
The Glove Test (Non-Negotiable for Field Work)
Before buying, simulate cold/wet conditions:
- Operate all locks while wearing thick gloves
- Can you fully tighten leg cams with one hand?
- Do knobs have tactile ridges (not smooth plastic)?
Some budget heads borrow pro features like triple-locking mechanisms that prevent drift during focus stacking. To choose the right control style, see our ball vs pan-tilt head comparison. Test this by mounting your heaviest lens before adjusting the head. If it slips, move on.
Actionable Next Step: Your 5-Minute Tripod Audit
Don't buy another tripod until you've done this:
- Measure your boot height (with socks) in cm
- Add 15cm (for comfortable standing composition)
- Set your tripod to this height without center column
- Circle the tripod, if legs feel unstable or require extreme splaying, it's a no-go
This simple test eliminates 80% of "budget" tripods that claim macro capability. True close-up photography support means your gear disappears so you see only the subject (not a wobble, not a strain in your neck). I've seen students achieve tack-sharp 1:1 magnification using $99 tripods because they mastered the deployment sequence, not the specs.
Your next sharp macro shot isn't about spending more. It's about setting up once, correctly, then trusting the routine. Level once, pan free, and let the wind do its worst.
Related Articles