Video Conference Tripod Setup: True Height, Real Stability
By Asha Menon • 2nd May
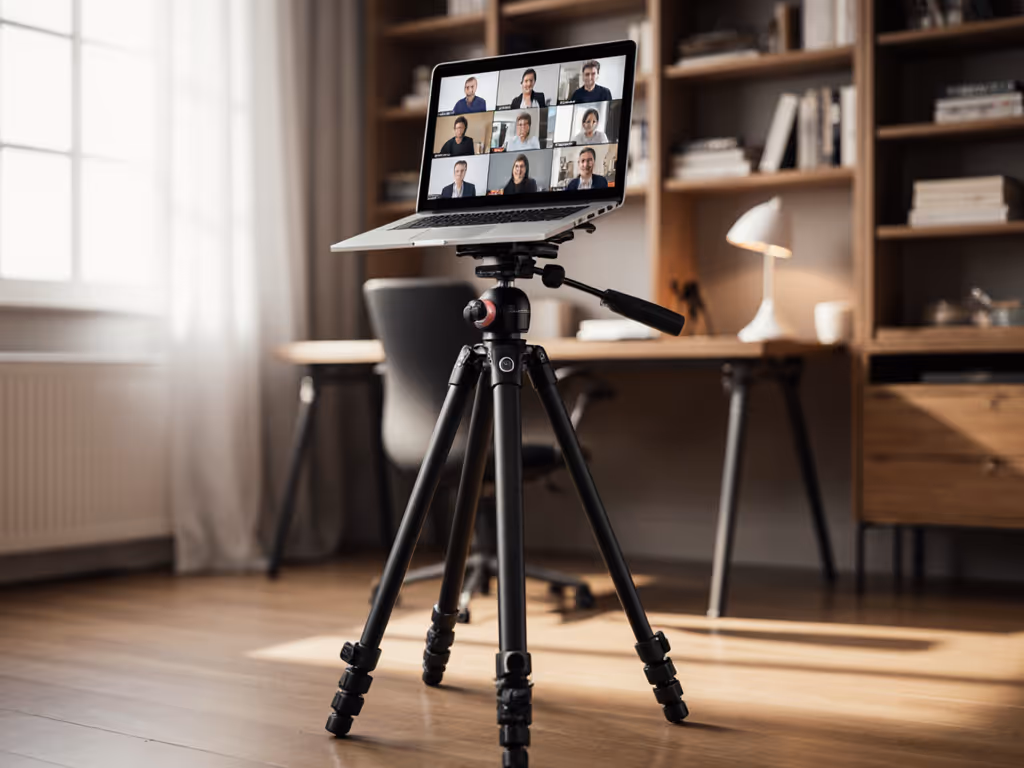
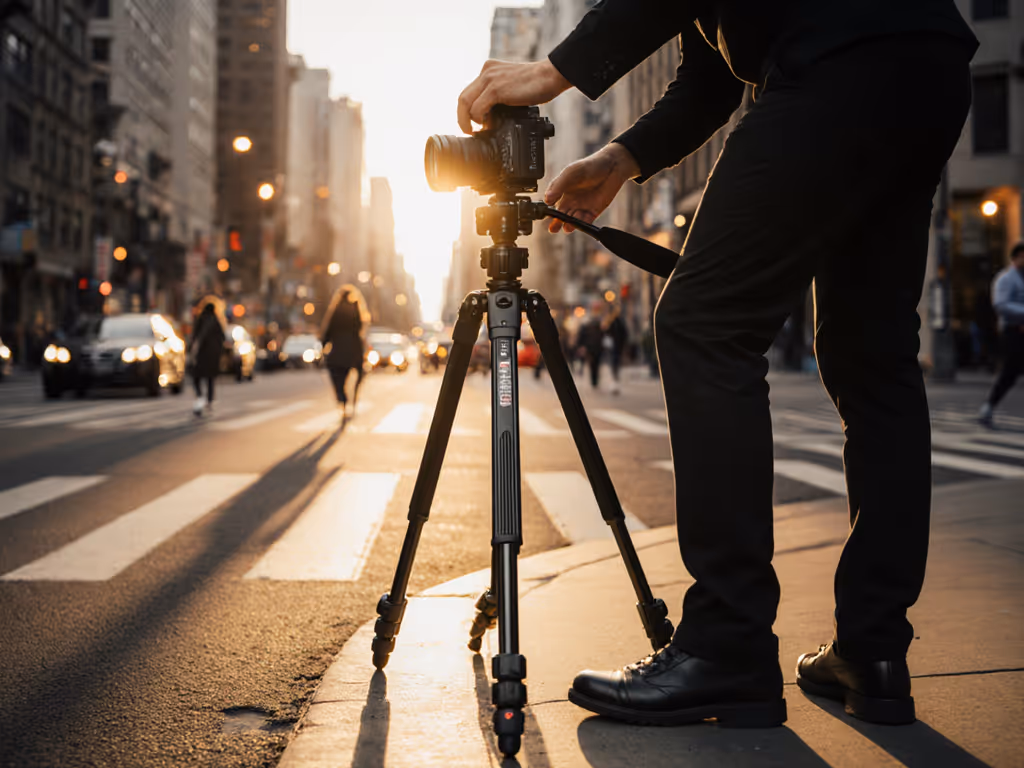
When you're joining a video conference from home, your camera position matters as much as your lighting. Yet most people overlook video conference tripod setup entirely, scrabbling to balance their laptop on a stack of books or perching the webcam at chin level. The result: unflattering angles, neck strain during long calls, and a frame that screams "remote." This guide walks you through the questions that actually matter (and the office tripod techniques that turn a generic stand into a professional presence).
Why Your Tripod Height Matters More Than You Think
What Is True Height?
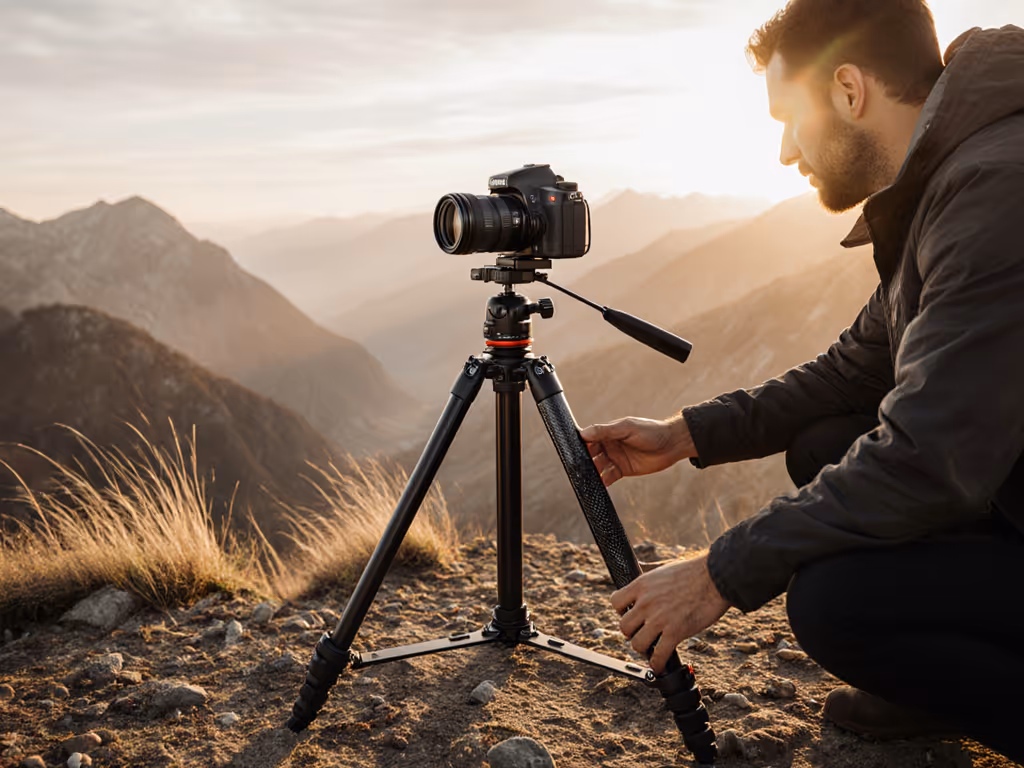
True height is the working eye level you achieve without extending the center column on level ground. It's distinct from the "max height" printed on spec sheets. Here's why this distinction matters for video calls: if your tripod claims 60 inches of reach but forces you to crank the center column to its limit, you've sacrificed stiffness and lost smoothness in your on-camera presence. A tripod that sits steady at your natural working height (typically 52-58 inches for most seated home-office setups) performs better under vibration.
Seated vs. Standing Conference Setups
Your conference format shapes the measurement. If you're seated at a desk, your camera should frame you from mid-chest upward, placing the lens roughly 48-52 inches above floor level. Standing presentations (product demos, fitness instruction) shift the target to 58-66 inches, accounting for torso and shoulder space.
Measure your actual desk height and sitting eye level before you shop. A tripod that towers at its rated maximum often feels tippy and transmits keyboard vibration to the frame.
Common Pain Points in Remote-Work Tripod Use
Vibration and Wobble During Calls
Your keyboard sits 18 inches from the tripod leg. You type. The tripod responds. Professional video call setups isolate the camera from this coupling by using a tripod that holds stiffness at true height (not maximum extension). Damping (the speed at which a tripod's oscillation decays after a disturbance) matters here more than weight. A lighter carbon-fiber tripod with precision leg locks can outperform a heavier aluminum model that flexes under keystroke energy.
Measure what matters: decay time, not fantasy load ratings. For the science behind vibration control and why decay time beats static load numbers, see our tripod vibration damping explainer. If you have access to a basic app that records acceleration (many smartphones include accelerometer data), a quick test reveals the difference. A tripod that stops wobbling in under 1.5 seconds at true height is suitable for video calls; anything beyond 3 seconds introduces jitter into your frame.
Pack Length and Cable Management
Often overlooked: does your tripod fit alongside your monitor, keyboard, and mouse on a compact desk? Closed length matters. A tripod with 24-28 inches of packed length (legs folded, center column down) slots into most home-office corners. Anything longer becomes a footsore obstacle during the workday.
Cables (USB, power, audio) tangle around tripod legs if there's no routing path. Look for tripod feet with cable clips, or choose a model with a small footprint to clear desk clutter.
Practical Setup for Zoom, Teams, and Hybrid Meetings
Mounting and Positioning
Attach your camera or smartphone to the tripod head using a friction arm or ball head. Position the lens 12-18 inches away from your face, angled slightly downward. This distance flattens facial features kindly and prevents the "looking-up-your-nose" perspective. The slight downward angle mimics how broadcast cameras frame seated talent.
Backlight (a lamp or window behind your screen) adds depth and separates you from your background. Place the tripod so the camera catches this rim light without glare on the lens.
Single-Head vs. Dual-Monitor Setups
If you run two monitors, position your tripod between them, roughly 18 inches back from the desk edge. This setup lets you glance at meeting notes on one screen while the camera sees your face straight-on. A remote work camera stability baseline: legs spread to a 60-70 degree angle on level flooring. Narrower angles (under 50 degrees) reduce the footprint but invite tippiness under modest vibration.
Managing Light and Environment
Natural north-facing light from a window (if available) is ideal for video, soft and consistent. If relying on desk lamps, use diffusers (white fabric shades, not bare bulbs) to avoid harsh shadows under your eyes. Tripod height affects shadow geometry; raising the camera height above lamp level typically improves shadow placement.
Budget Tripod Strategies and Real-World Trade-offs
What Dollar Range Buys Stability?
A budget tripod in the $25-50 range often fails under real-world conference use. Leg locks are loose, center columns drift, and decay times exceed 4 seconds. Mid-range tripods ($80-150) offer predictable performance and office tripod techniques that reward small setup investments. If you're upgrading from entry-level, our mid-range stability picks compare $100-$250 options tested for real damping performance.
For serious hybrid work (still photography + video conferencing), expect $150-300 for a system that handles both loads without compromise.
Smartphone vs. Mirrorless vs. Built-in Webcam
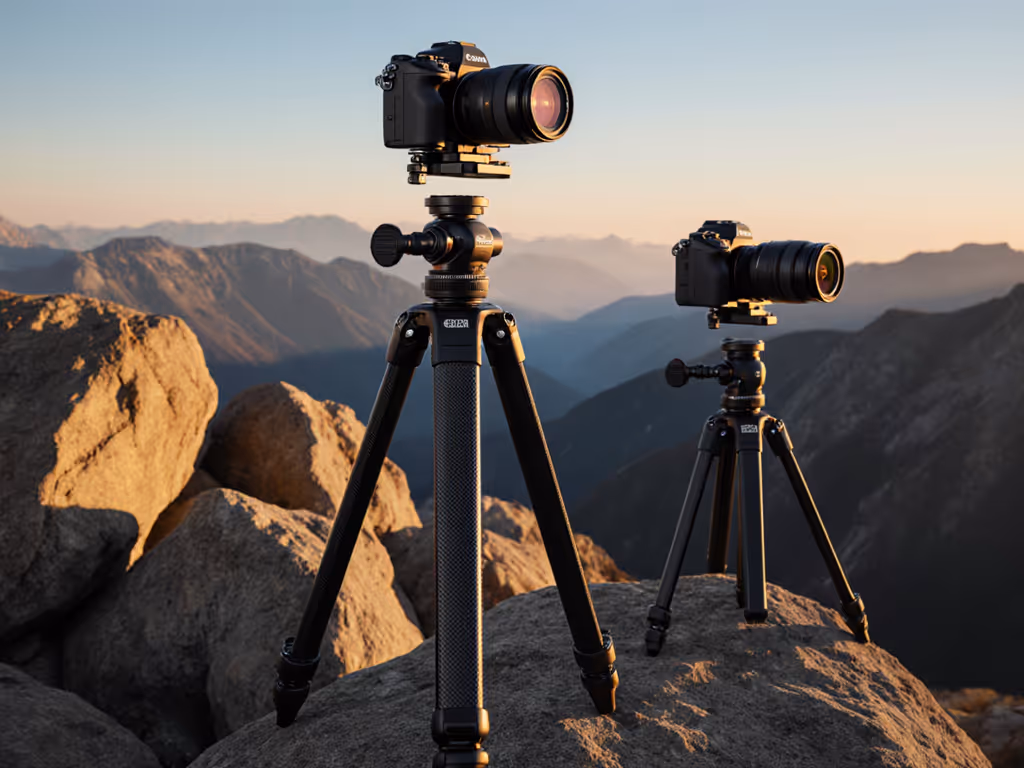
Smartphone tripod heads are compact and light. Mirrorless cameras (with USB tethering) or USB webcams demand slightly heavier, stiffer heads to avoid micro-vibration. Tripods rated for 2-4 pounds work well for these; avoid anything under 2 pounds if your camera body is over 1.5 pounds.
FAQ: Quick Answers
Q: Should I extend the center column for video calls?
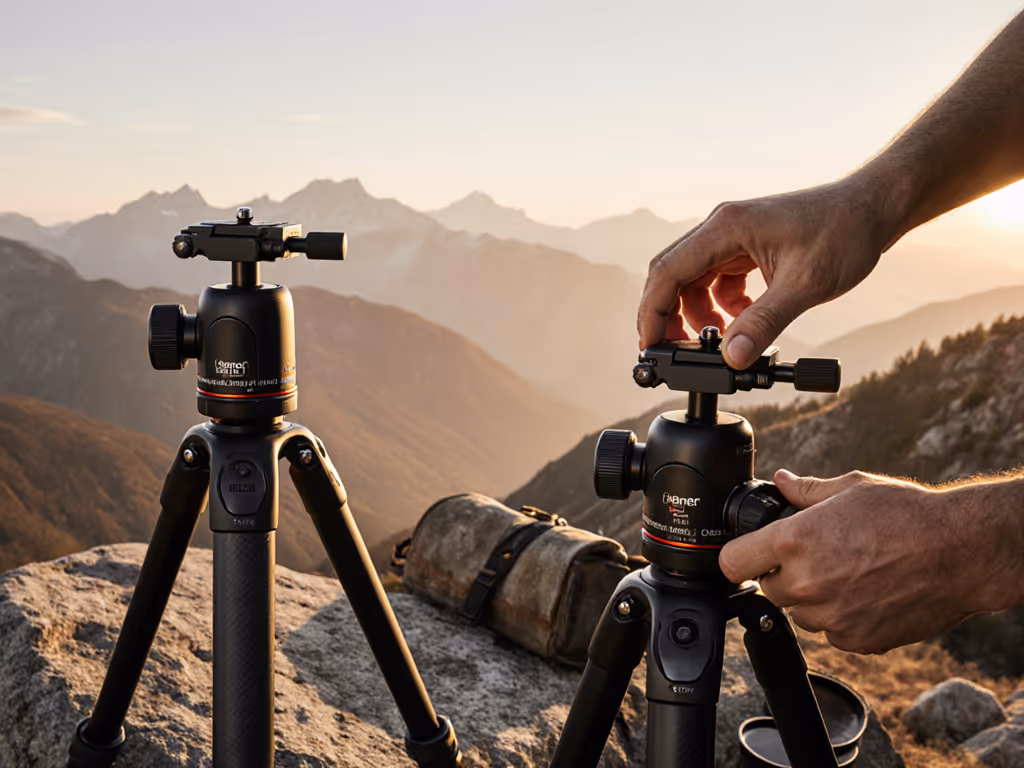
A: Avoid it. Extend the legs instead. A fully collapsed center column improves stability by 30-50% under vibration. Use true height as your target, not the rated max.
Q: Does heavier always mean steadier?
A: No. A 4-pound tripod with poor leg-lock design wobbles worse than a 2.5-pound model with precision clamps. Stability per ounce, the ratio of damping performance to weight, is the real metric. Measure oscillation decay, not just specs.
Q: Can I use a camera tripod for a professional video call setup?
A: Yes, but ensure the working height matches your eye level at true height. A ball head gives smooth pans for presentations. Friction arms offer quick repositioning between calls.
Q: What if my desk is near a window with vibration (traffic, wind)?
A: Tripod spikes (optional accessories) on the feet improve coupling to hard floors and reduce ambient vibration transmission. On thick carpet, remove spikes and use rubber feet for decoupling. For terrain-specific options and when to use spikes, claws, or rubber boots, see our tripod feet guide.
Q: How do I test a tripod for my specific setup?
A: At purchase or setup, position your camera at true height. Tap the tripod leg lightly and time how long motion persists (or use a slow-motion phone video). Under 1.5 seconds is excellent for video calls. If you can't test, prioritize tripods with precision lever locks and angled leg braces (they are strong indicators of damping design).
Wrapping Up: The Real Cost of Poor Stability
A tripod that sways during long calls or forces you to crane your neck trains bad habits and reads as amateurish on camera. Investing in a model that achieves true height without center-column extension, with responsive leg locks and measured decay time, costs more upfront but eliminates setup friction and restores confidence in your on-camera presence.
Choose your tripod as you would a chair: it's a tool you use daily, and comfort and reliability compound over months and years. Test at true height, not at maximum reach. Measure what works for your body and your space. The stability you feel during setup translates directly to the steadiness others perceive on screen.
Related Articles